4. How to use the Web version of dejiren and the screen configuration
This article explains the screen configuration in the Web version of the dejiren.
dejiren screen configuration
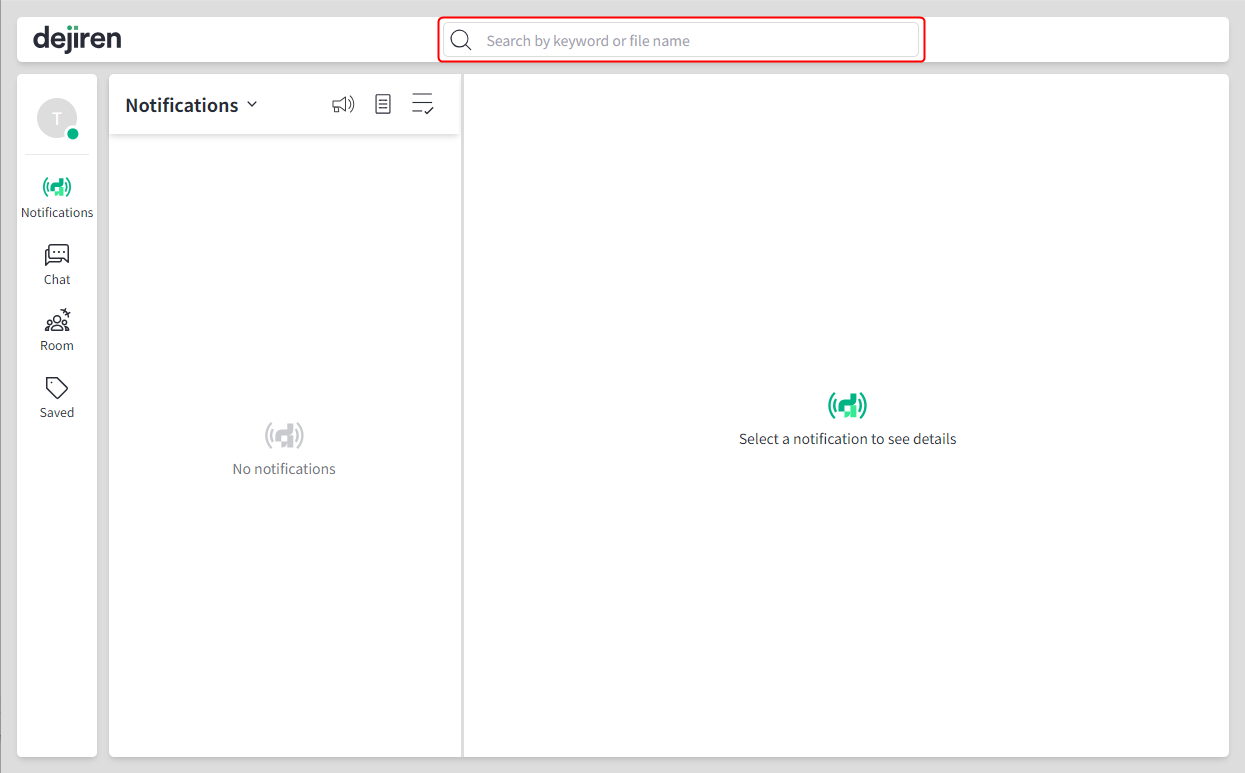
- After logging in to dejiren, the following screen appears.
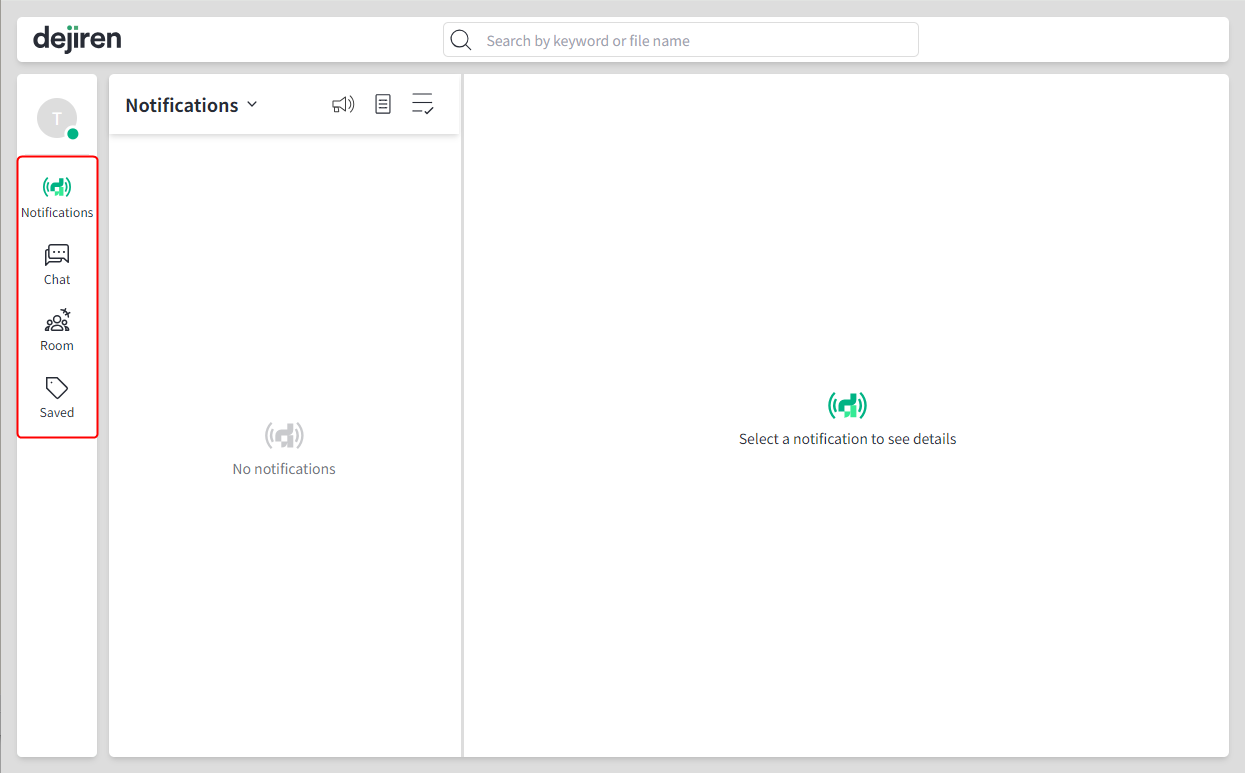
Screen configuration
- Clicking on the function menu icons on the left side of the screen displays the page for each function.
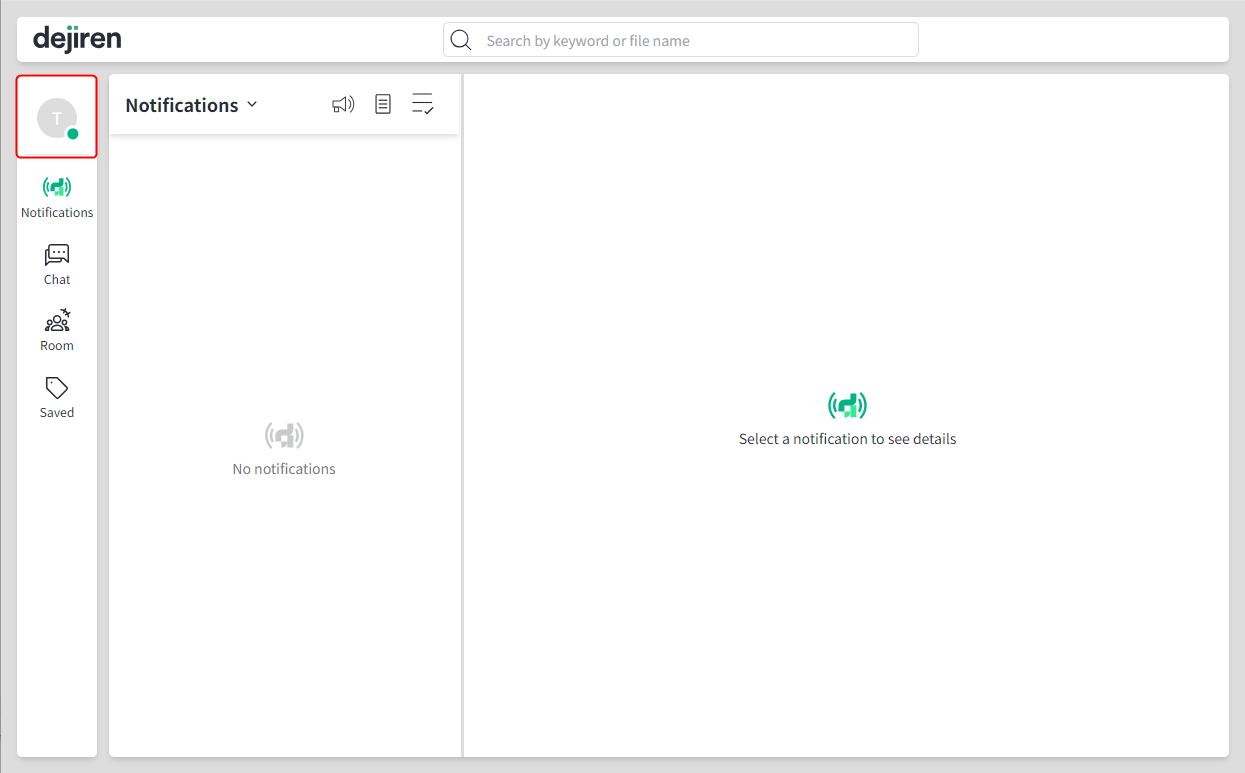
- Clicking on the Avatar icon on the left side of the screen opens a menu that you can access the Admin and VA management screens.
- In all functions, you can search the message body or file name by entering a string of text in the search field at the top of the screen.
Note: The search range is limited to chats and rooms accessible to the logged-in user.
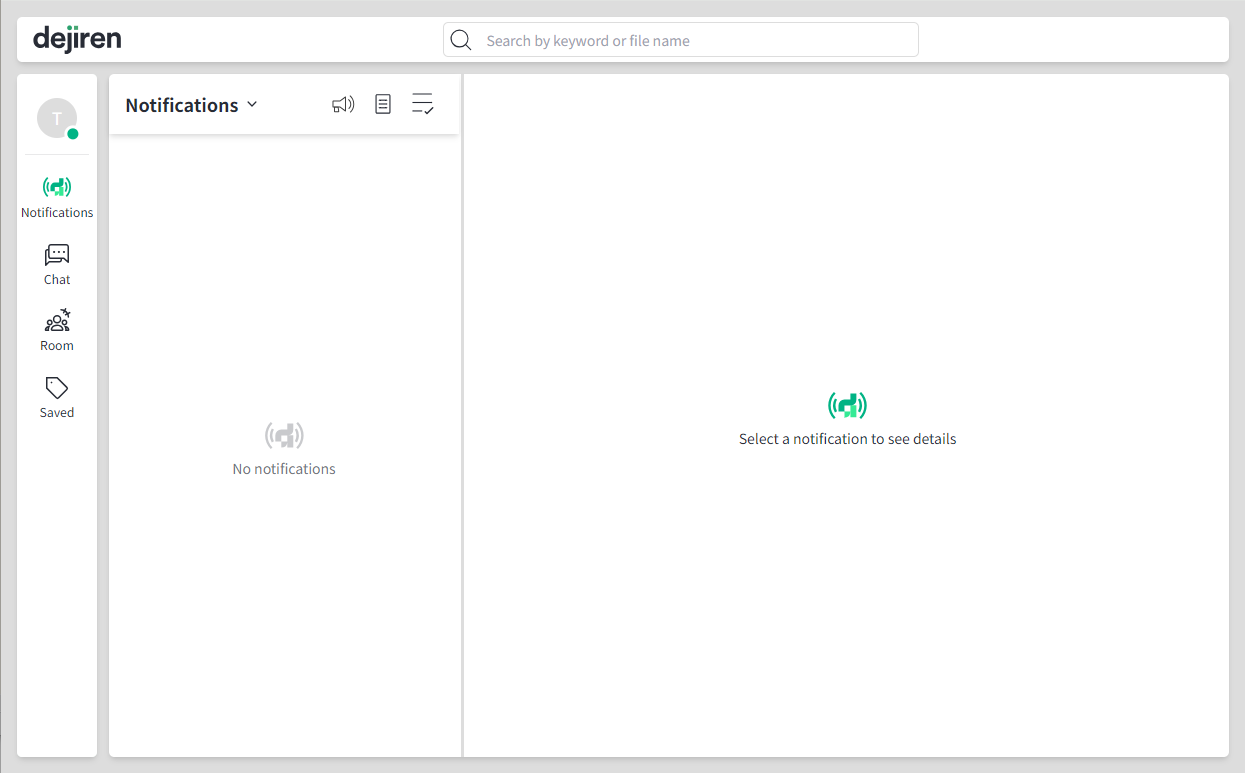
Notifications page
- You can view new notifications by clicking on Notifications on the left side of the screen.

- New notifications will appear in the left pane.
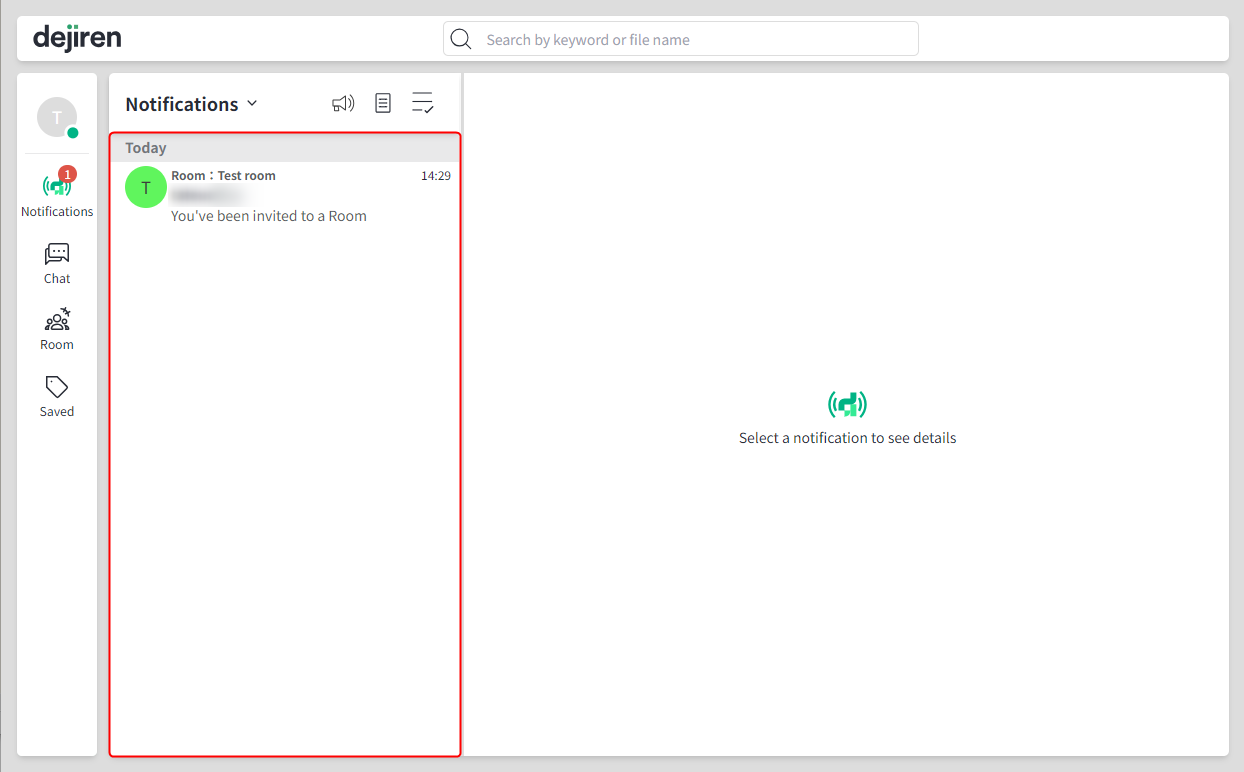
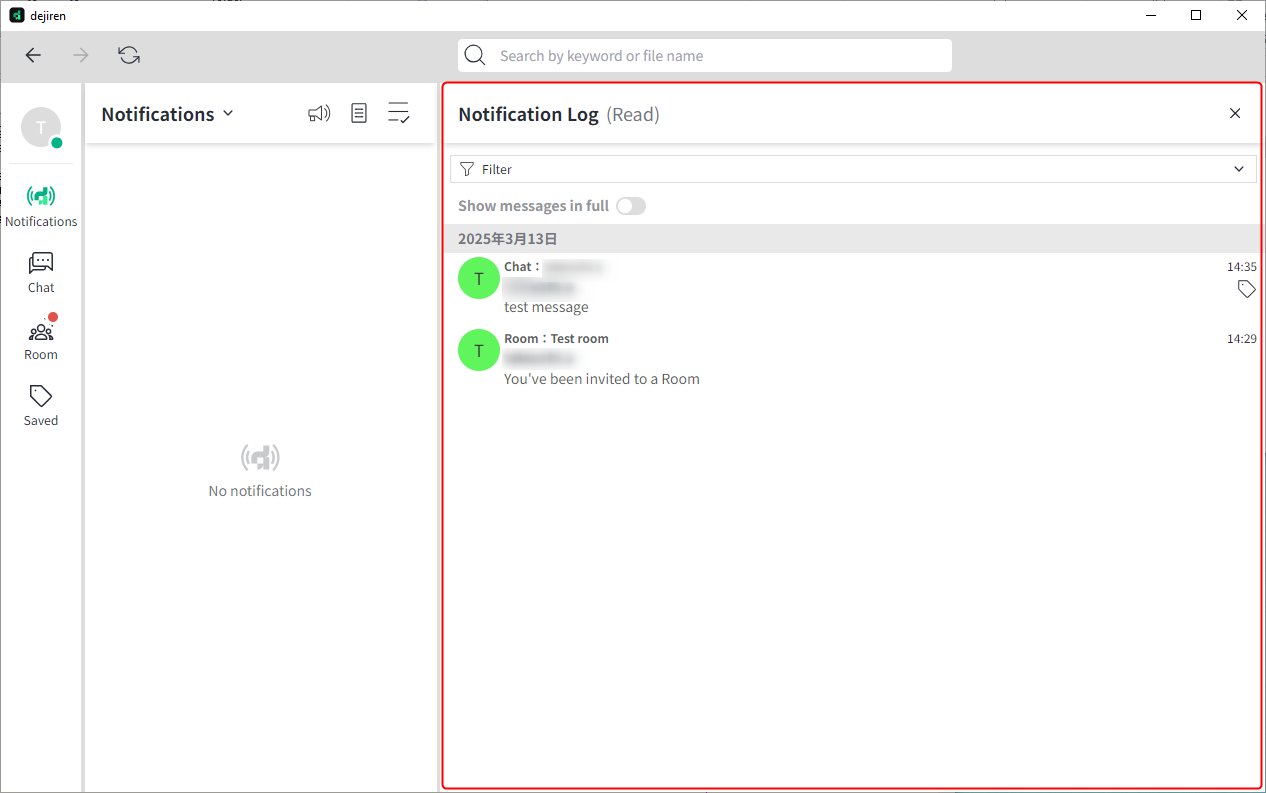
- In the right pane, Notification Log will appear.
App menu
- Click on the Avatar icon on the left side of the screen to open the menu.
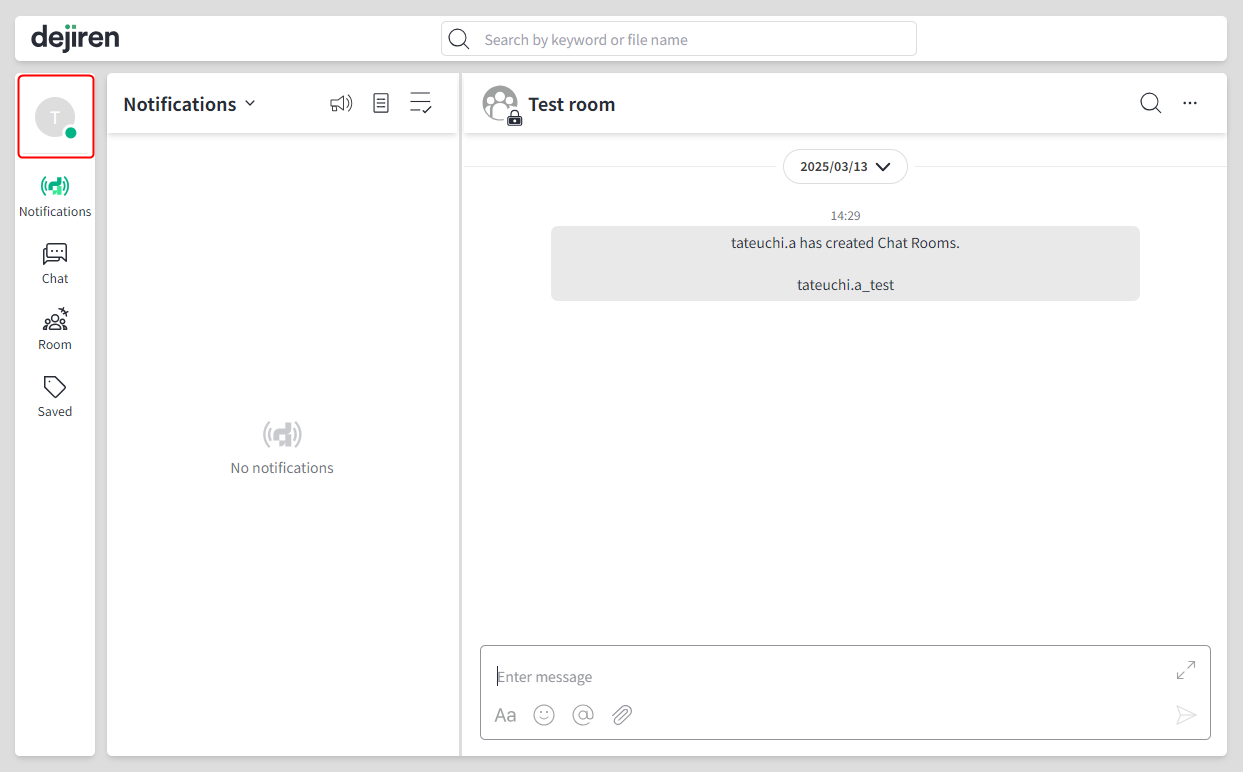
- From the menu, you can edit your profile and configure various settings for tenants.
Note: To view the VA management screen, you must be logged in as a user with the “VA Editor” or “VA Admin” role.
To view the Admin screen, you must be logged in as a user with the “System Admin” role.
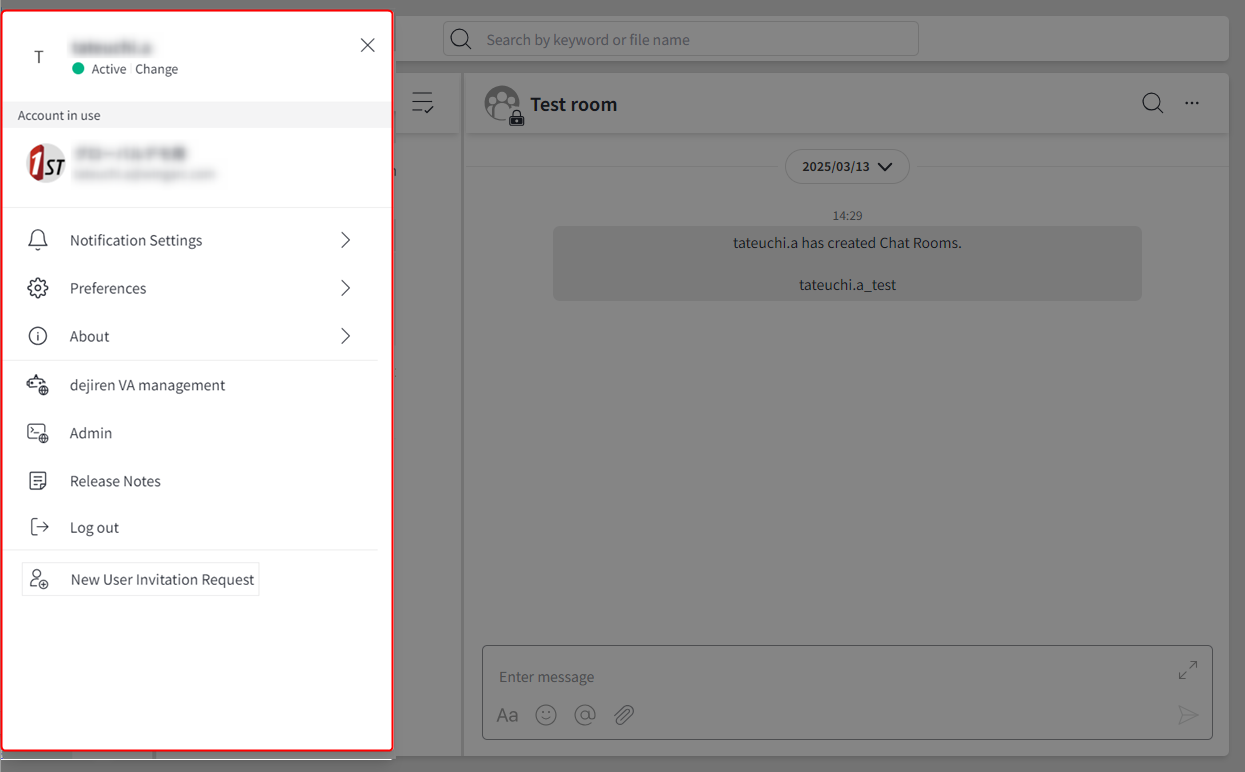
User status Click to toggle between Active and Away. Logged-in tenants and accounts Click the “+” button to log out. Notification Settings Set up notifications, such as when a message is received. Preferences Configure various settings for app. About Shows app version and other information. dejiren VA management Shows the VA management screen.
(if you have VA Edit permissions)Admin Shows the Admin screen.
(visible only to the system admins)Release Notes Log out Logs out of dejiren app. New User Invitation Request You can invite new users.
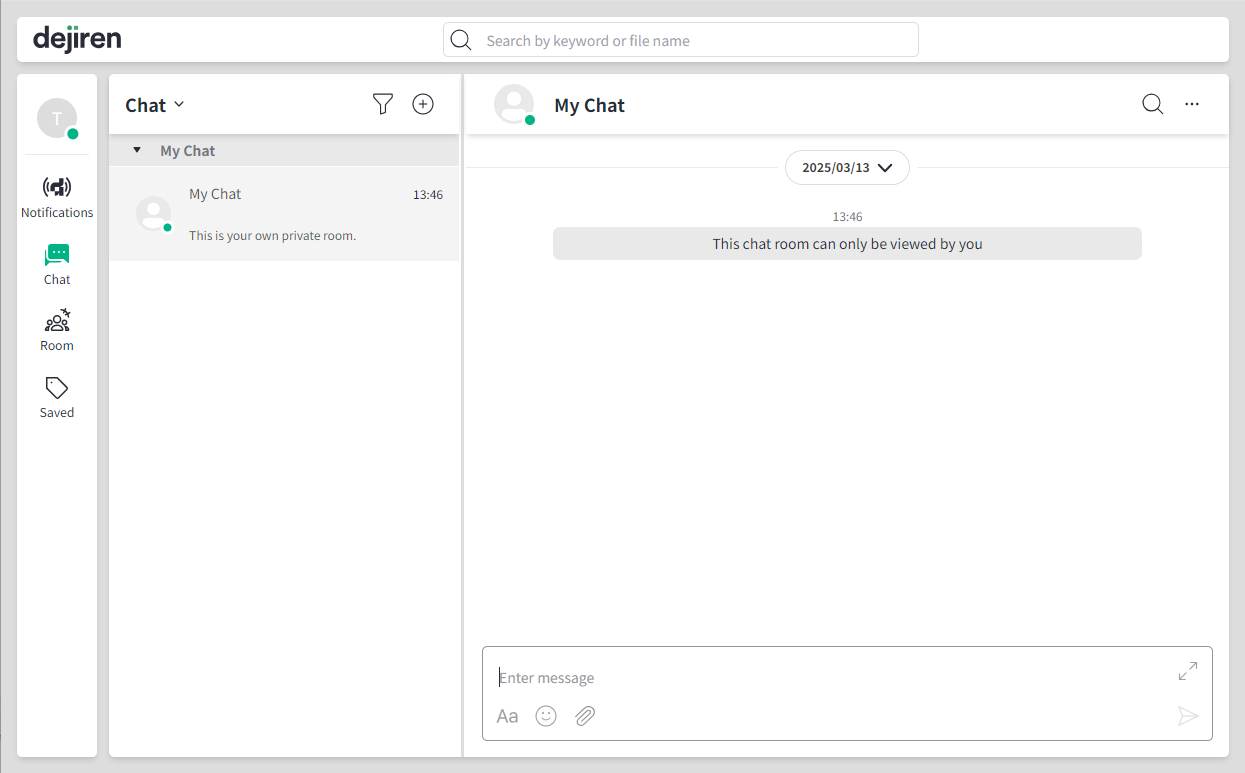
dejiren Chat
- The Chat page allows 1-on-1 chat with a specified user.
- You cannot change members in Chat.
- In Chat, you can communicate with up to 8 other members.
It is recommended to use Chat for temporary communication and Room for department- or theme-based communication.
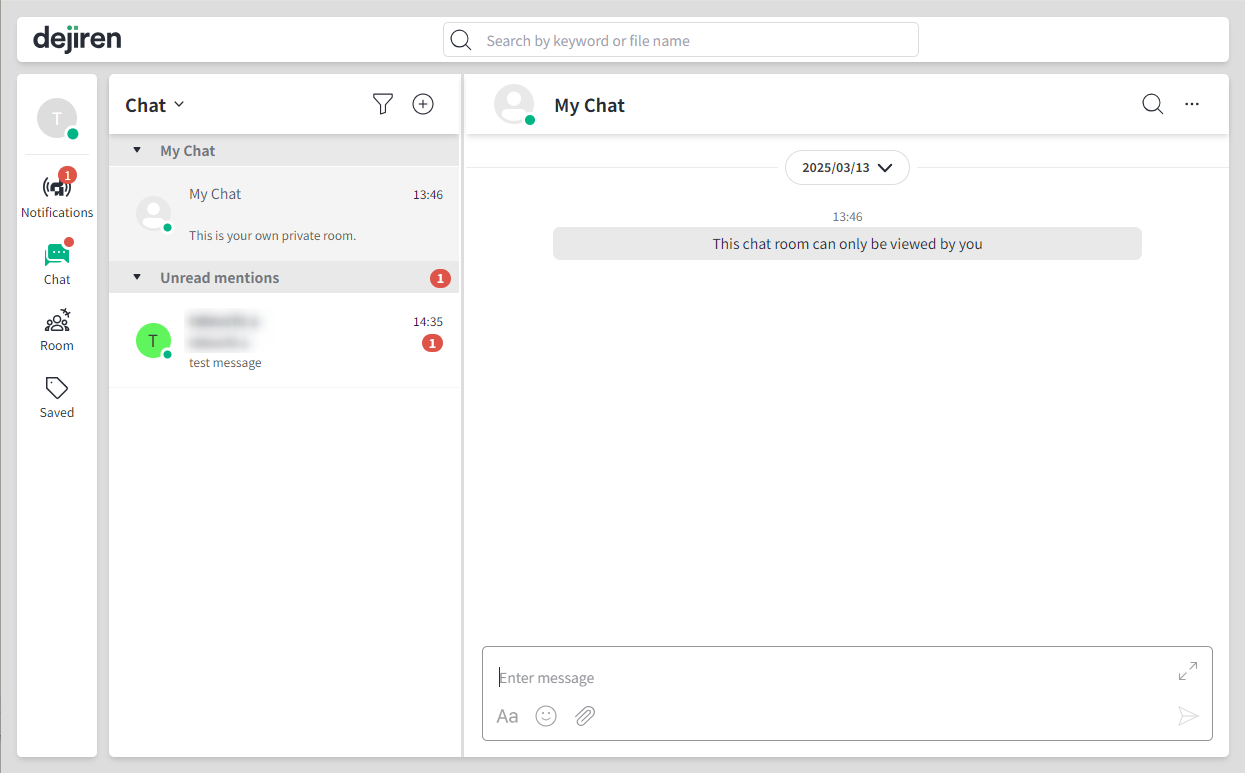
View unread messages
- If there are unread messages, a red circle will appear on the function menu icon on the left side of the screen.
Click to view unread messages.
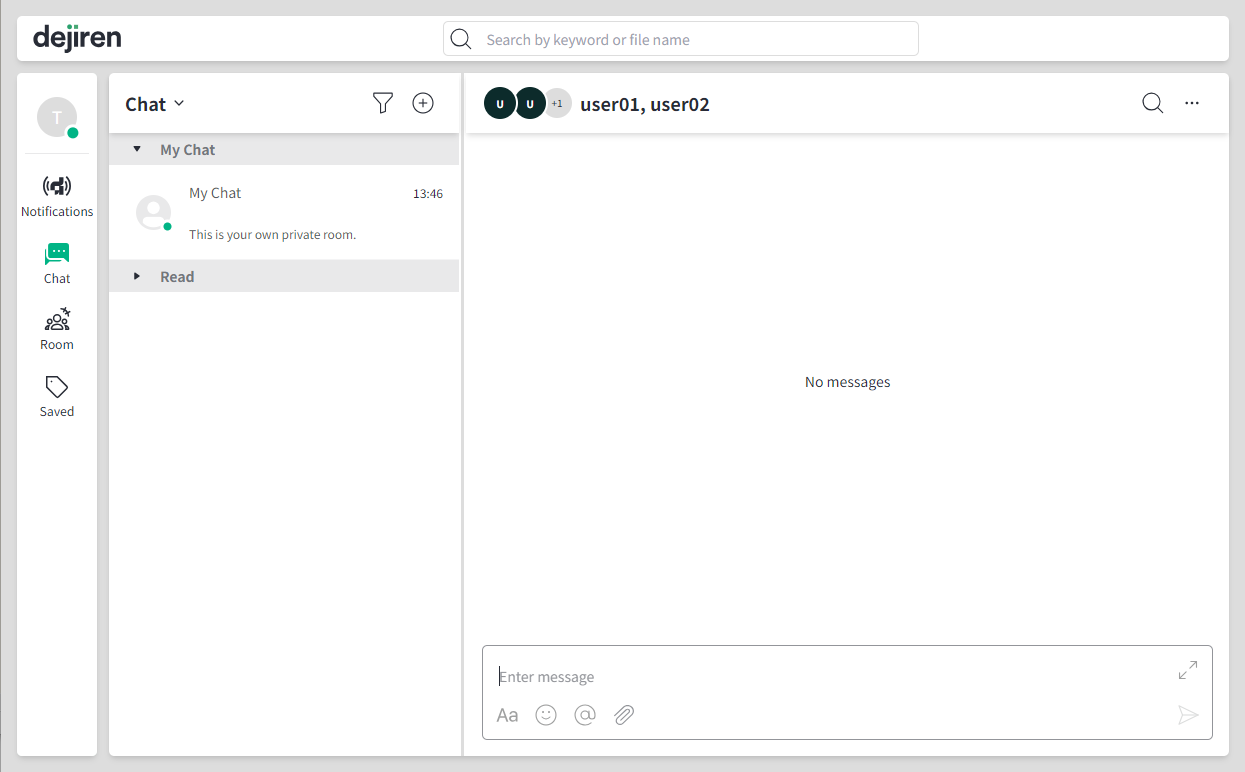
Create a new message
- Click the New Chat icon in the left pane.
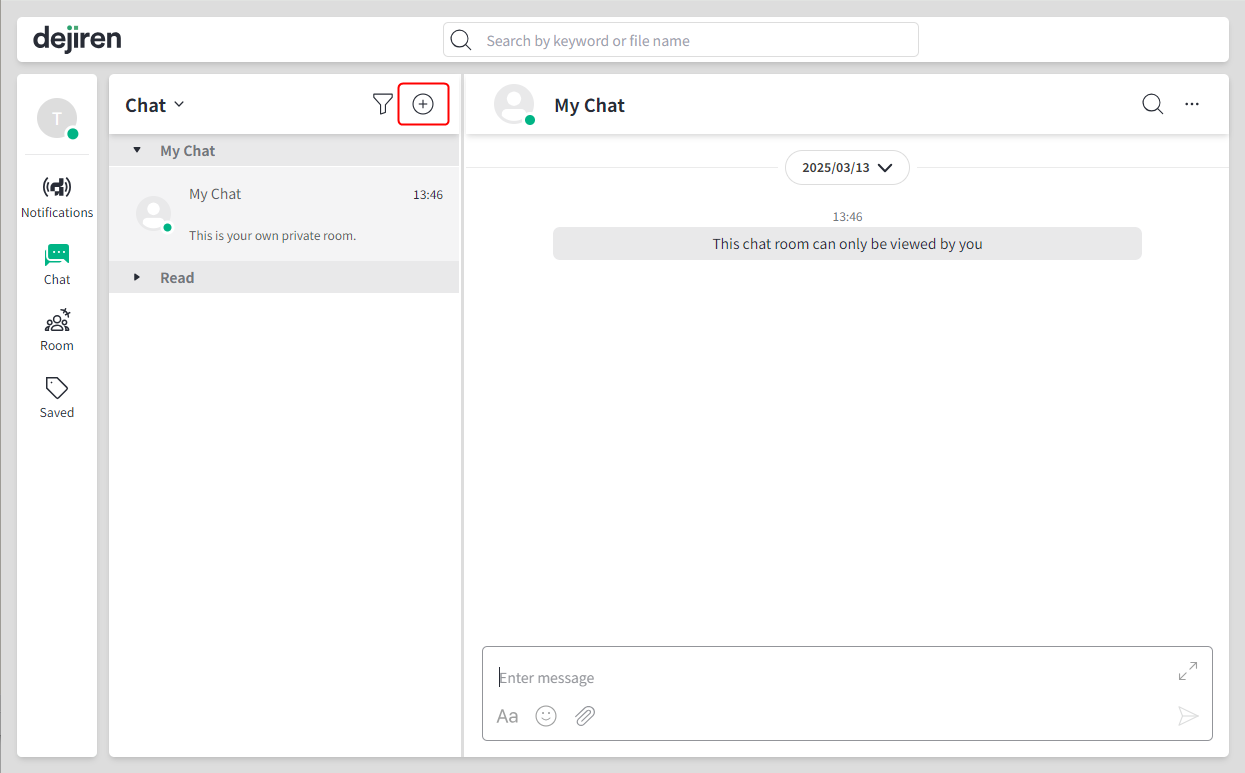
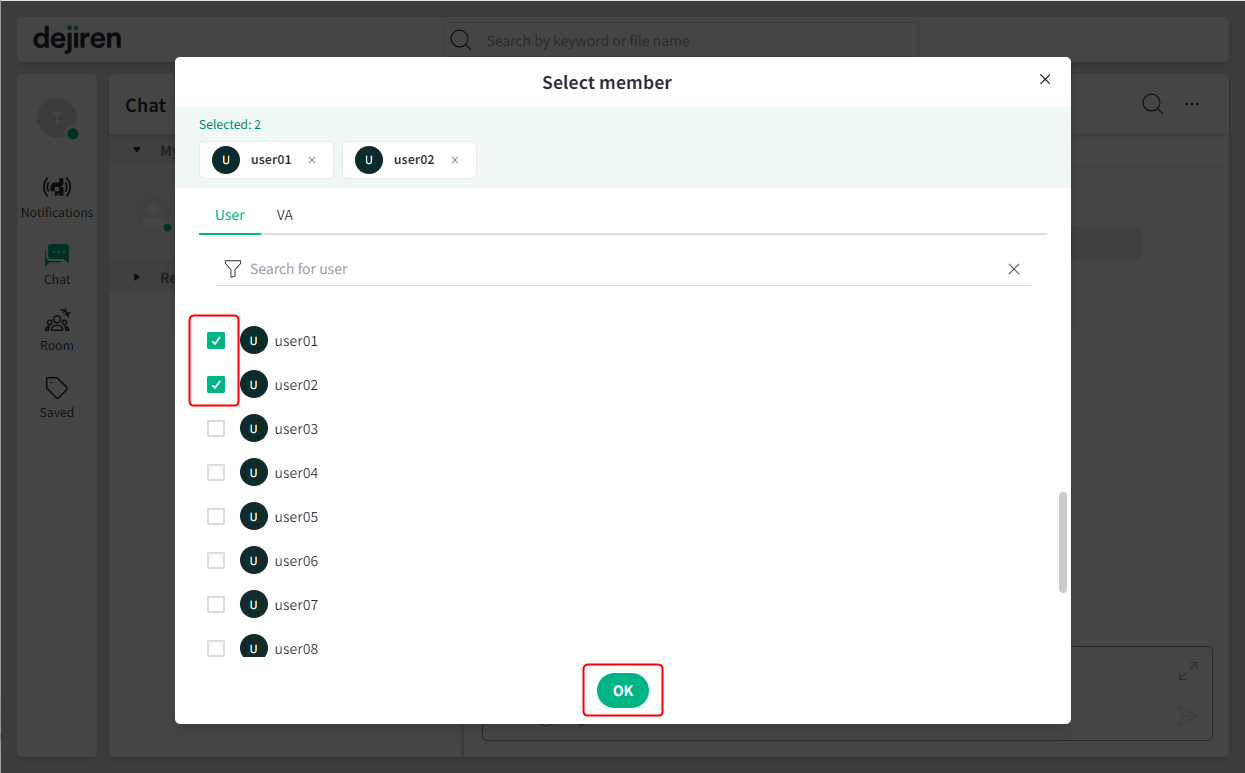
- Select the member(s) you wish to send a message to.

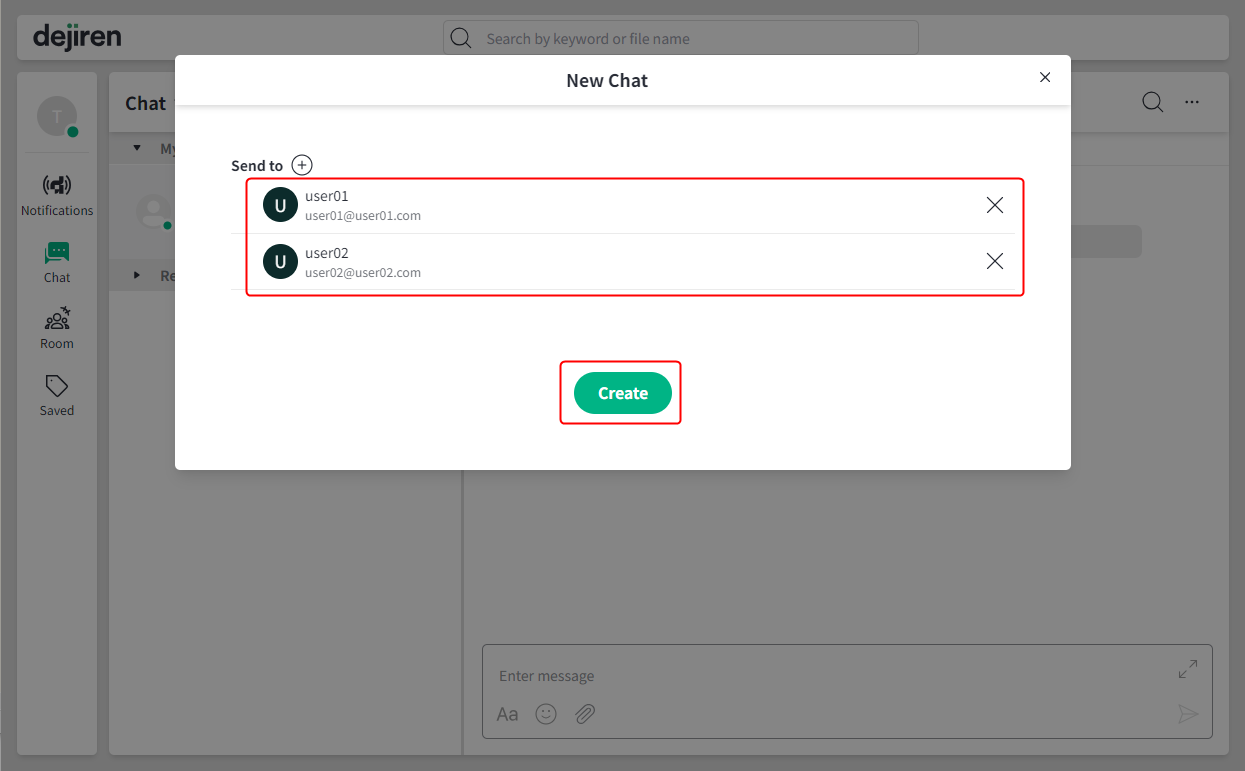
- Make sure the member(s) you selected are correct and click Create. You can now start the chat.
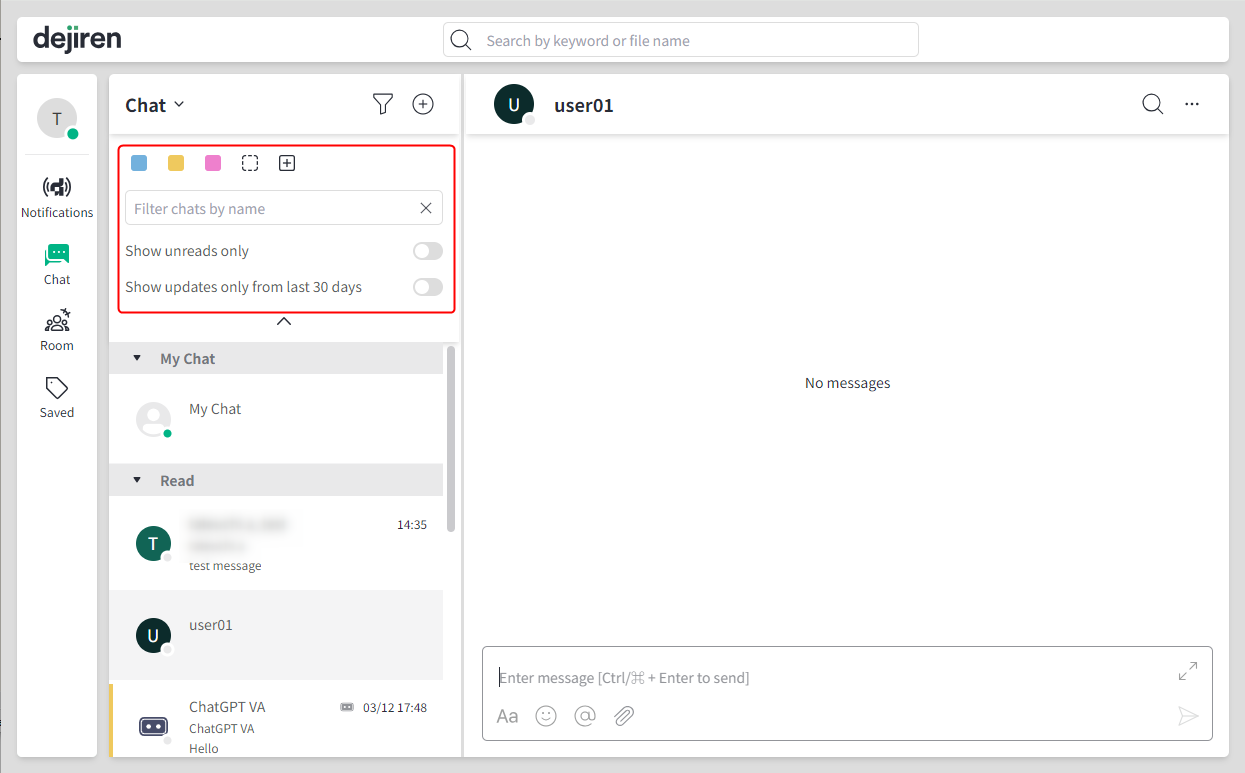
Filter settings
- Click on the Filter icon in the left pane to open the Filter menu.
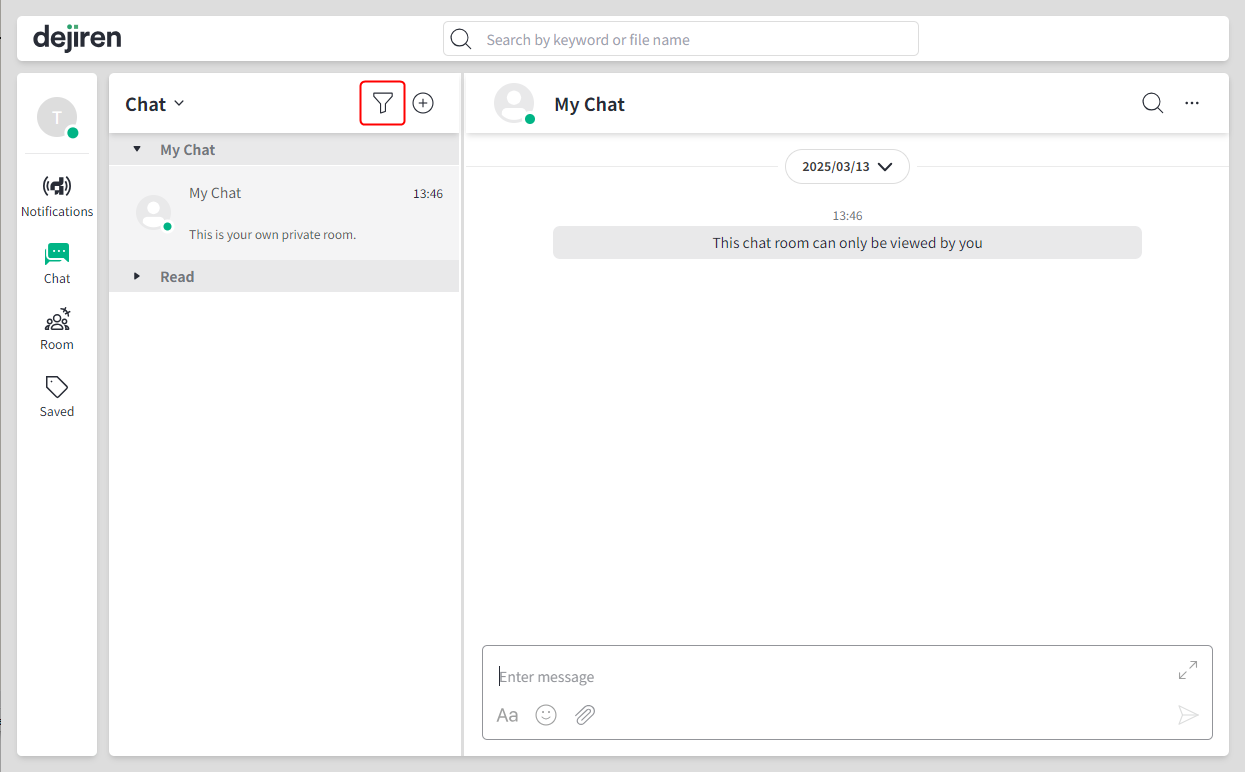
- You can use four types of filters.
- Color tag: shows items with color tag set you select in the filter.
- Name: shows items whose name contains the text you entered.
- Show unread only: shows unread messages.
- Show updates only from last 30 days: shows items updated within the last 30 days.
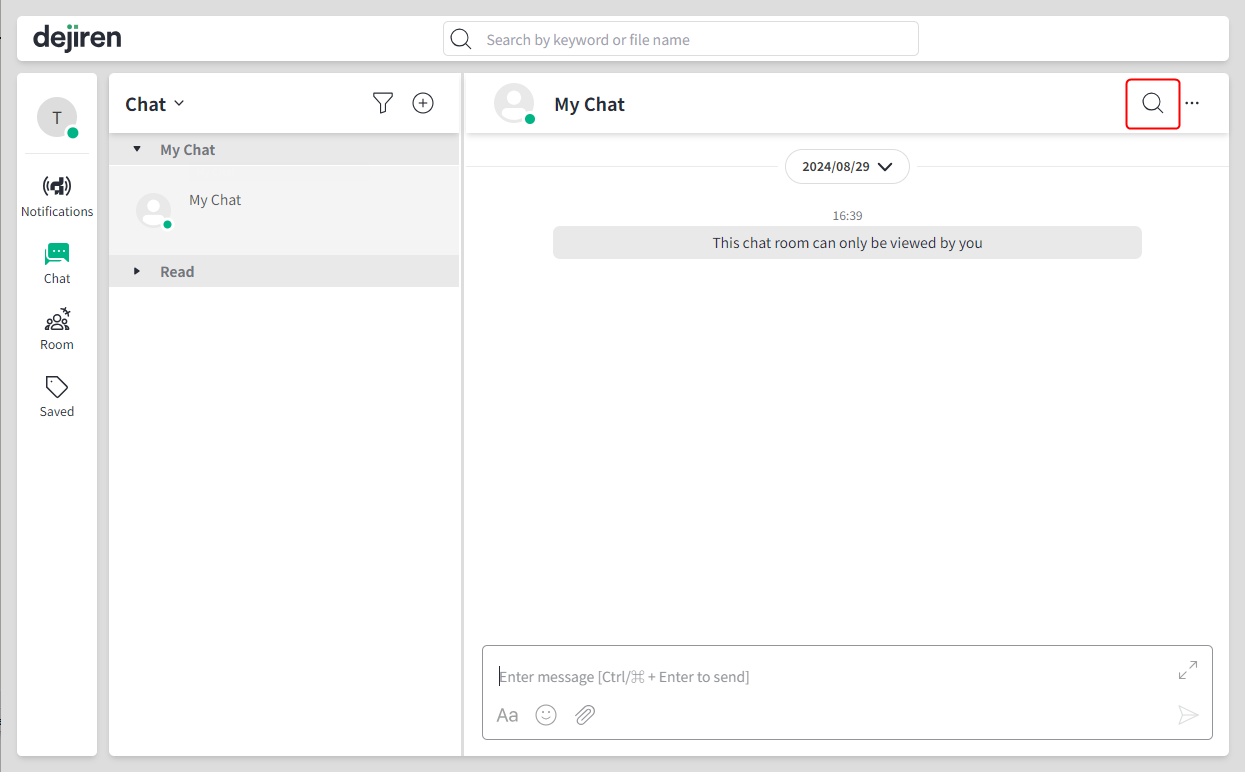
Search in chats
- Click on the “magnifying glass” icon in the right pane to search for text in the chat you are viewing.
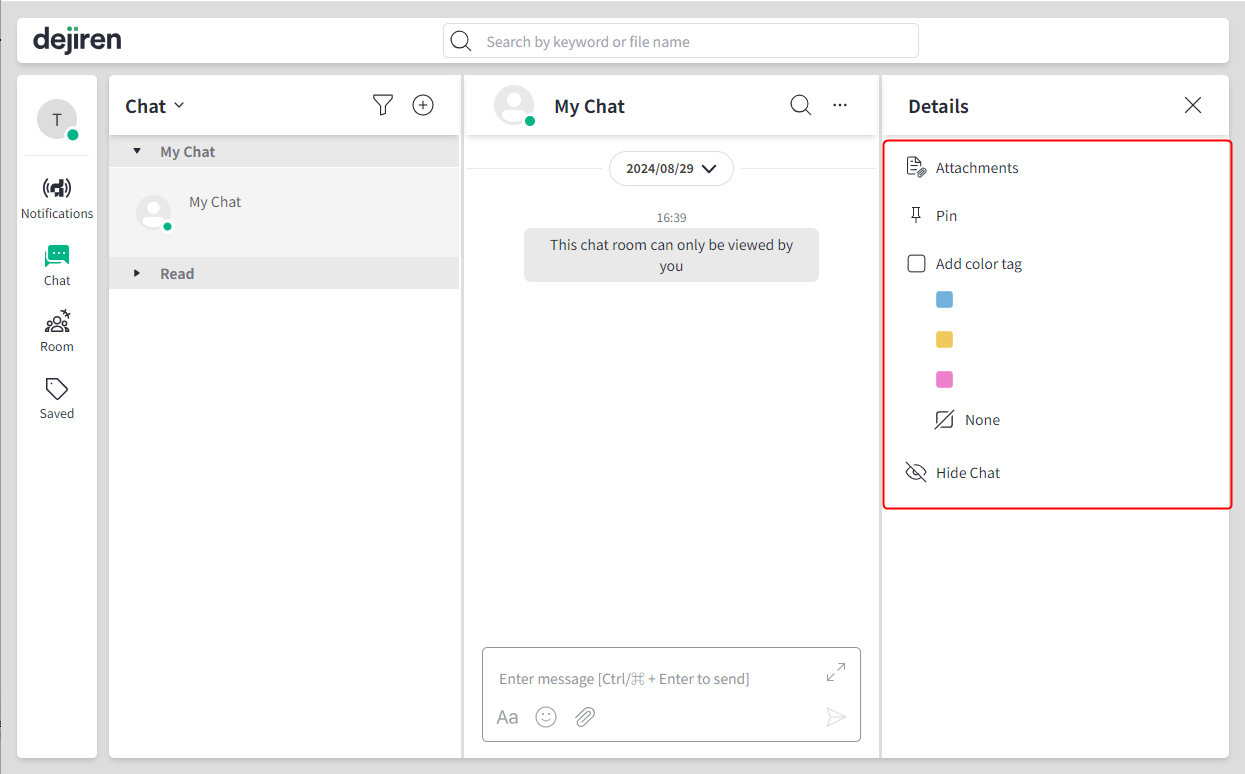
Details section
- Click on the “ellipsis” icon in the right pane to show Details.

- What you can do in Details
- View attachments.
- Pin the selected chat.
- Add color tag to the selected chat.
- Hide the selected chat.
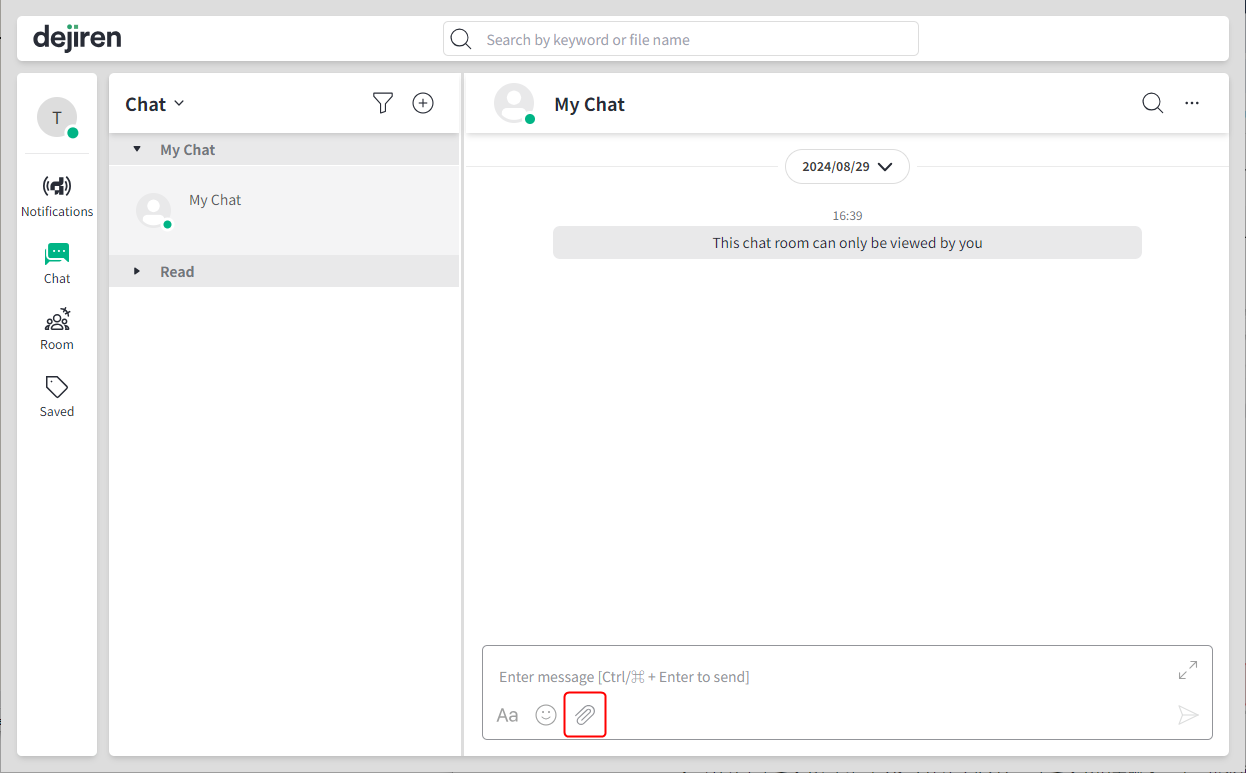
Message field
- Enter text in the message field in the right pane and click the Send icon to send your message.
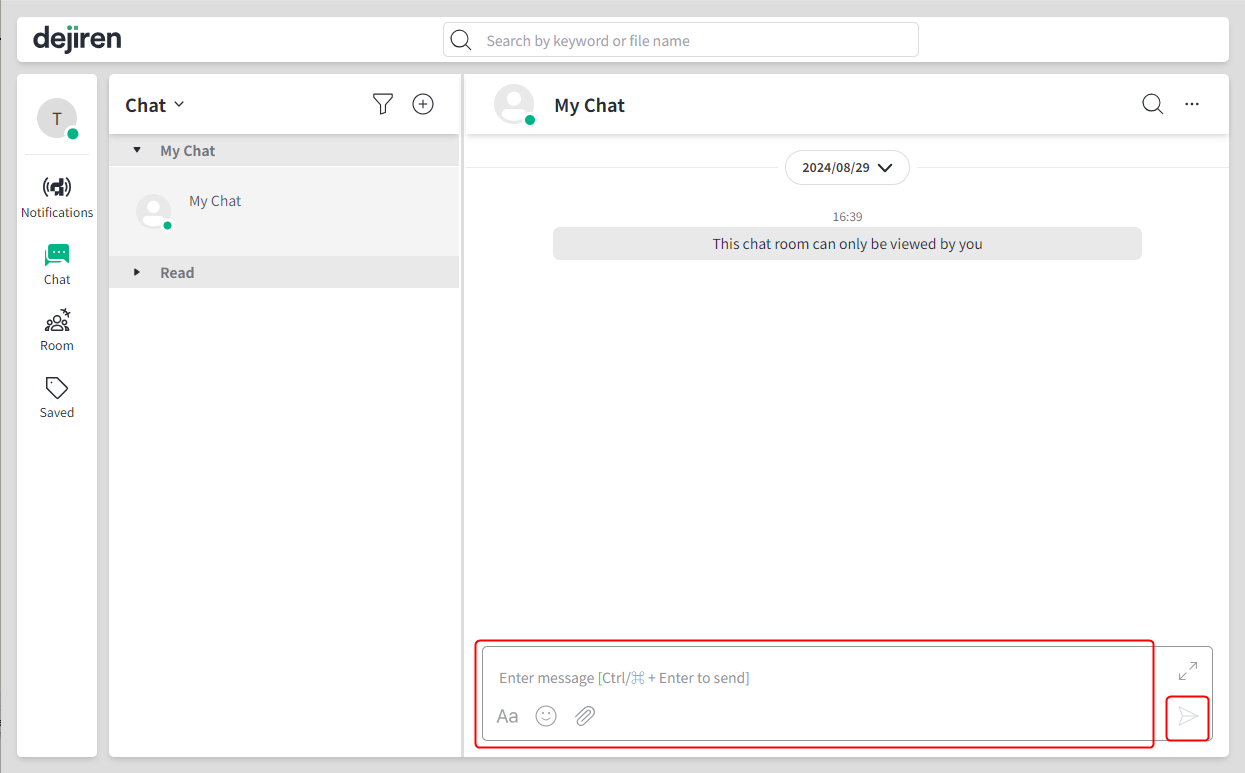
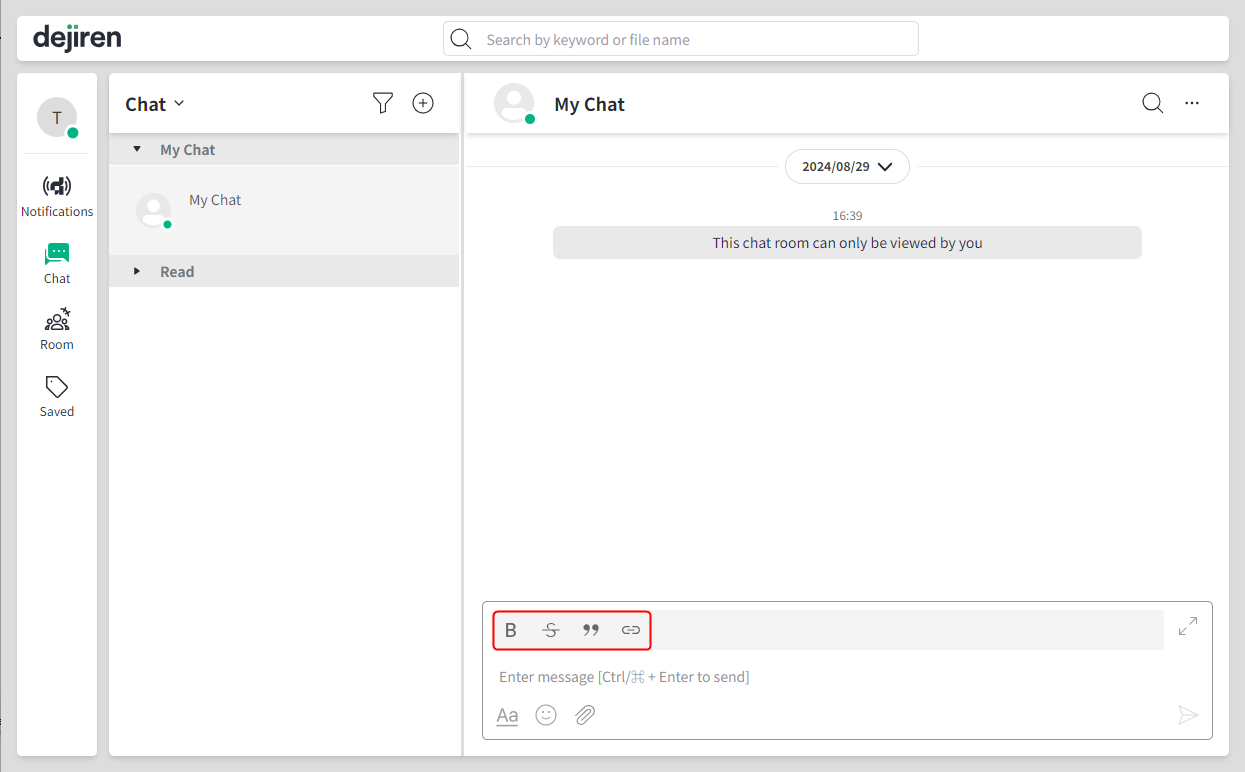
- Click the Show formatting icon to show the text formatting menu.
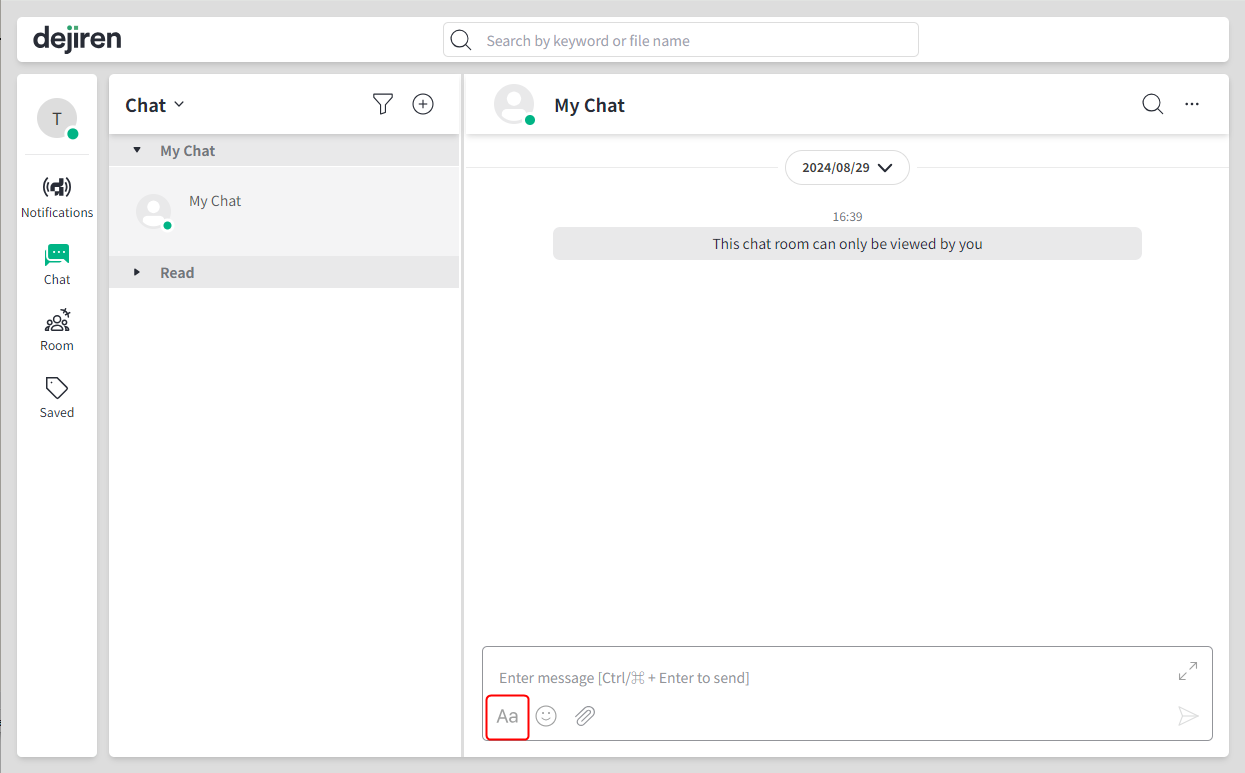
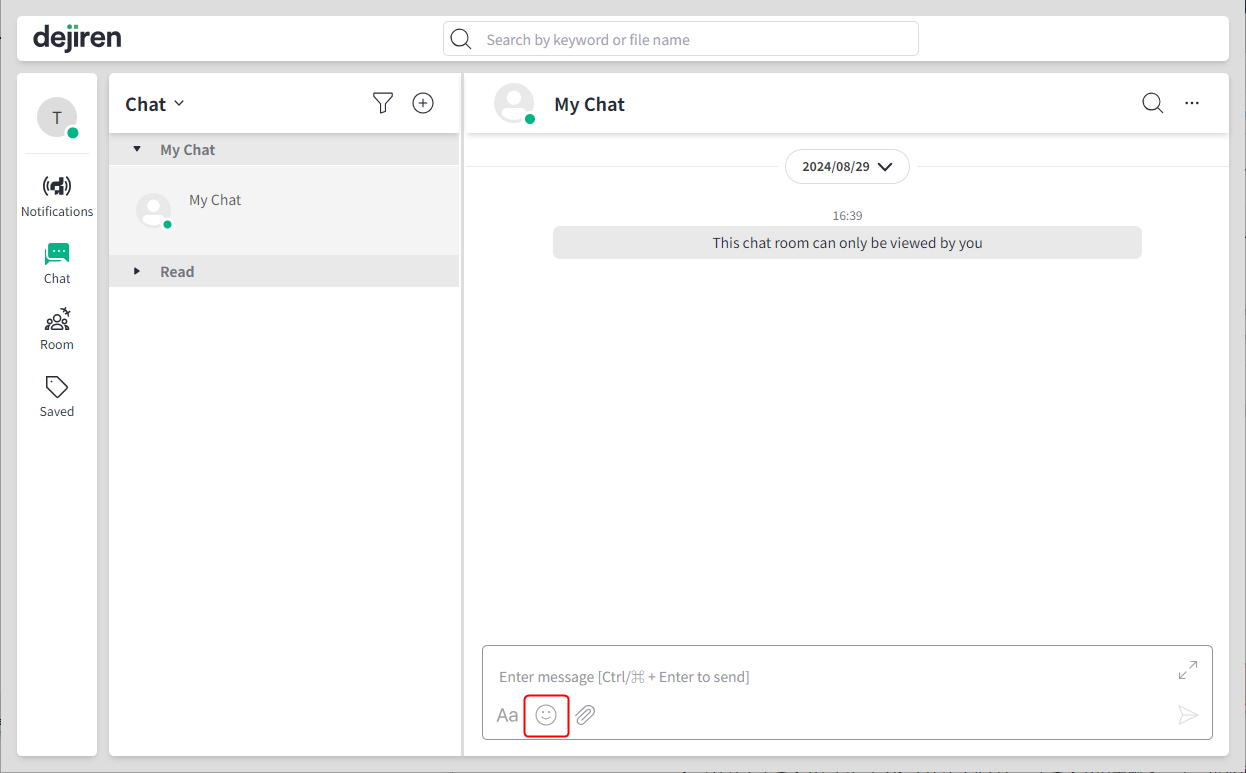
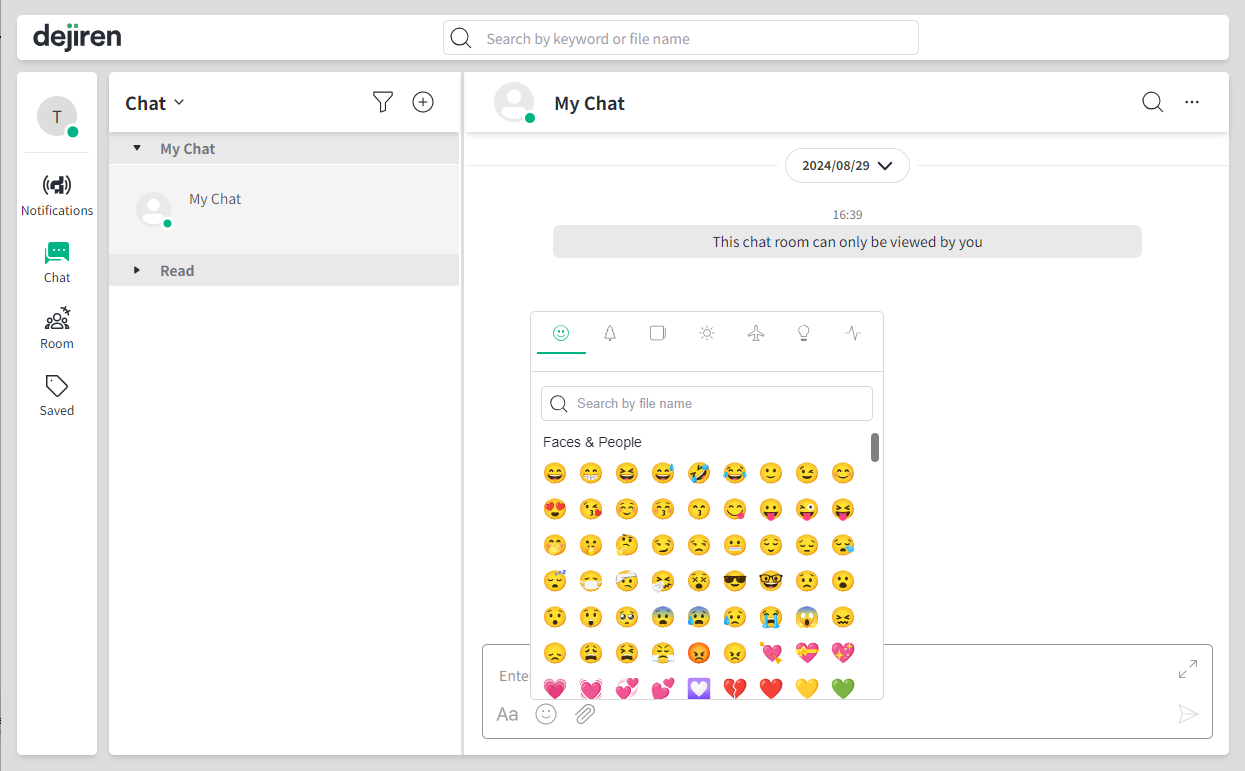
- Click the Emoji icon to show the list of emojis.
- Click the Attach file icon to attach a file.