

How to set up a connection between Box and dejiren
This article describes how to set up a connection between Box and dejiren.
Prerequisites and required permissions
| Services | Required permissions | Operations requiring permissions |
|---|---|---|
| Box | Accounts with access to the Admin Console Note: In principle, it is available for accounts in all roles, as long as 2-step verification is enabled for the role. |
Create apps Request authorization for apps |
| Accounts that have been granted an admin role | Authorize apps | |
| dejiren | Edit permissions for VA (VA Admin or accounts with VA Editor role) | Configure connection settings |
Setup overview
After creating two apps (one for integration and one for personal authentication) from the Admin Console of Box, create the connection settings in dejiren.
Setup procedure
Step 1: Enable 2-step verification
This section describes the procedure for enabling the 2-step verification required to use the Admin Console.
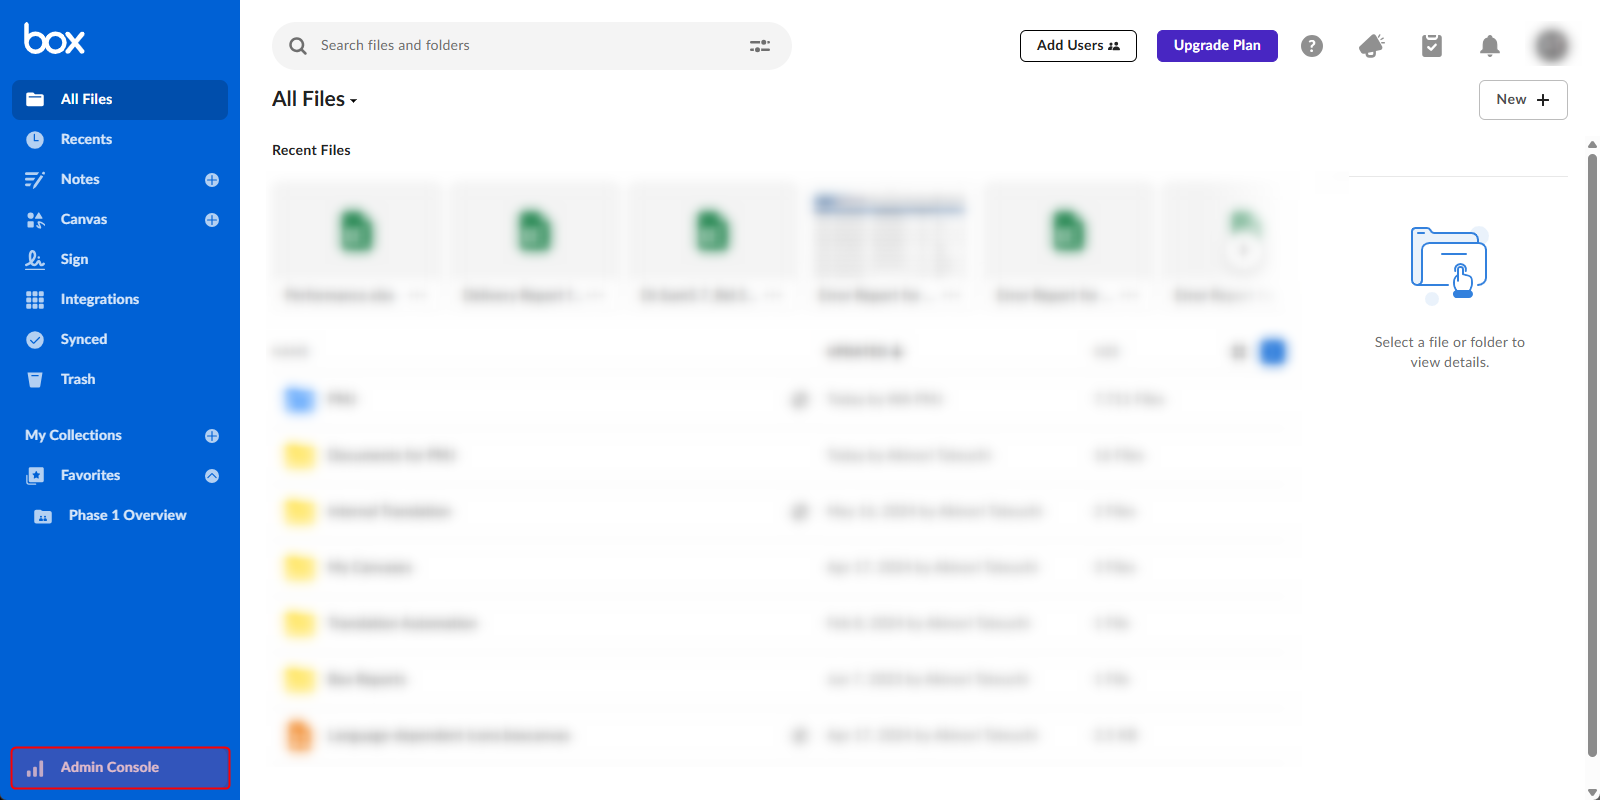
- Check to see if Admin Console is shown at the bottom of the left sidebar on the Box screen.
If it is shown, the procedure in step 1 is not necessary. Skip step 1 and proceed to the next step.
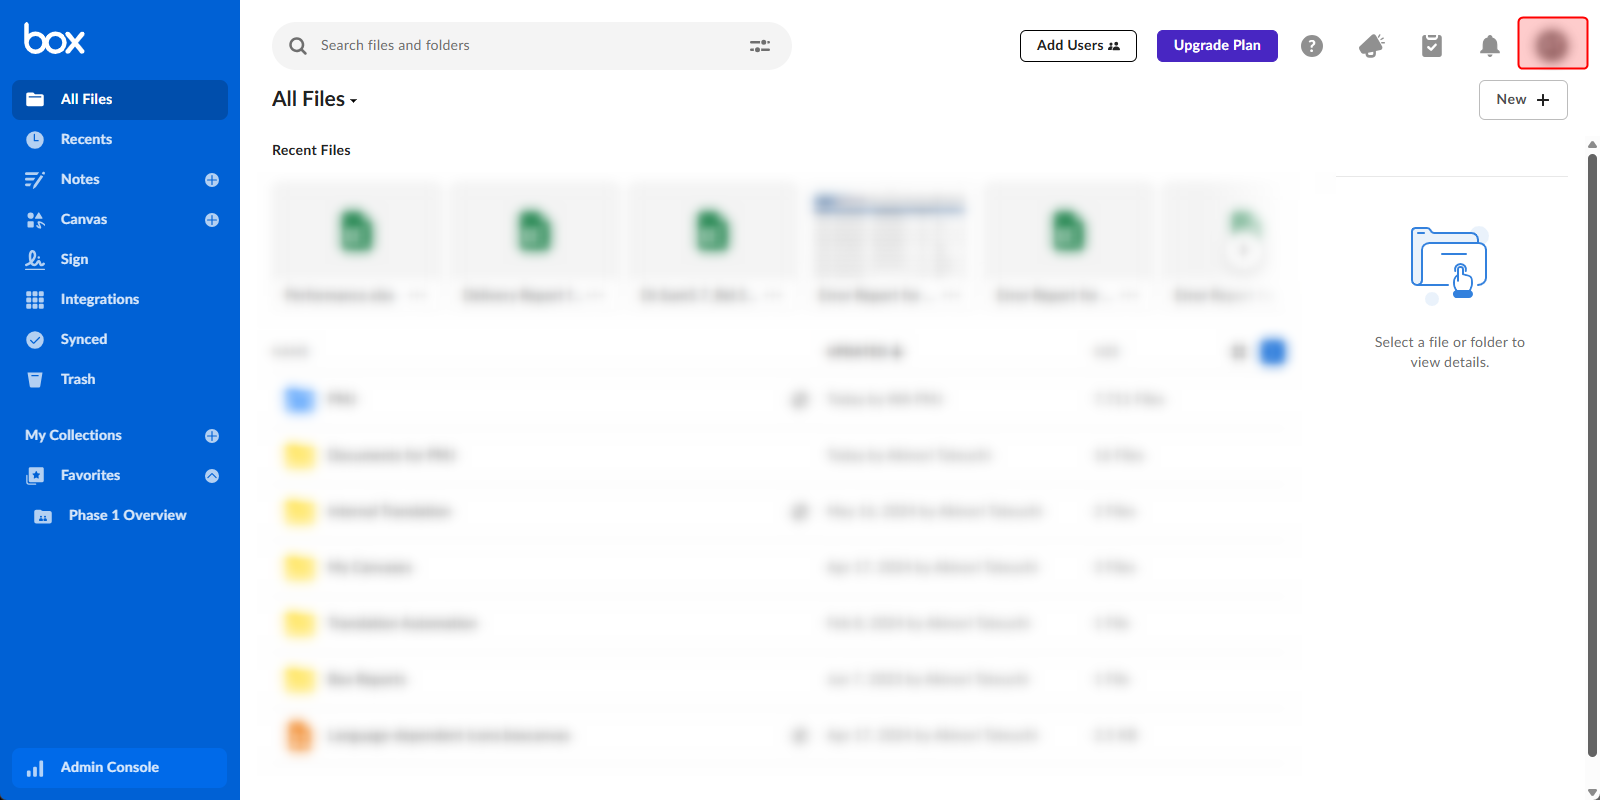
- Click on the user icon in the upper right corner of the Box screen.
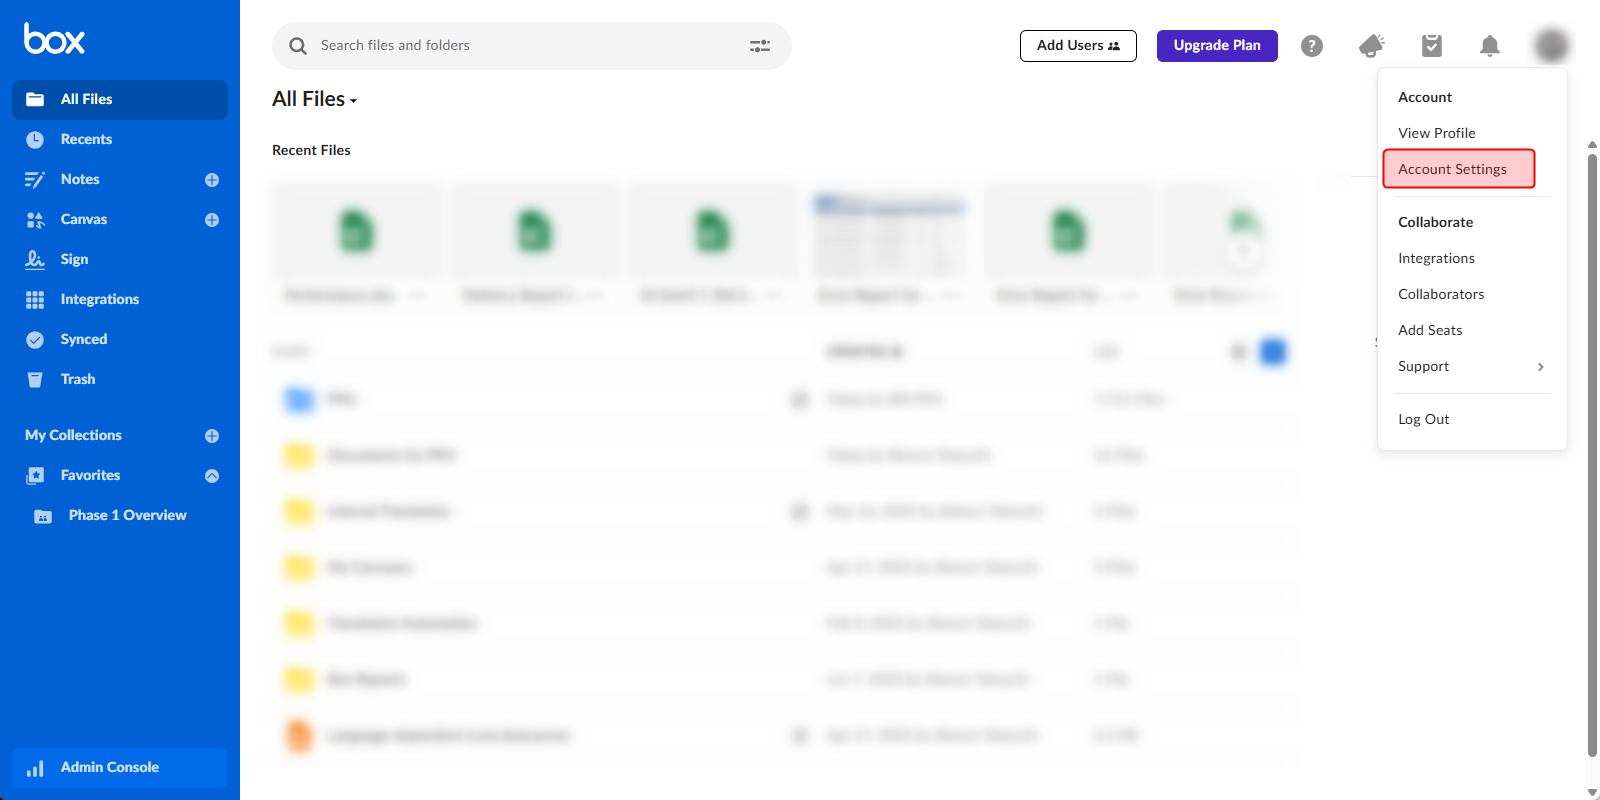
- Click Account Settings.
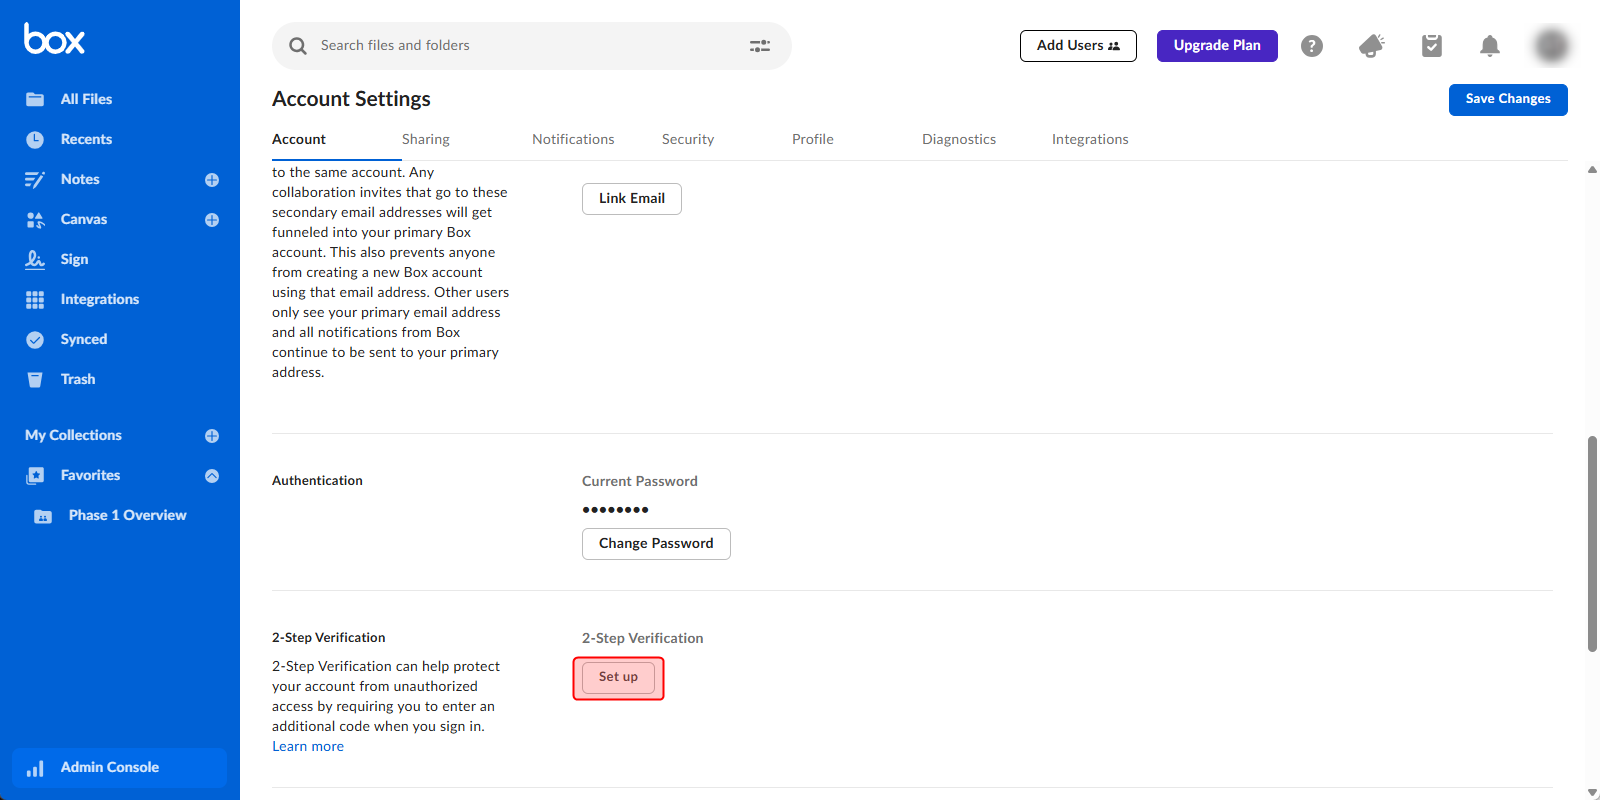
- Scroll to the middle of the Account Settings page and click Set up under 2-Step Verification.
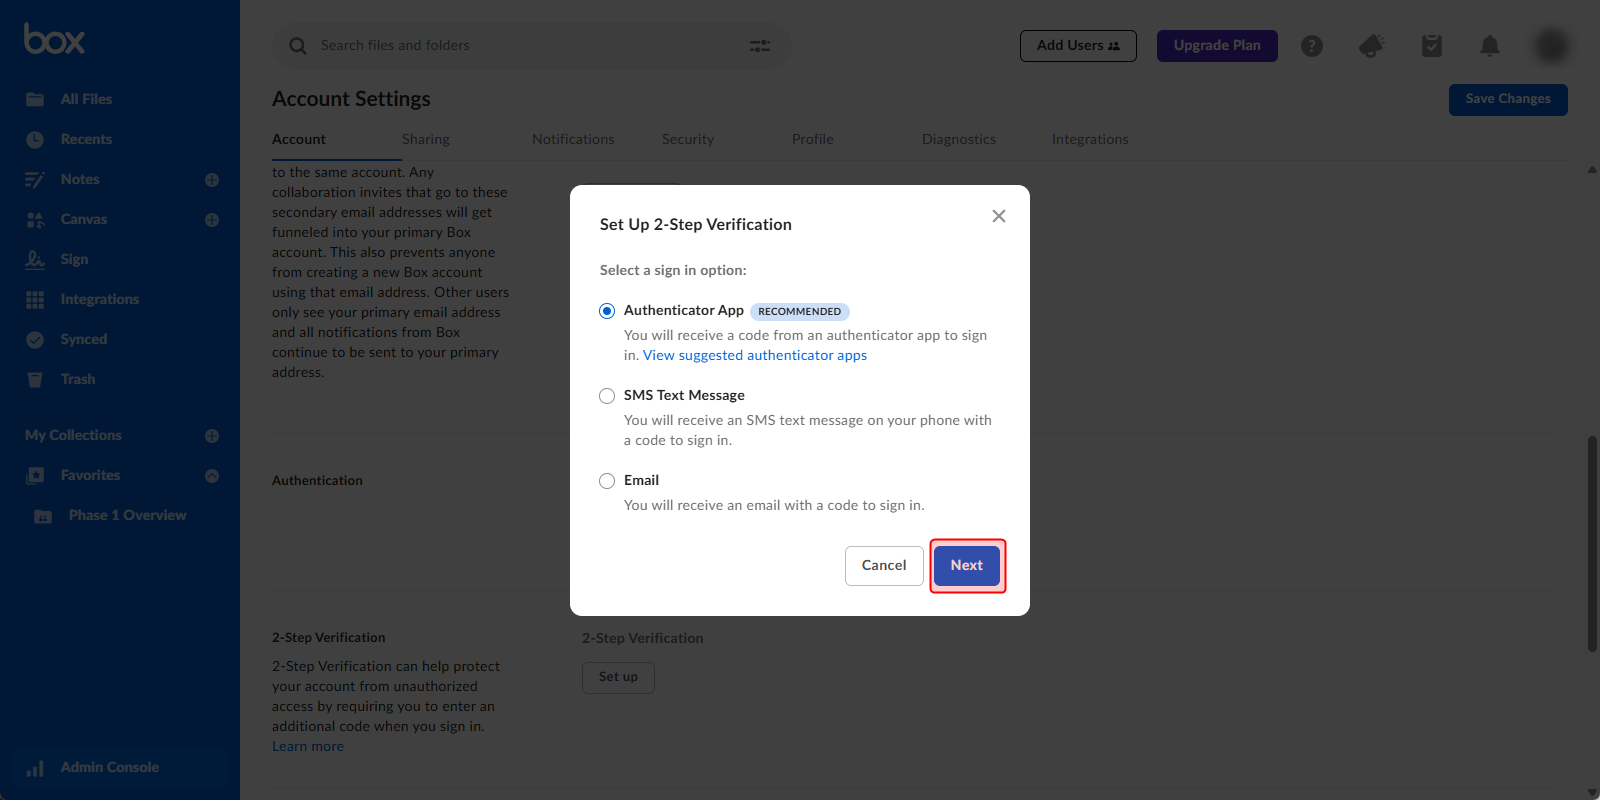
- Select the method to be used for 2-step verification.
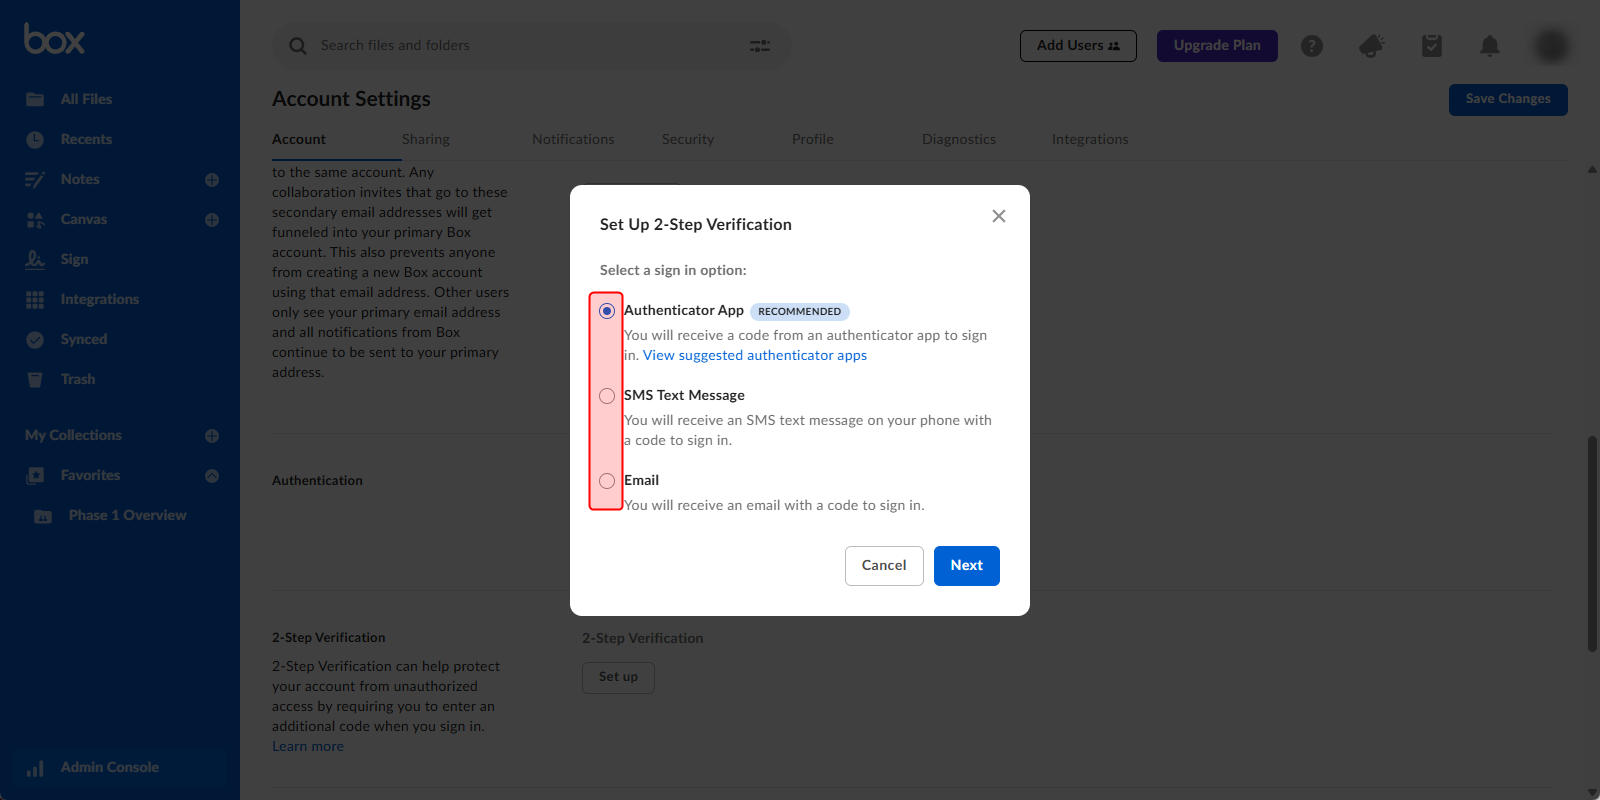
- Click Next.
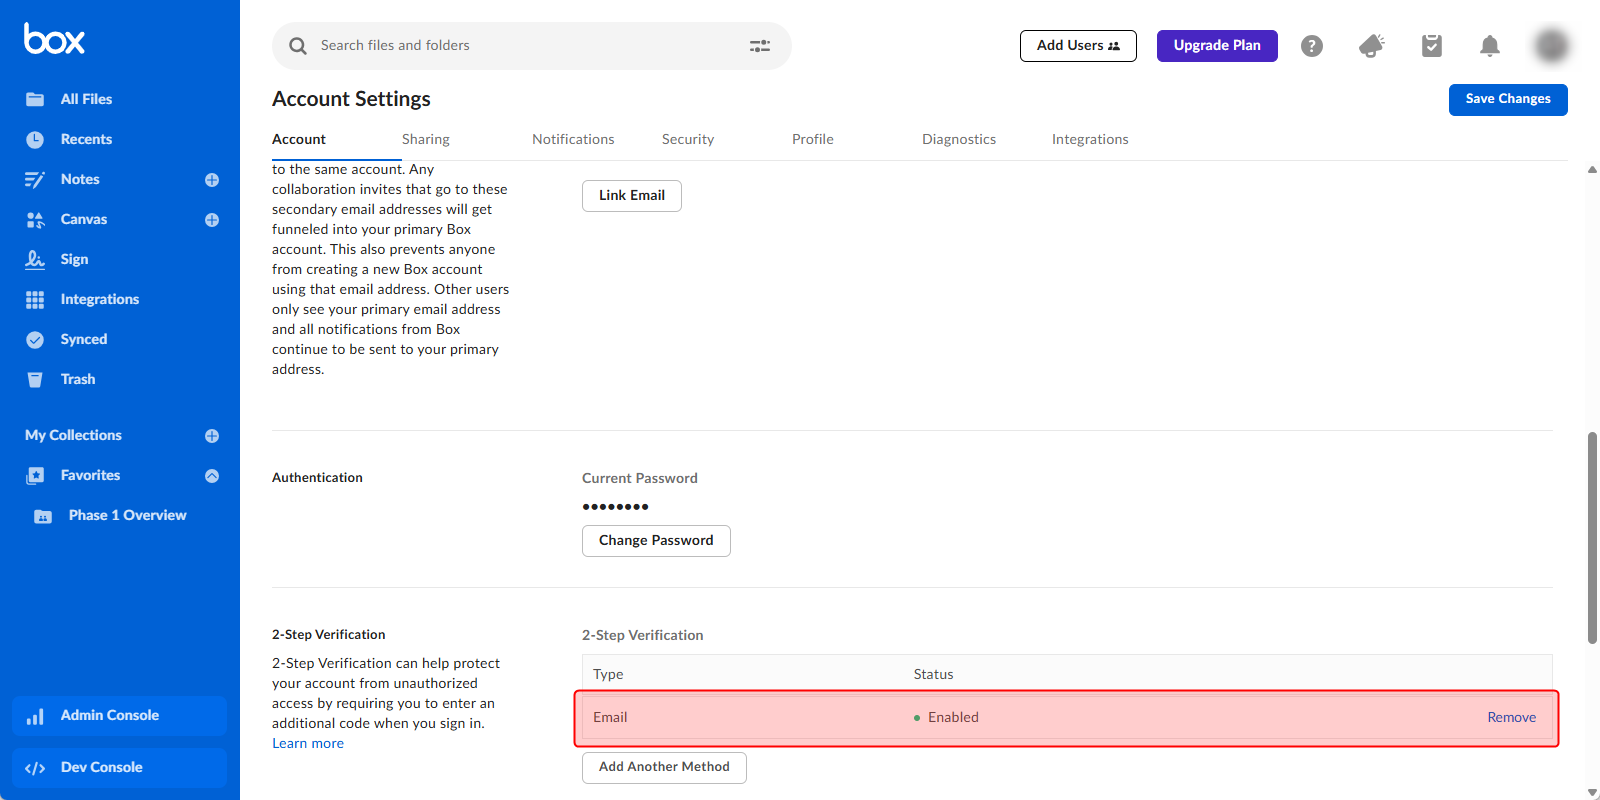
- Follow the on-screen instructions to enter the verification code you obtained, and the enabled 2-step verification will be added to the page.
Step 2: Create an app for integration
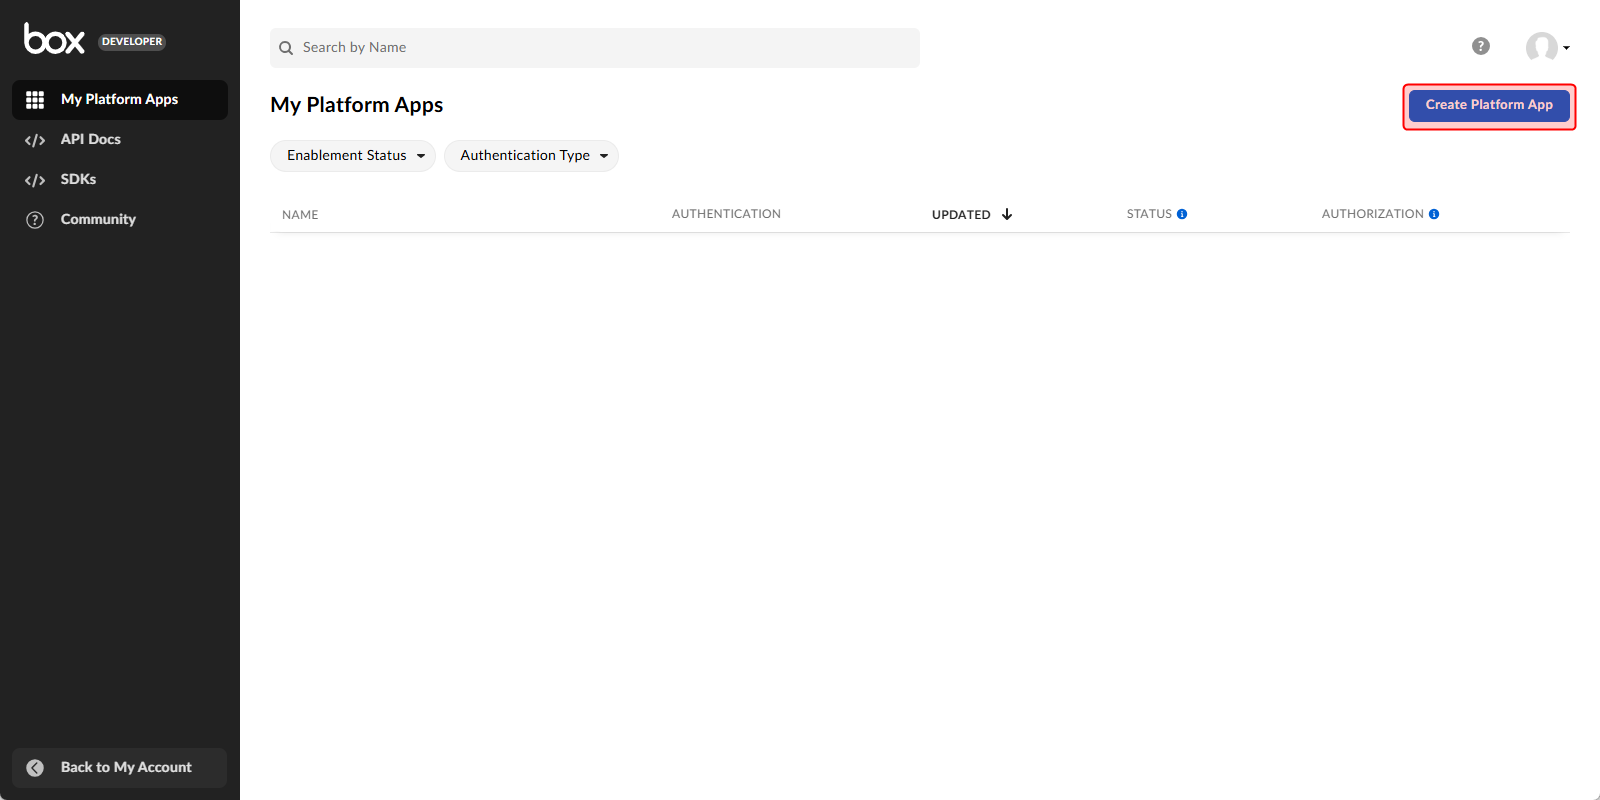
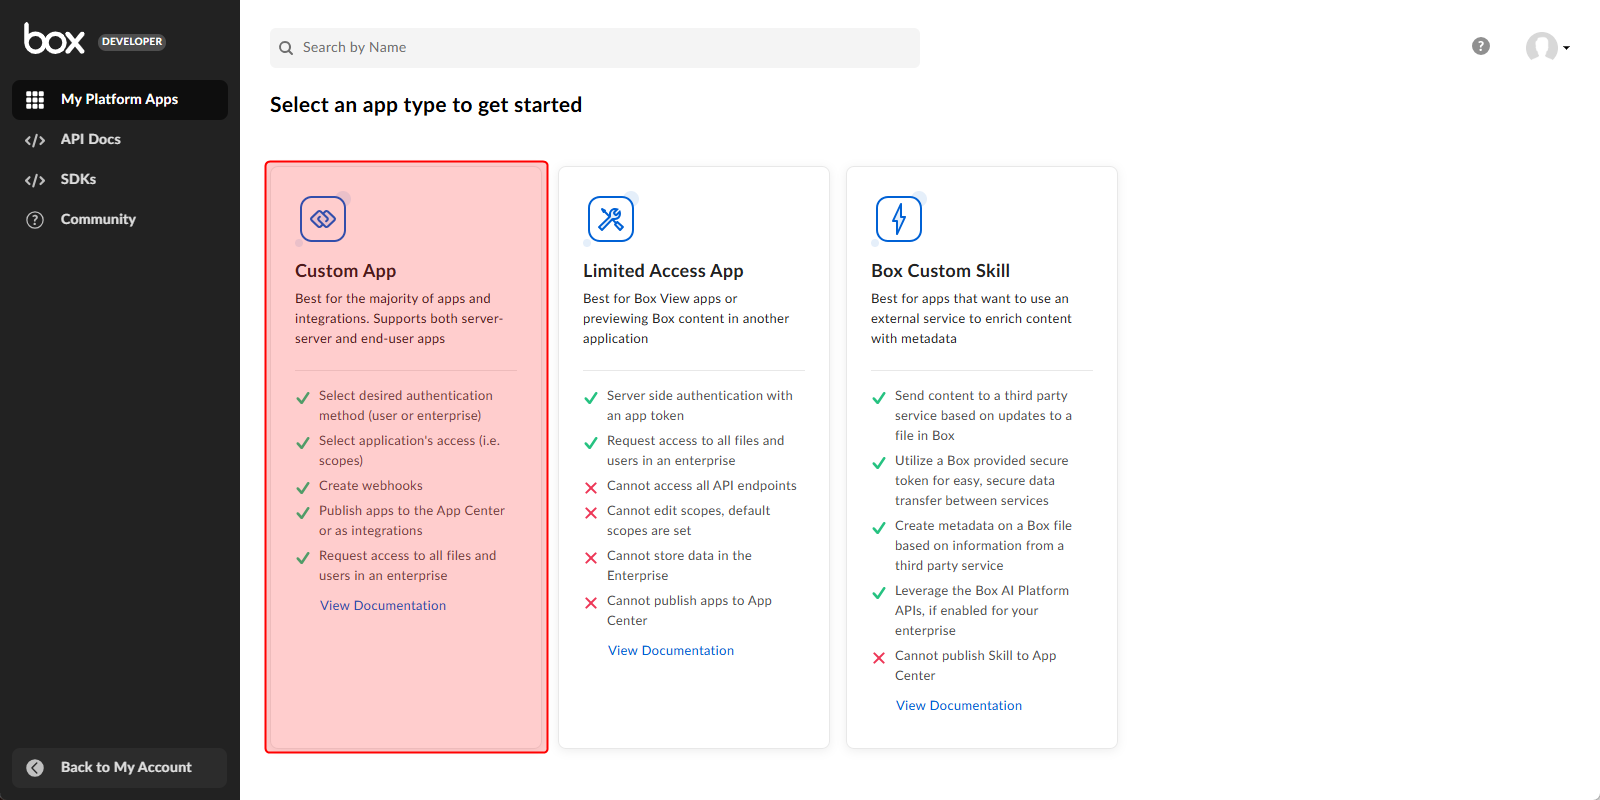
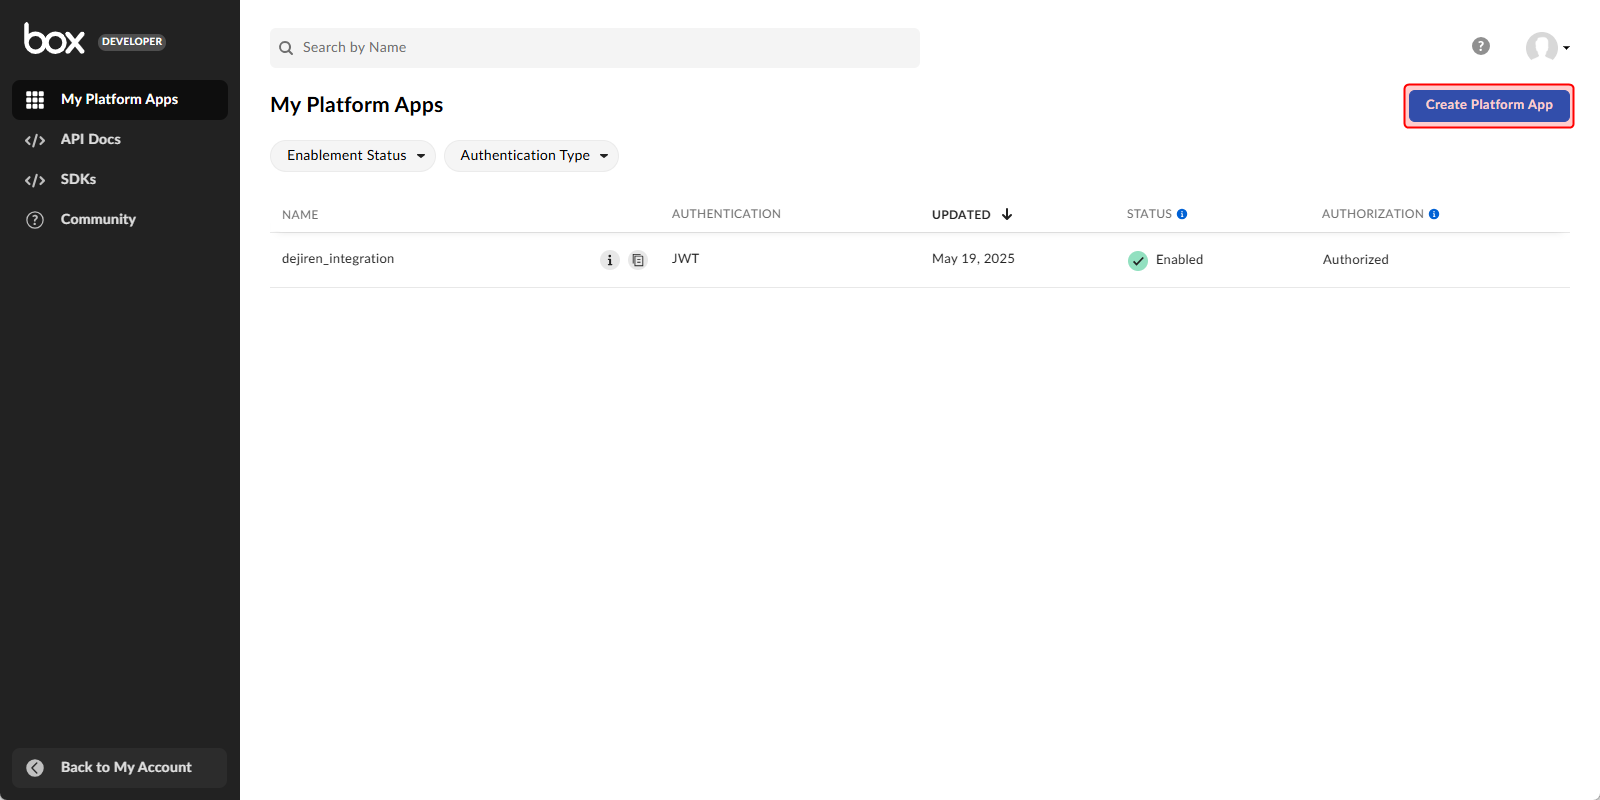
- Open the Box Dev Console and click Create Platform App.
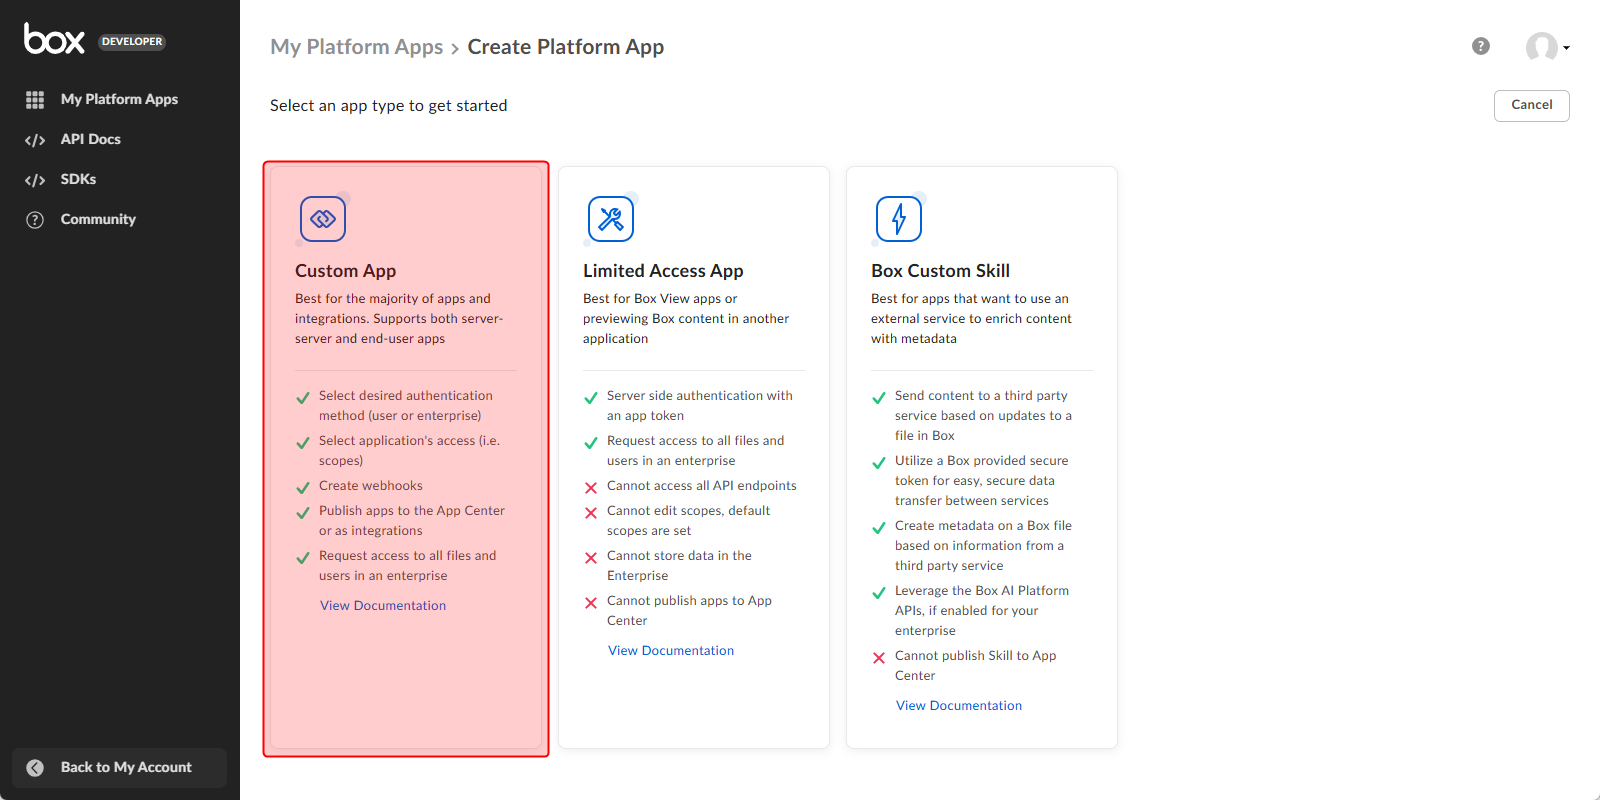
- Click Custom App.
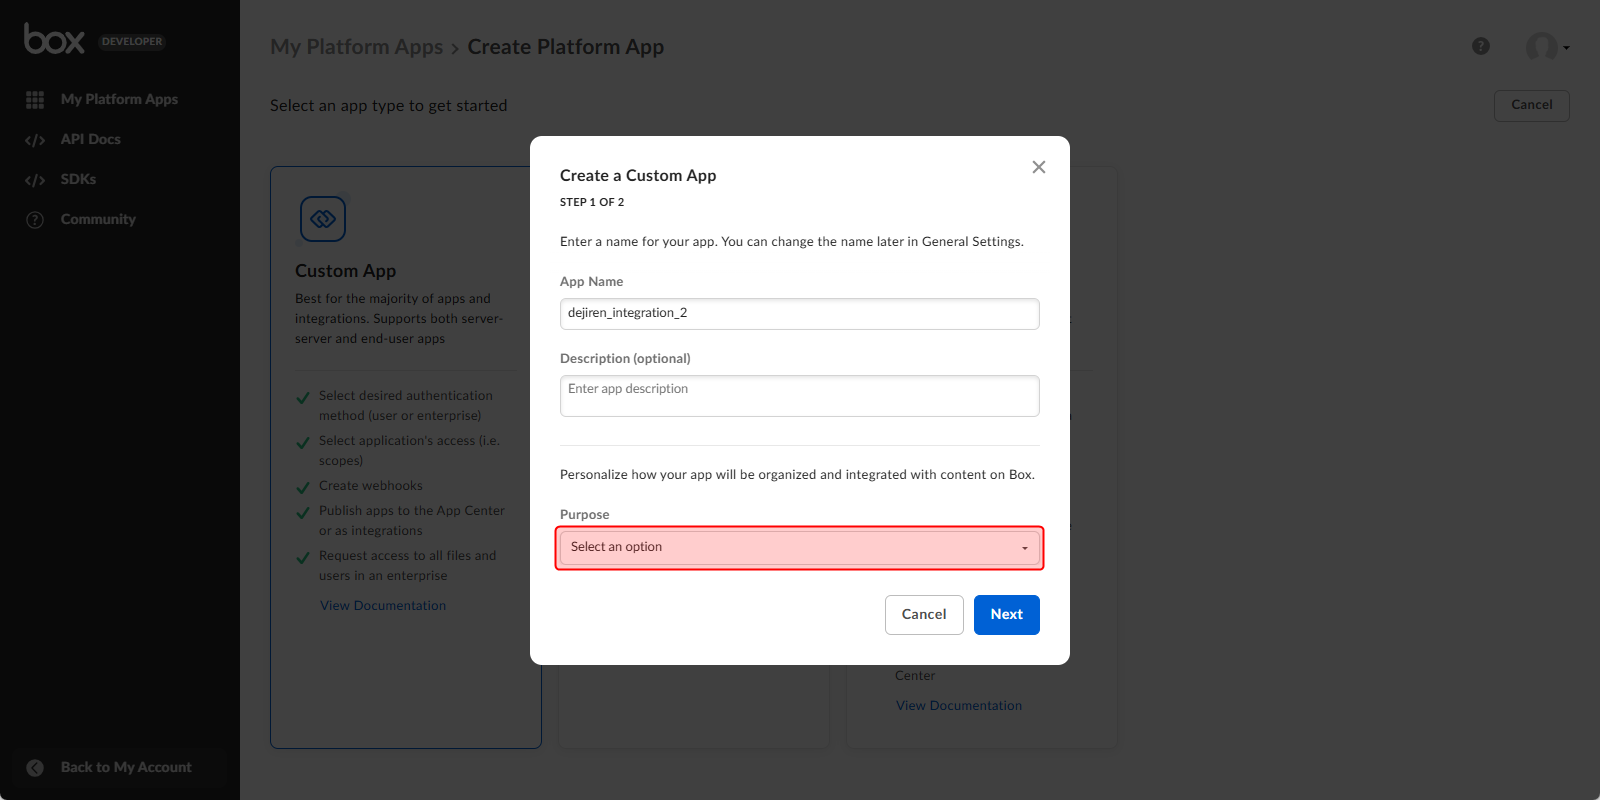
- Enter any name in App Name.
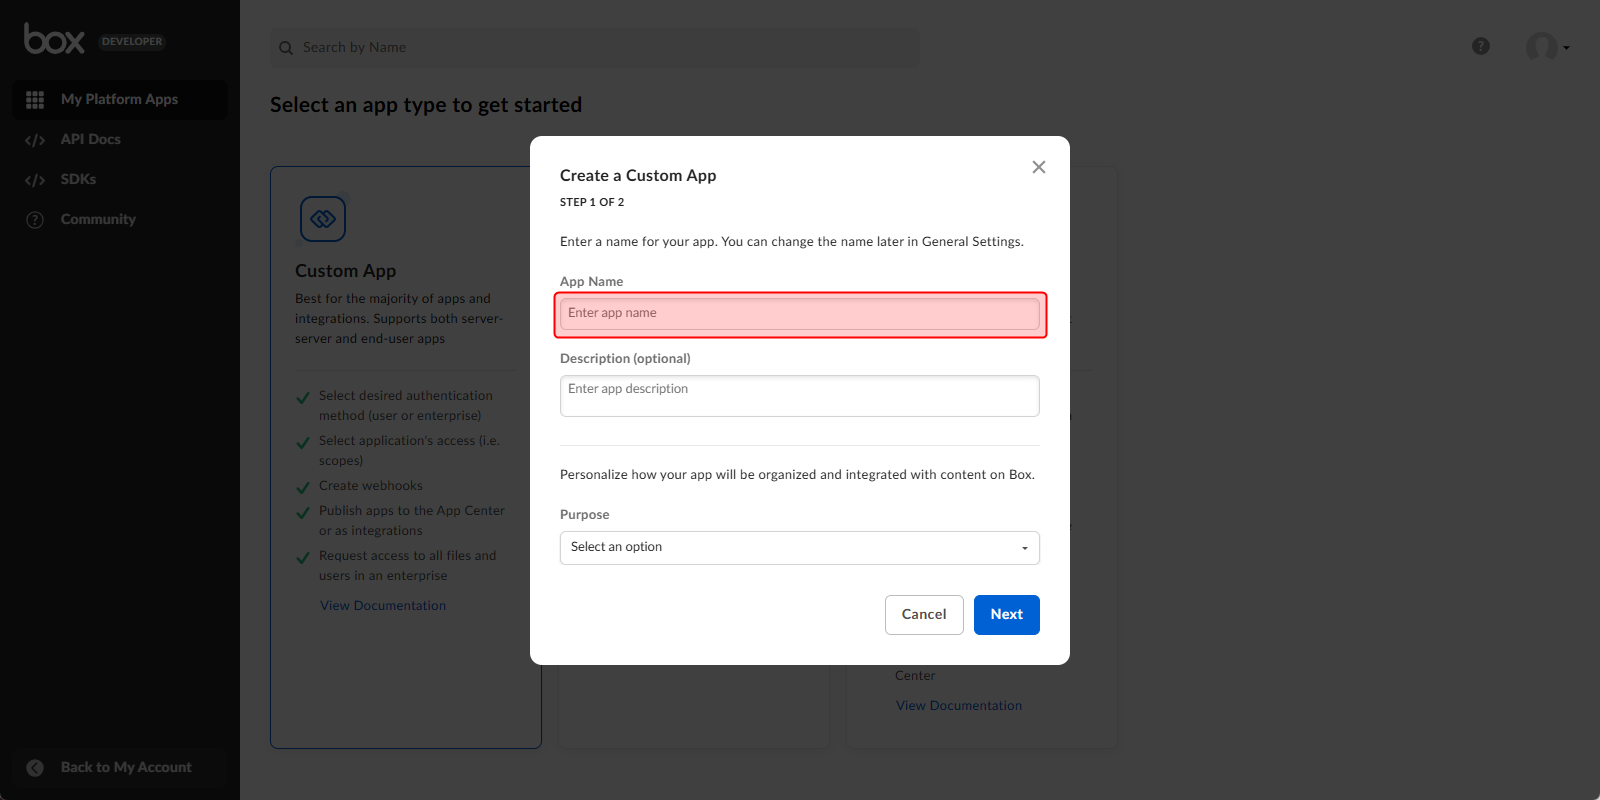
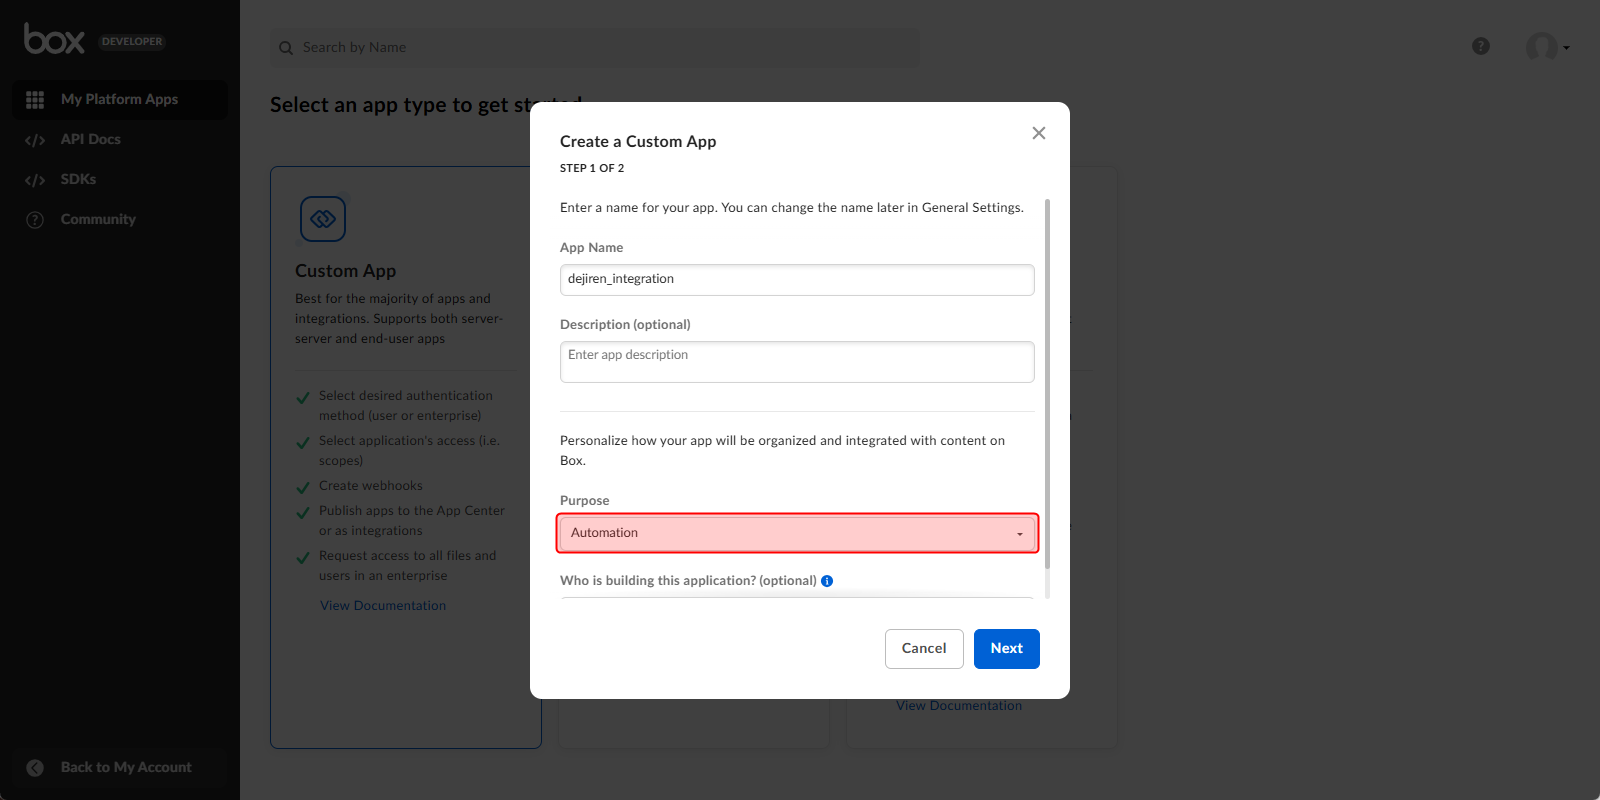
- Select Purpose and click Next.
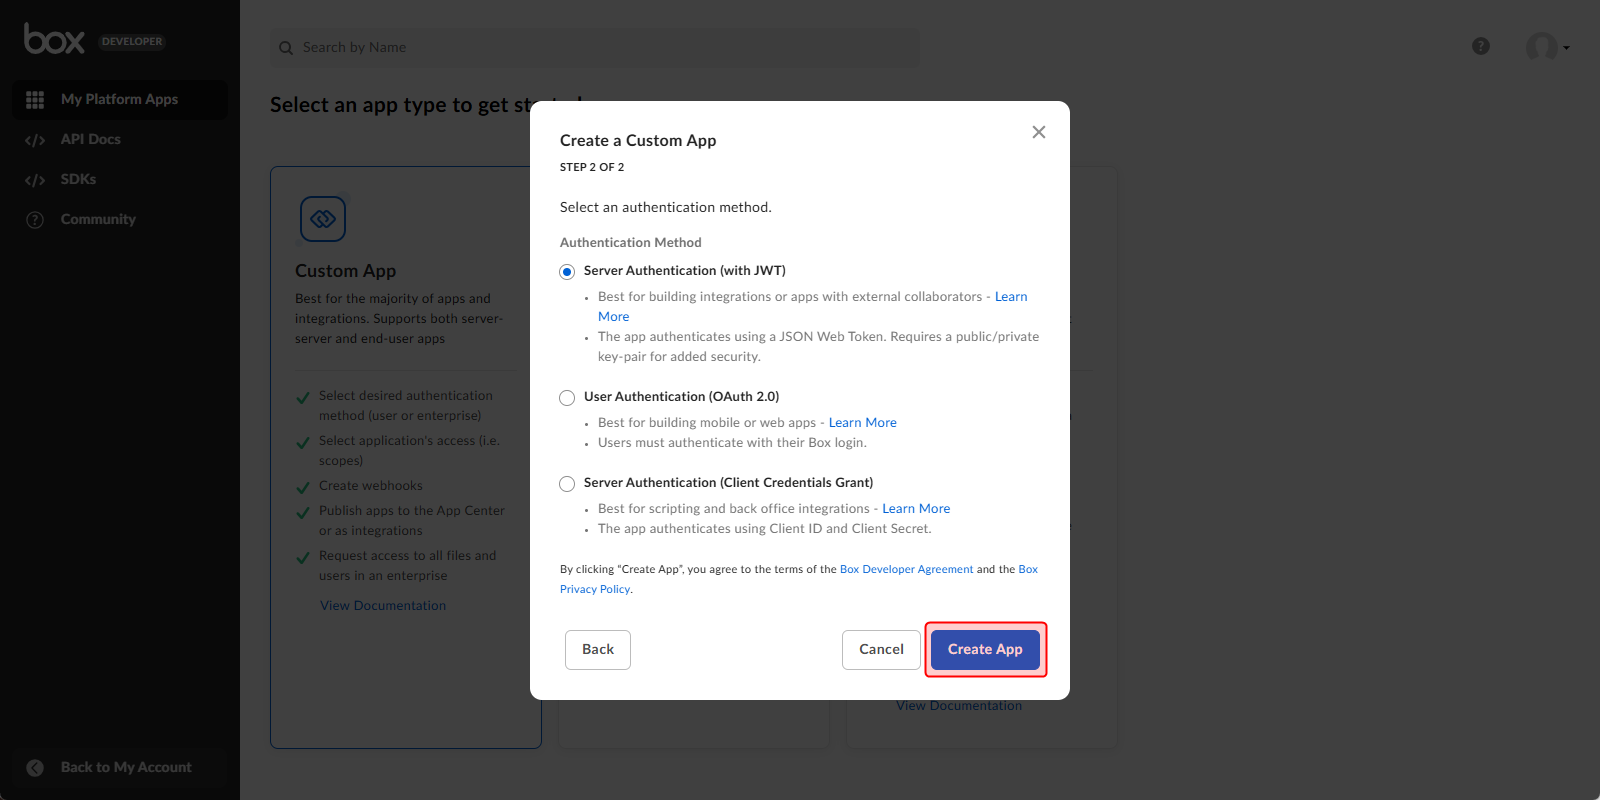
- Select Server Authentication (with JWT).
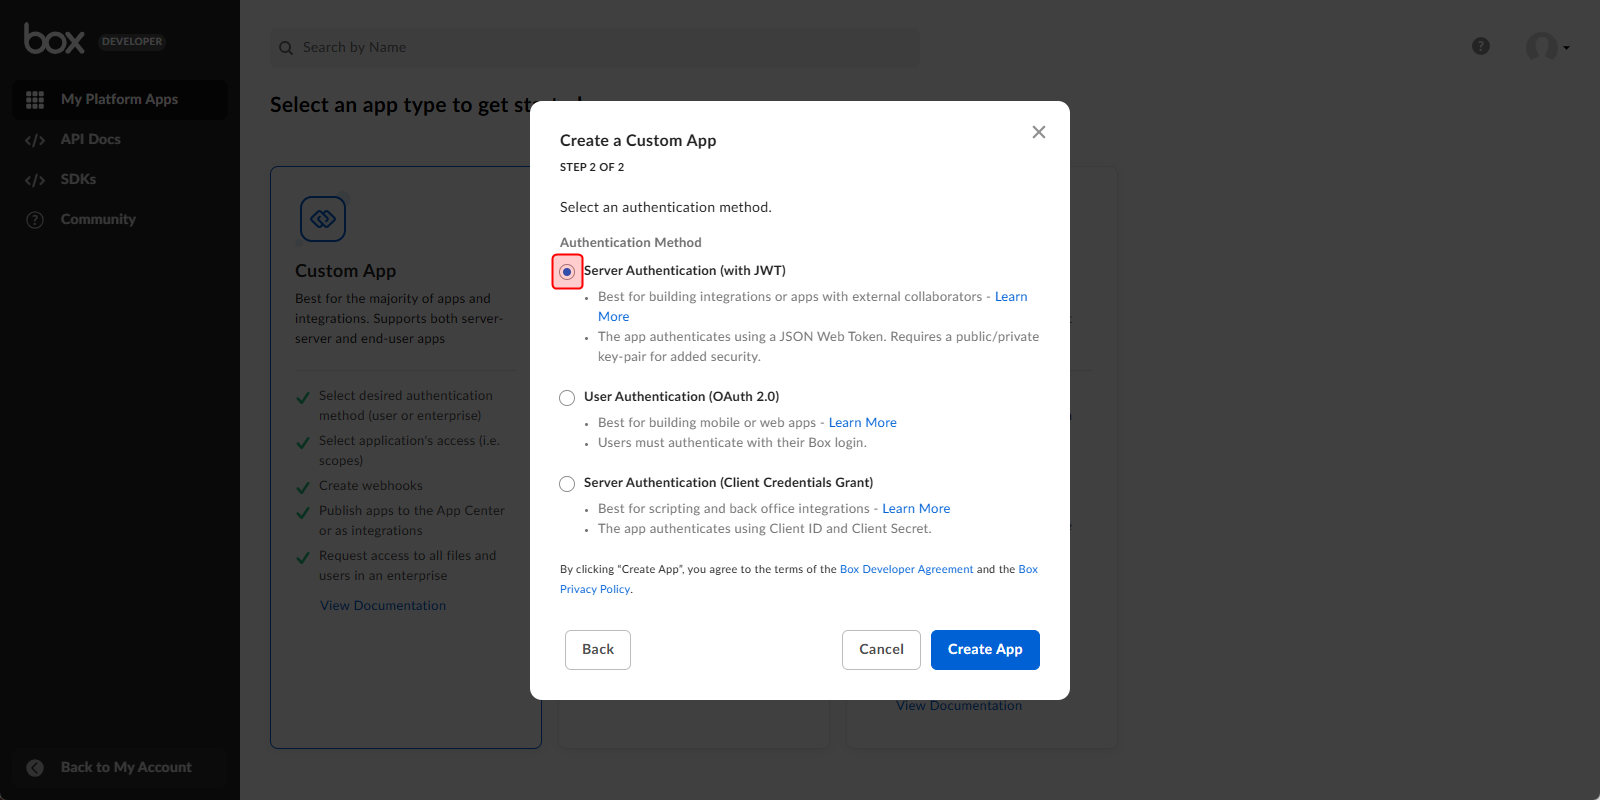
- Click Create App.
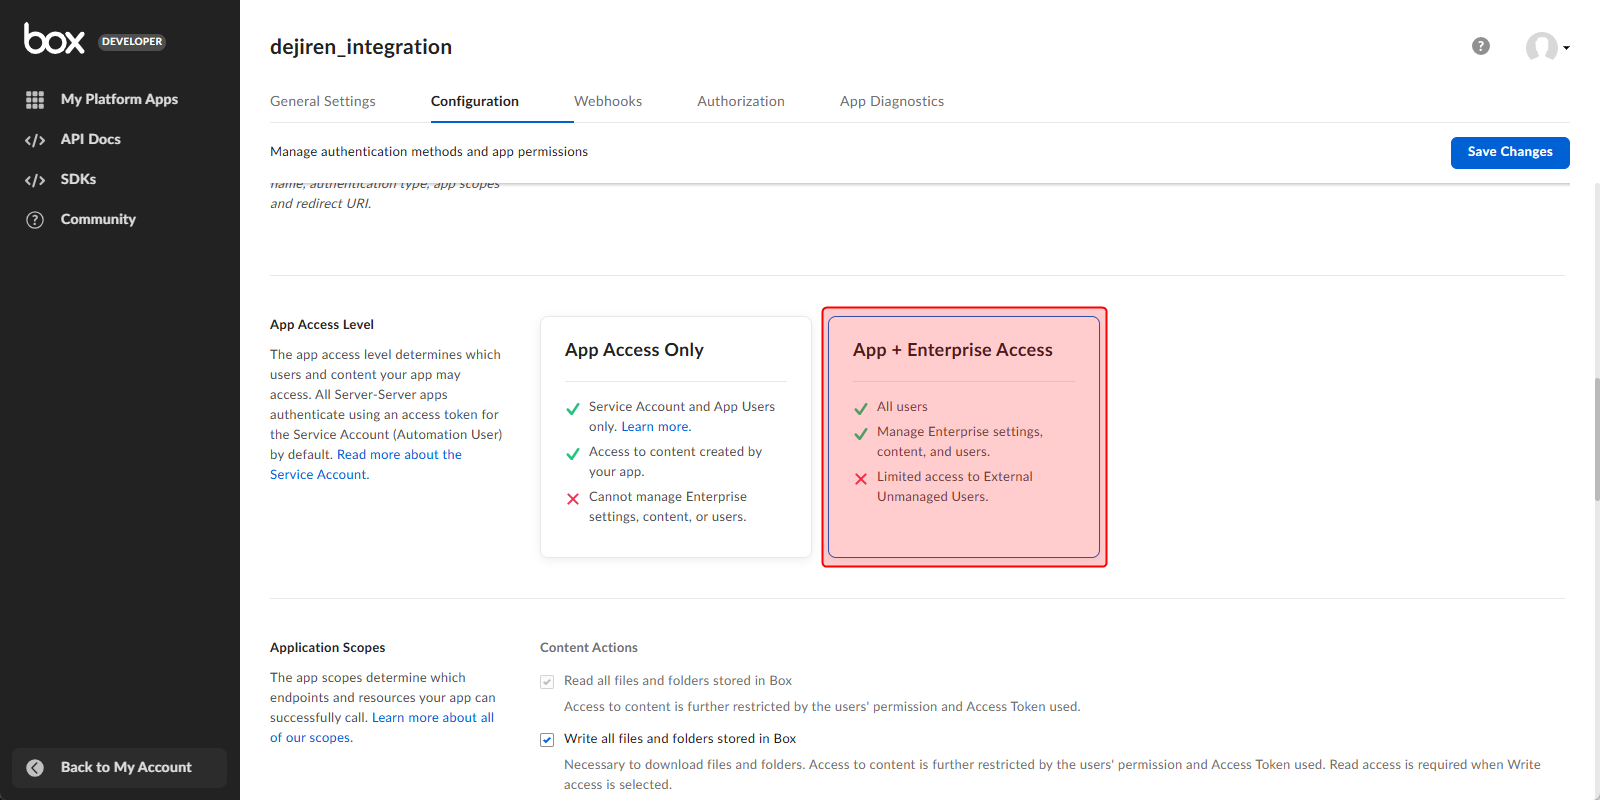
- Scroll to the middle of the Configuration tab.
In App Access Level, click App + Enterprise Access.
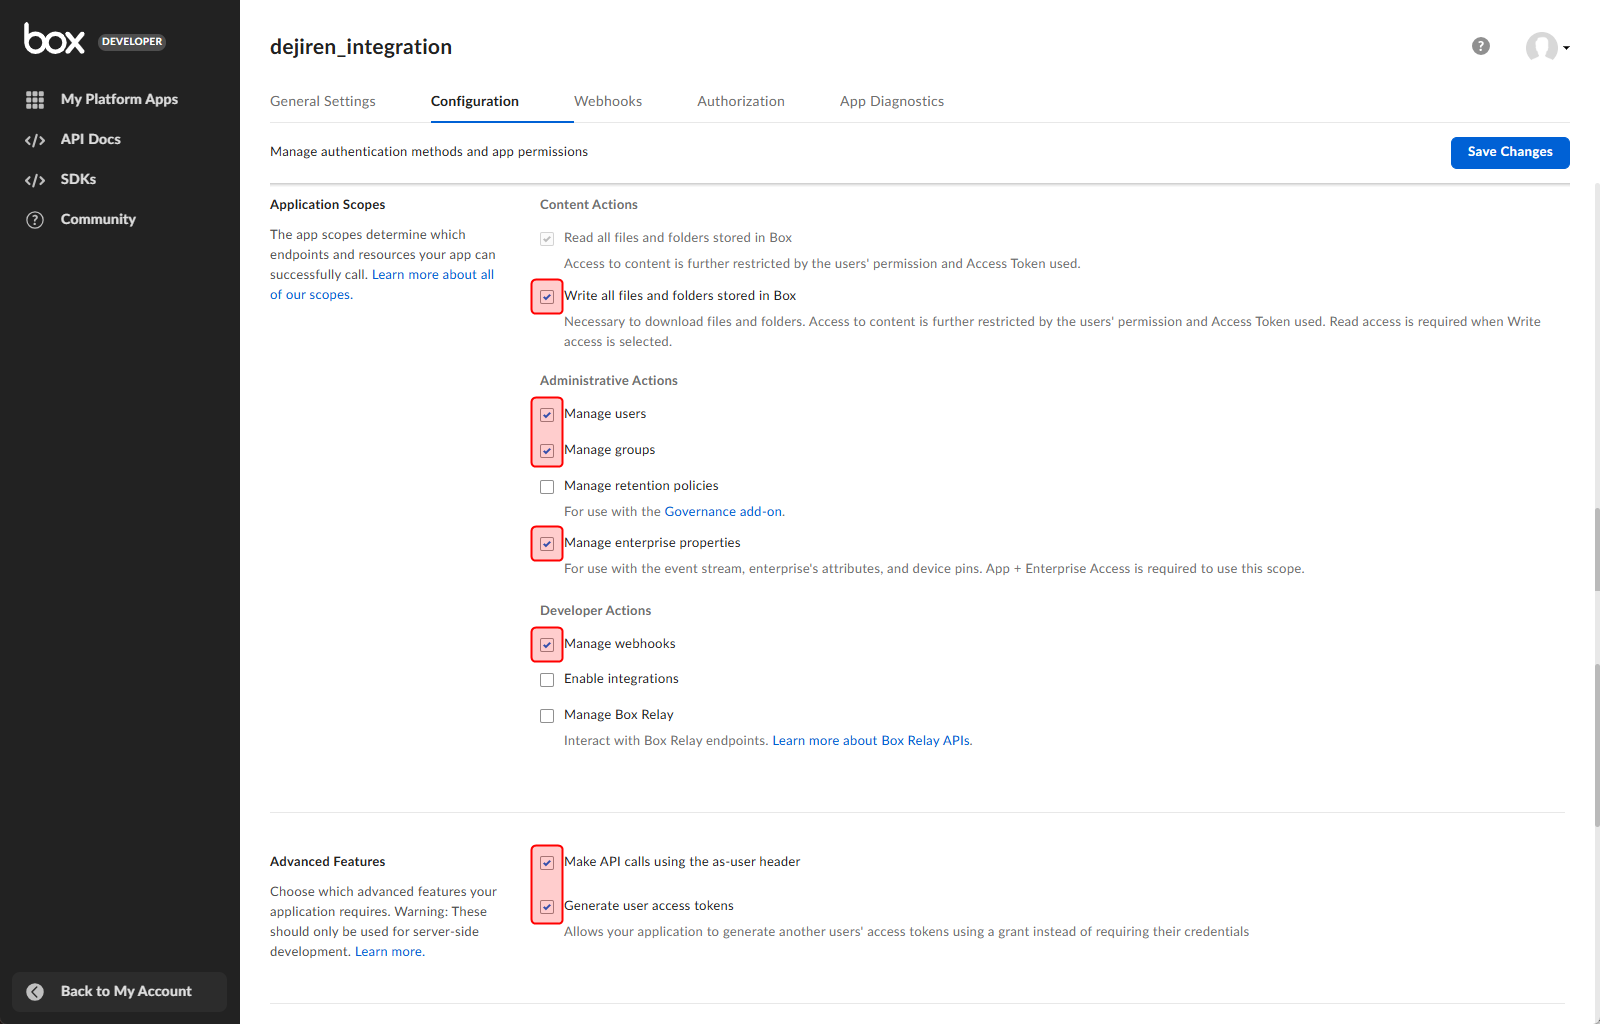
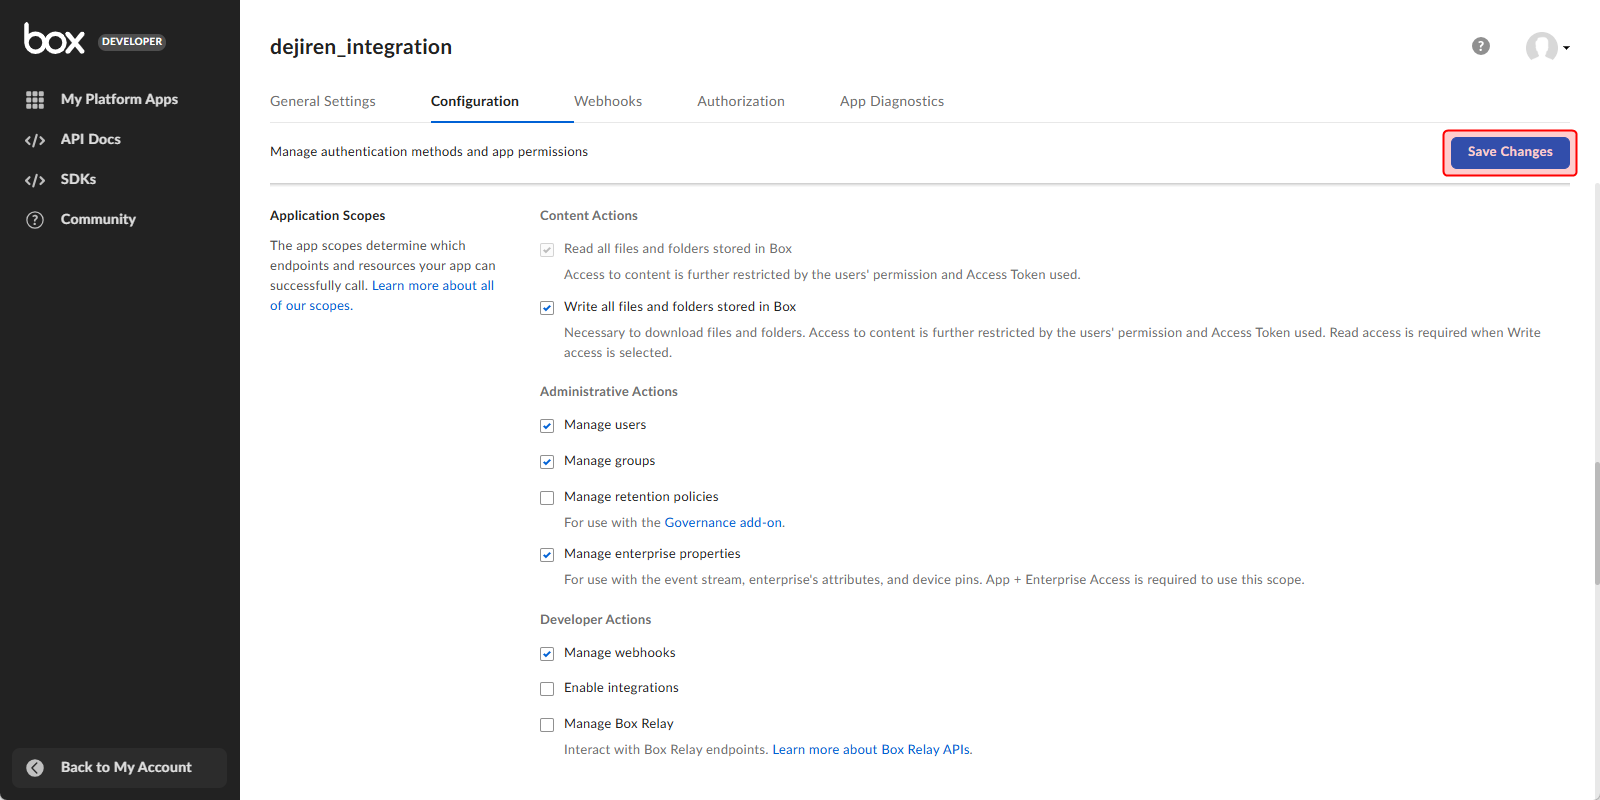
- Select the following checkboxes for Application Scopes and Advanced Features.
Configuration Setting category Settings Application
ScopesContent Actions Write all files and folders stored in Box Administrative Actions Manage users Manage groups Manage enterprise properties Developer Actions Manage webhooks Advanced Features Make API calls using the as-user header Generate user access tokens
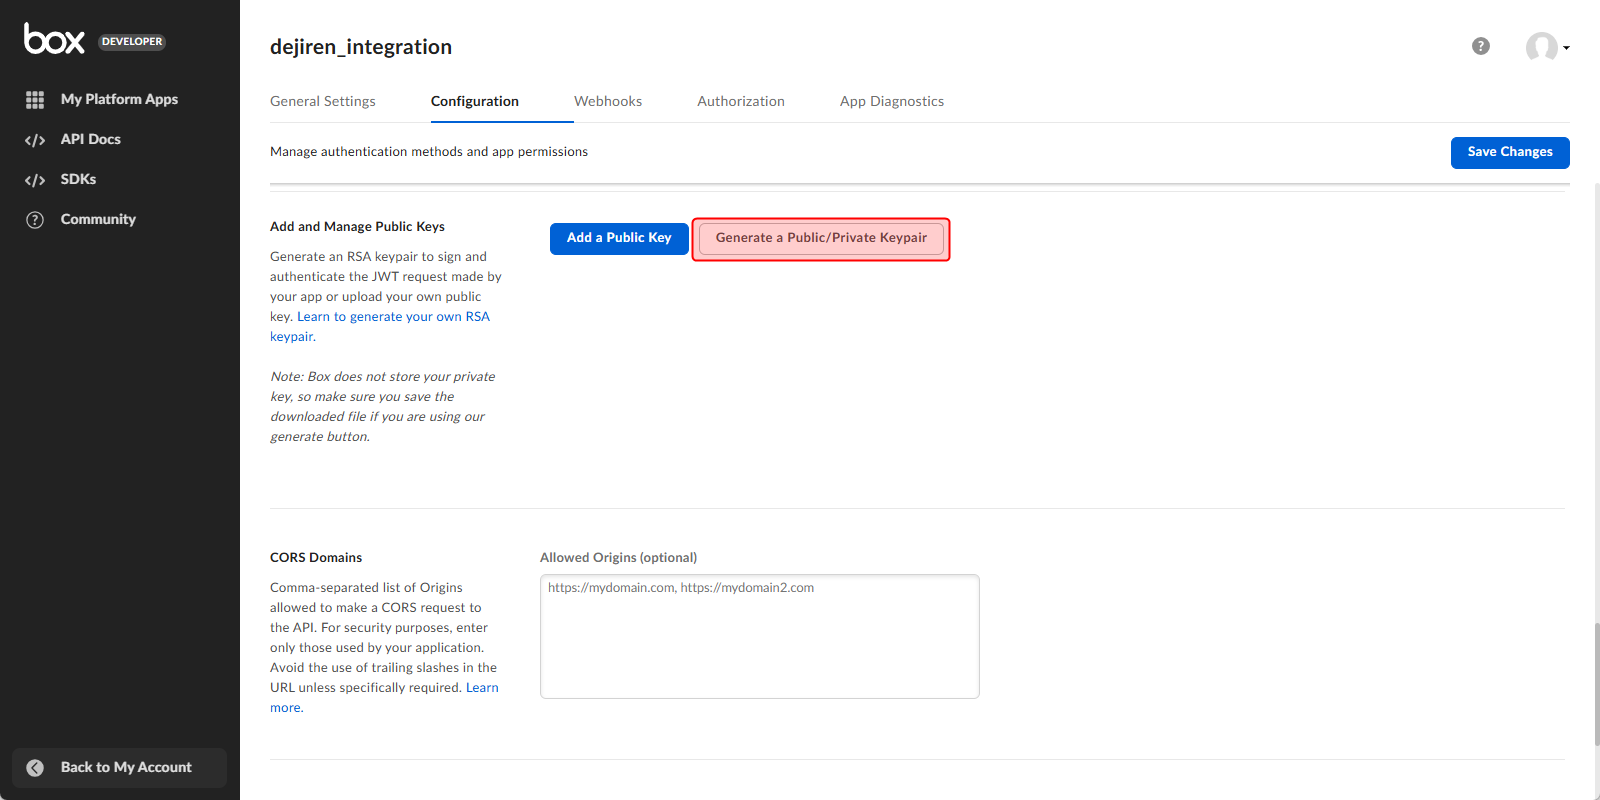
- Scroll down to Add and Manage Public Keys and click Generate a Public/Private Keypair.
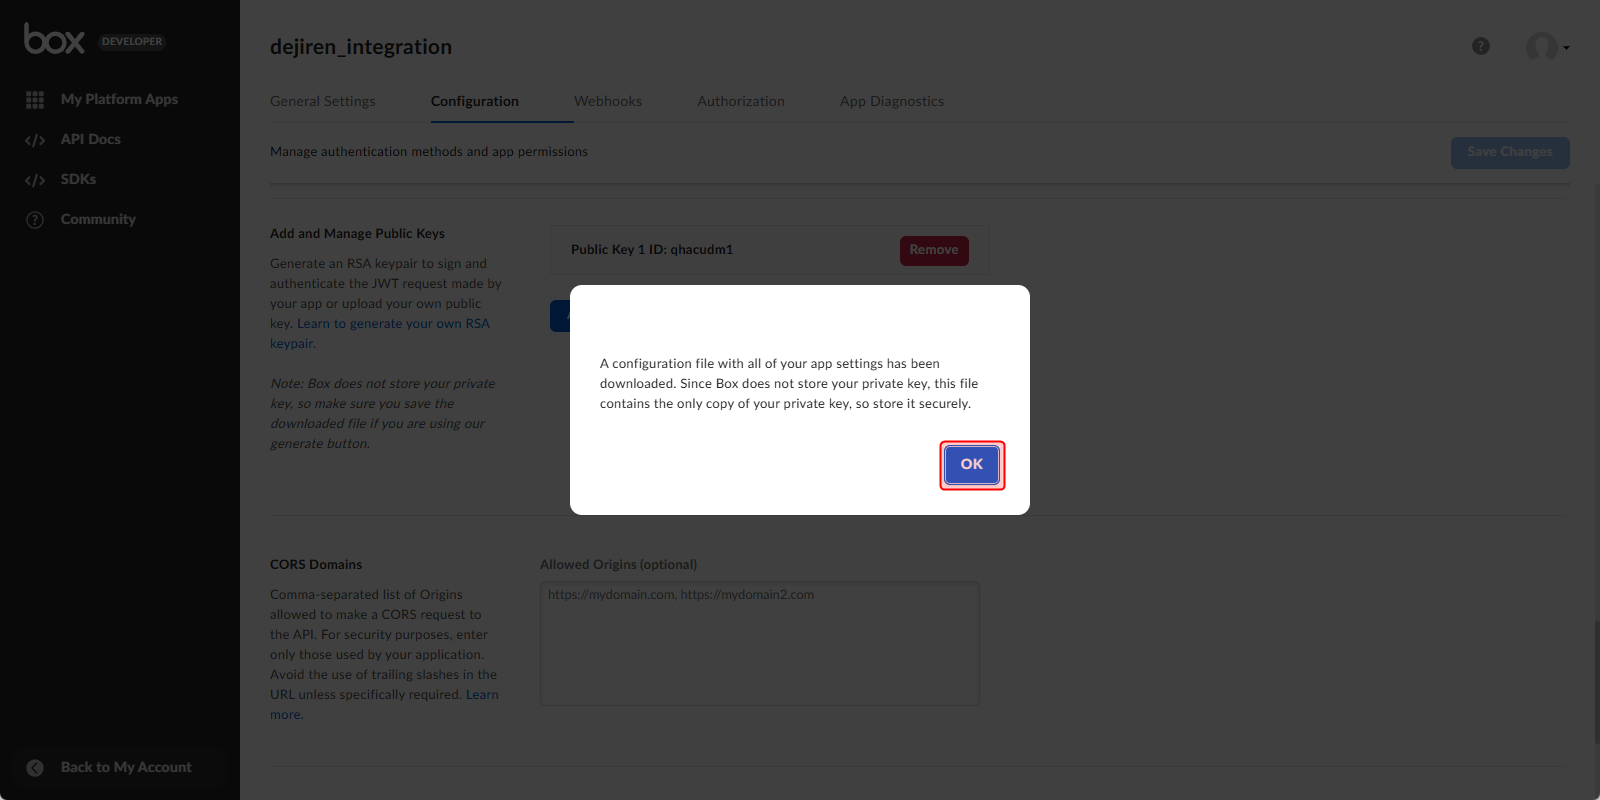
The configuration file will be downloaded to your PC.
(This file will be used later in dejiren’s connection settings. )
- Click OK on the dialog about downloading the configuration file.
- Click Save Changes in the upper right corner of the page.
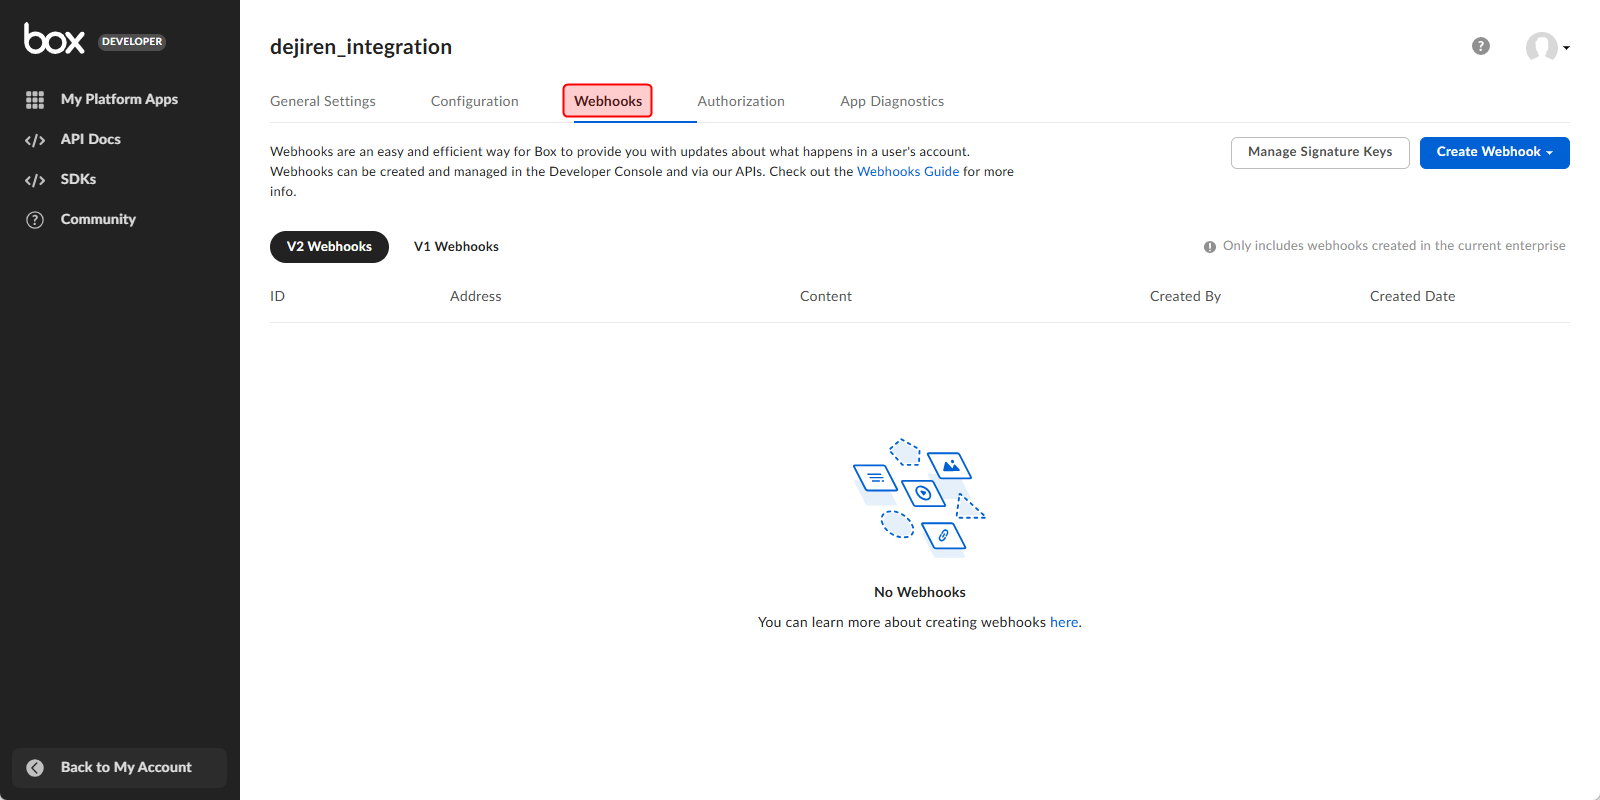
- Click Webhooks at the top of the page to show the Webhooks tab.
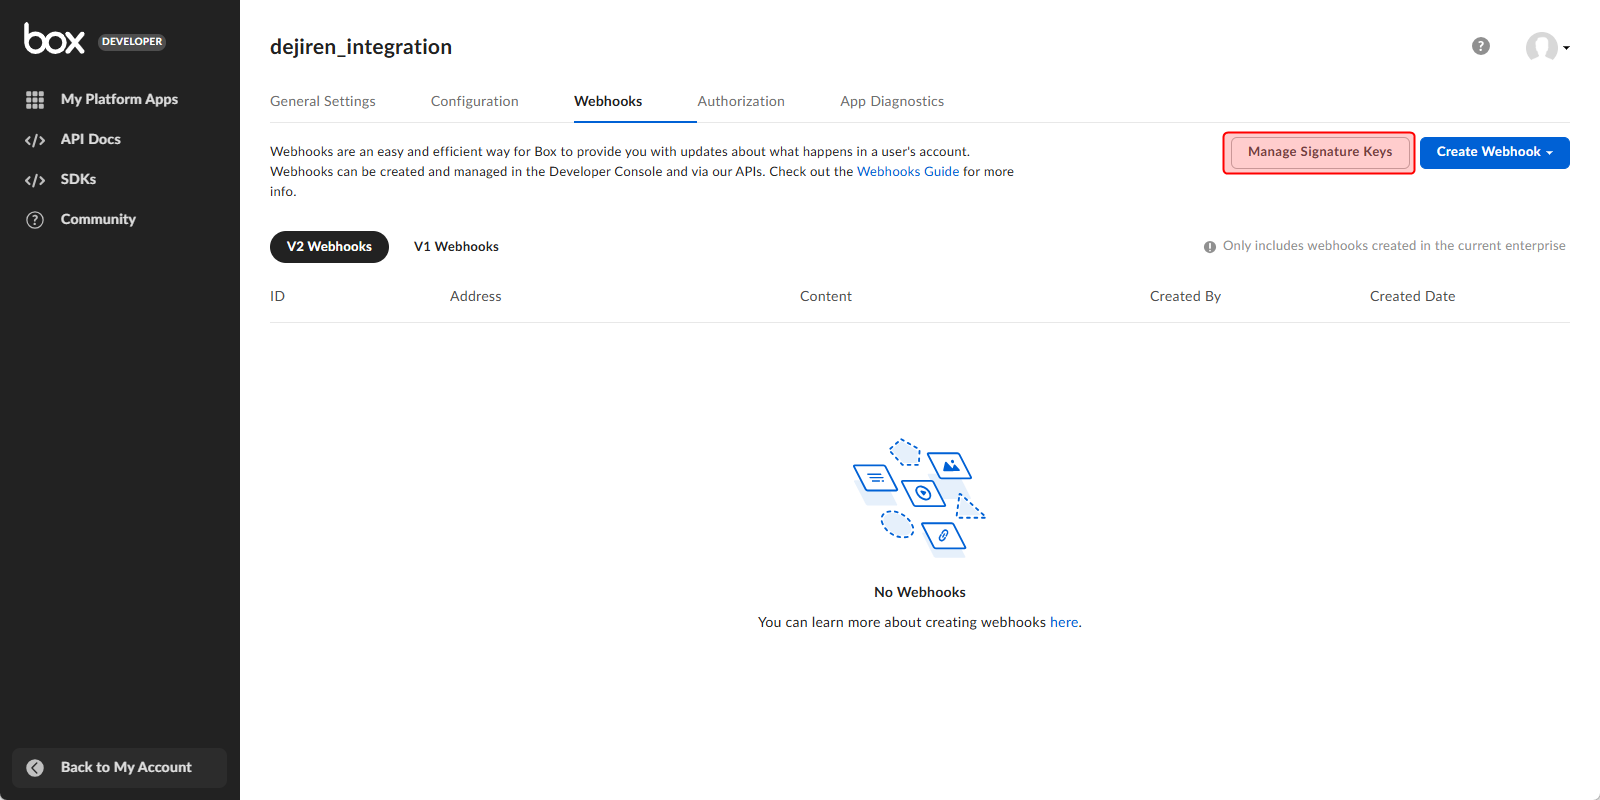
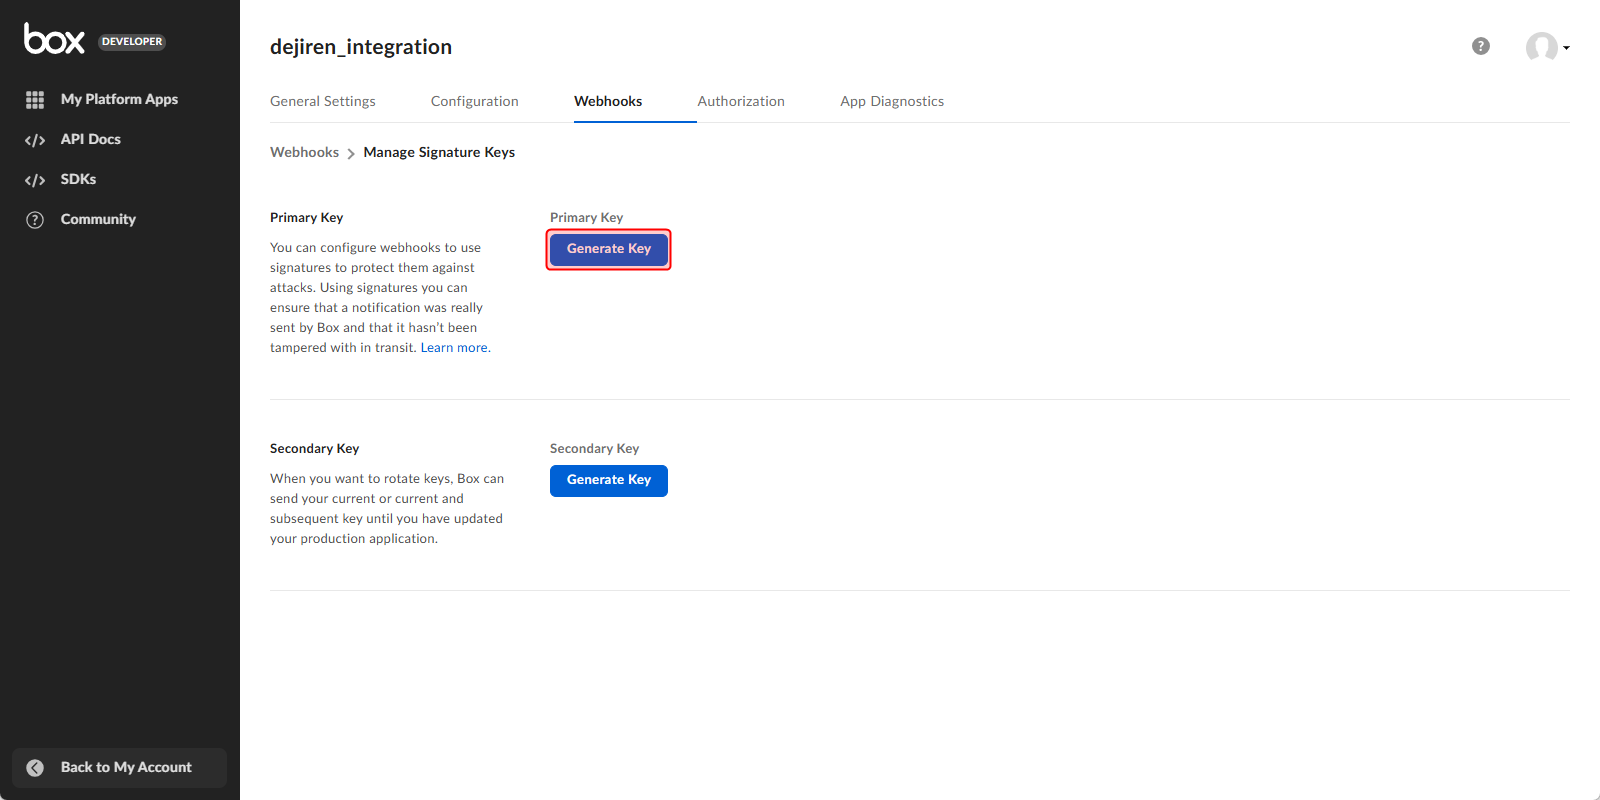
- Click Manage Signature Keys on the right side of the page.
- Under Primary Key, click Generate Key.
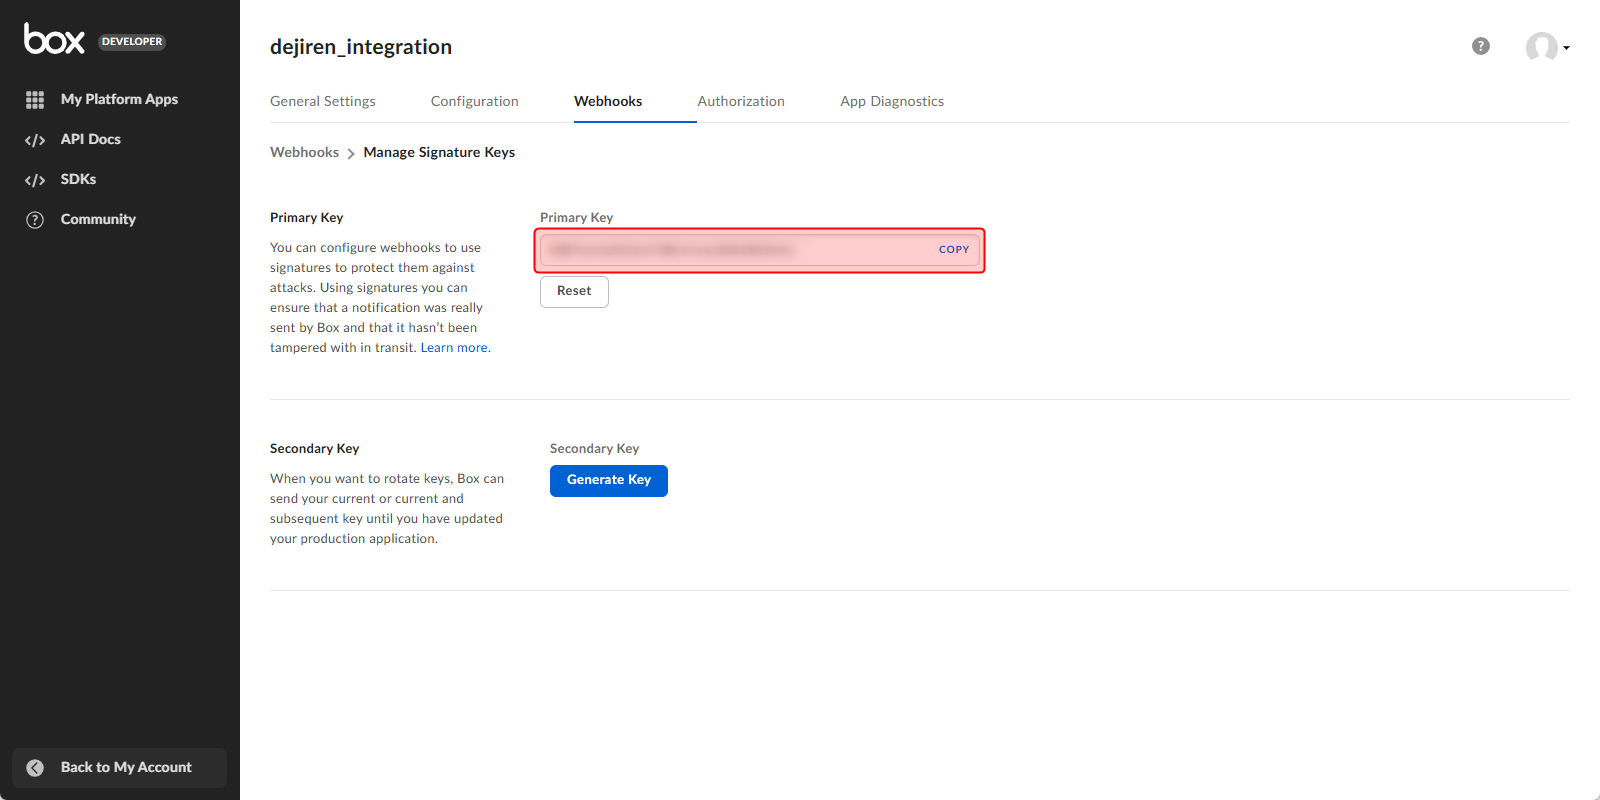
- Note the generated key string of Primary Key.
(This string will be used later in dejiren’s connection settings.)
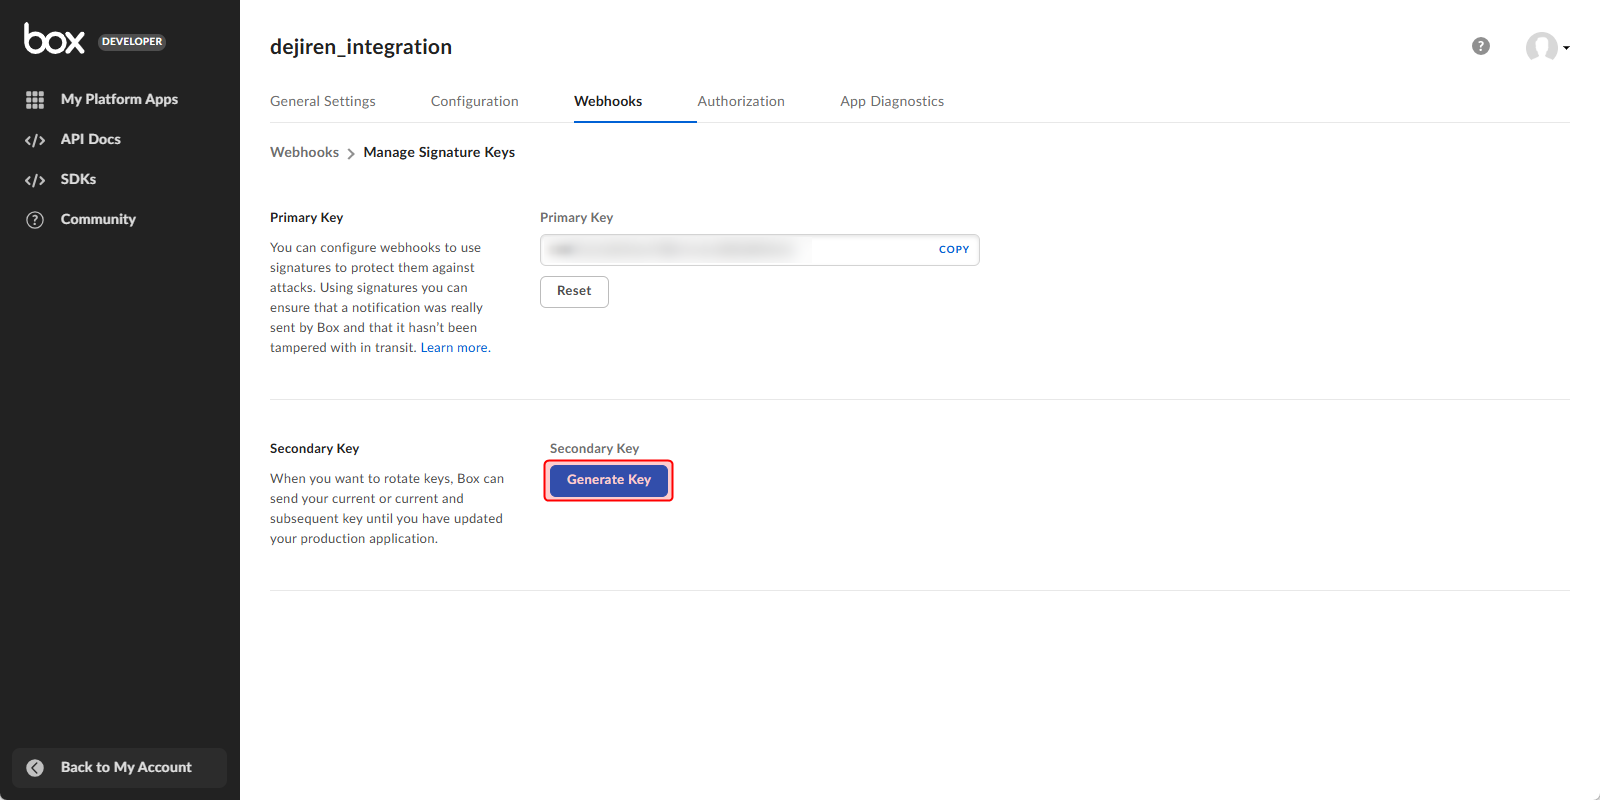
- Under Secondary Key, click Generate Key.
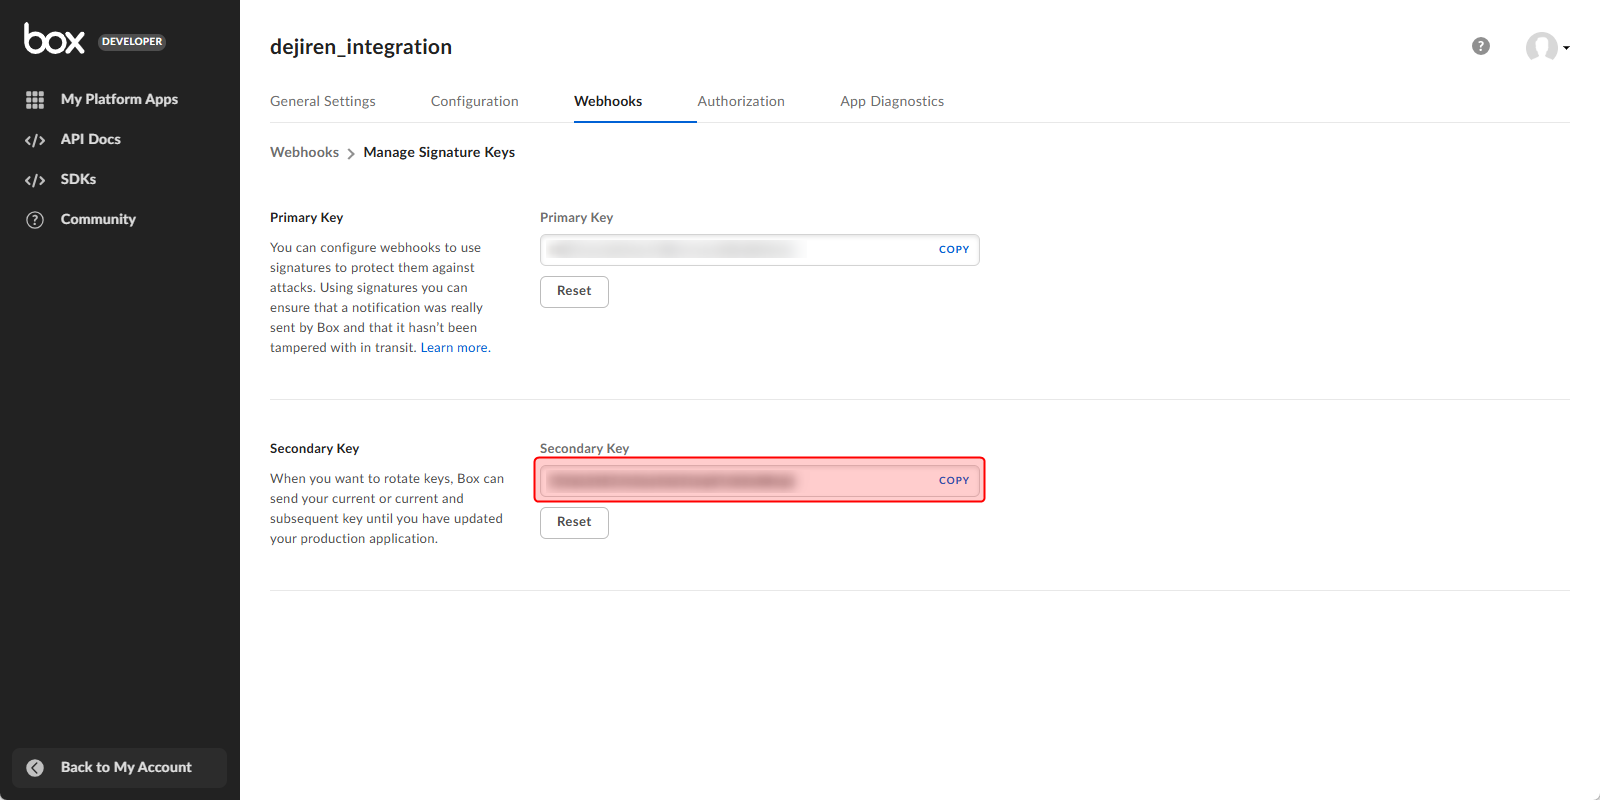
- Note the generated key string of Secondary Key.
(This string will be used later in dejiren’s connection settings.)
Step 3: Request authorization for the created app
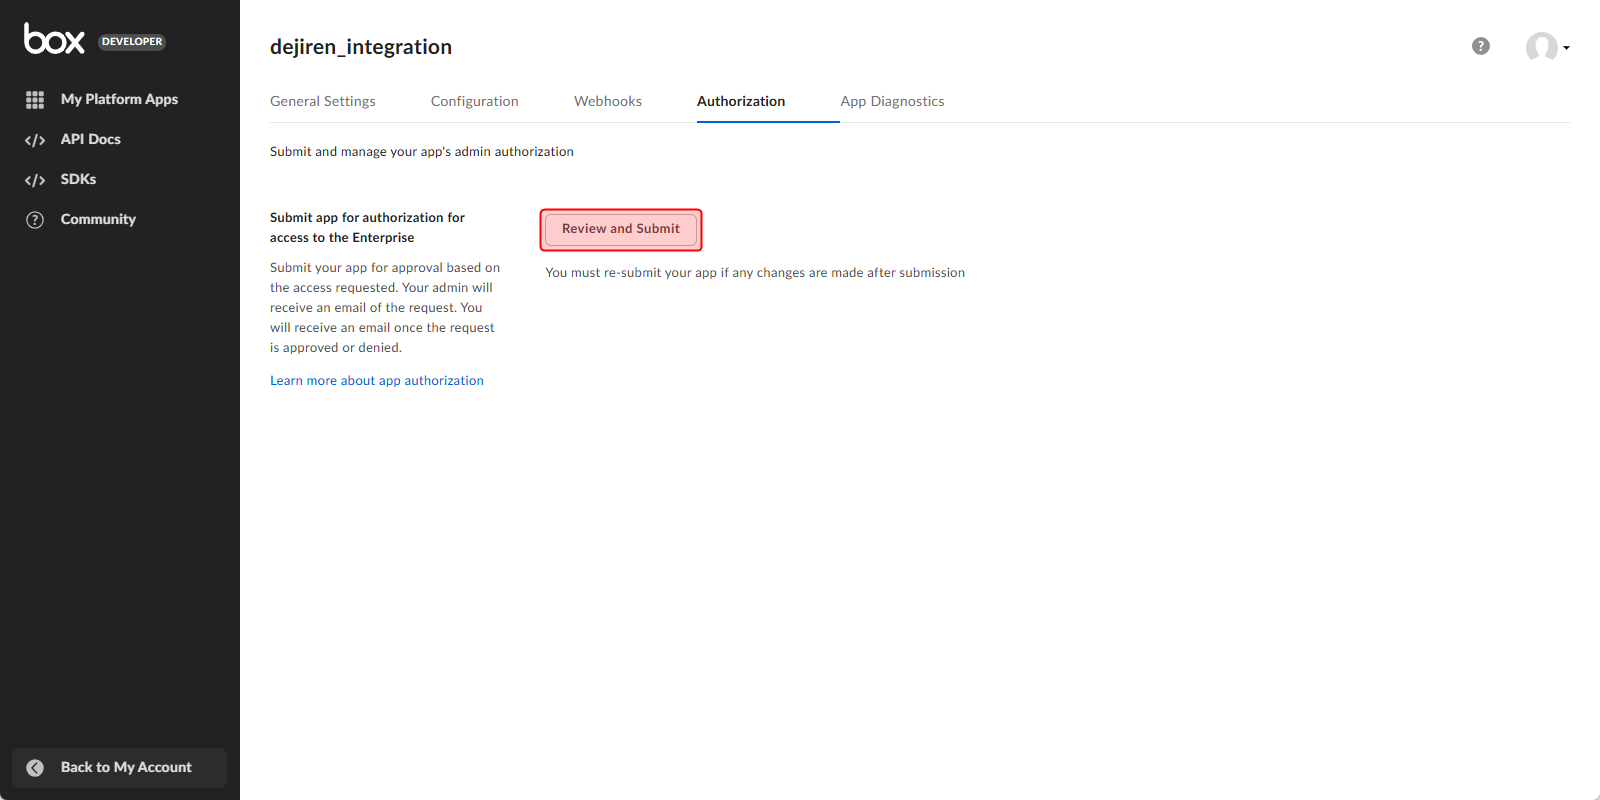
- Click Authorization at the top of the page to show the Authorization tab.
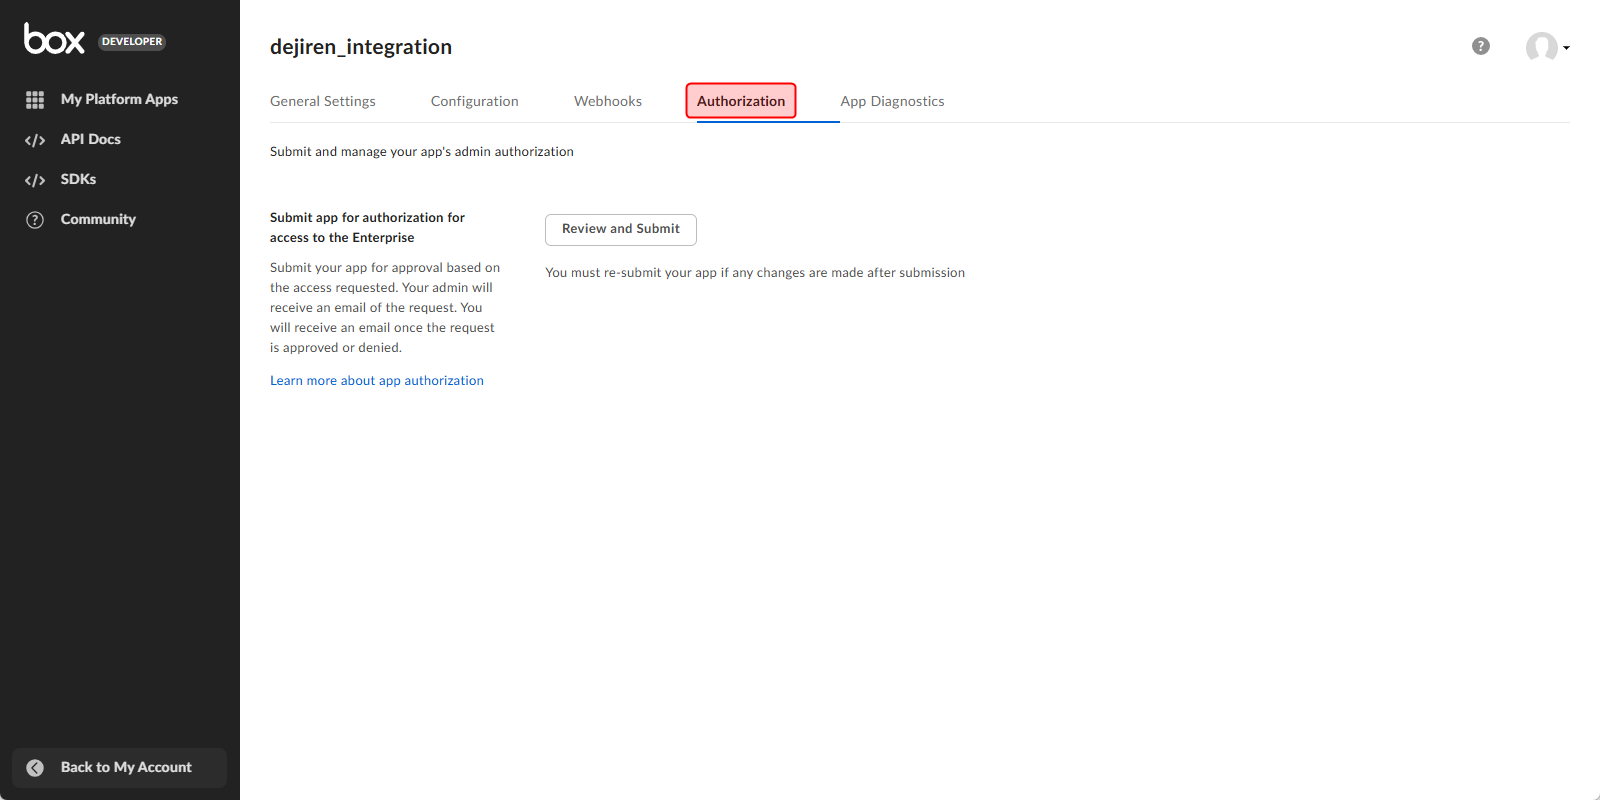
- Click Review and Submit.
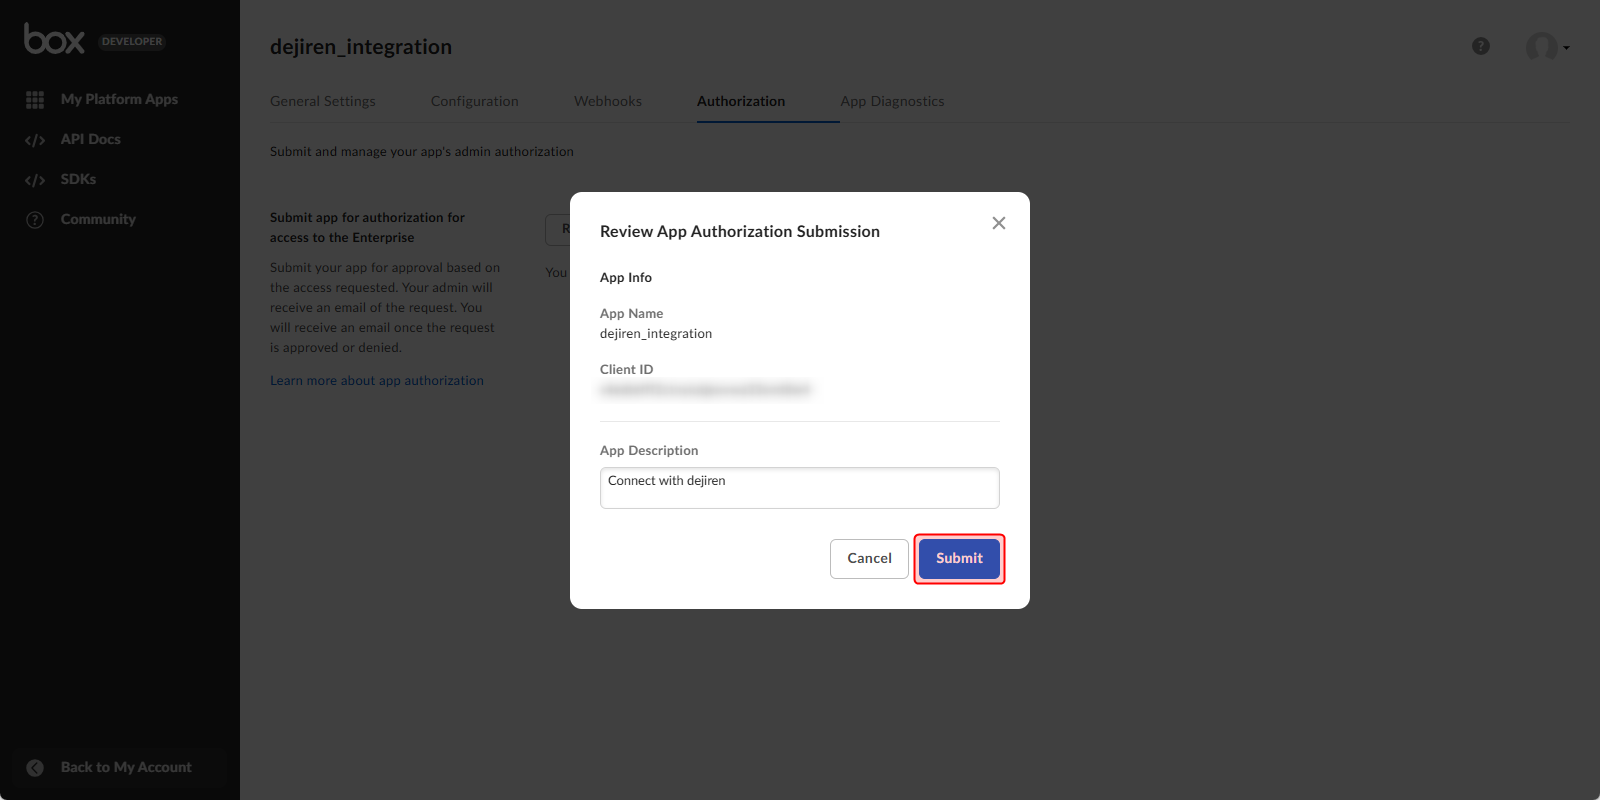
- Enter any description in the App Description field.
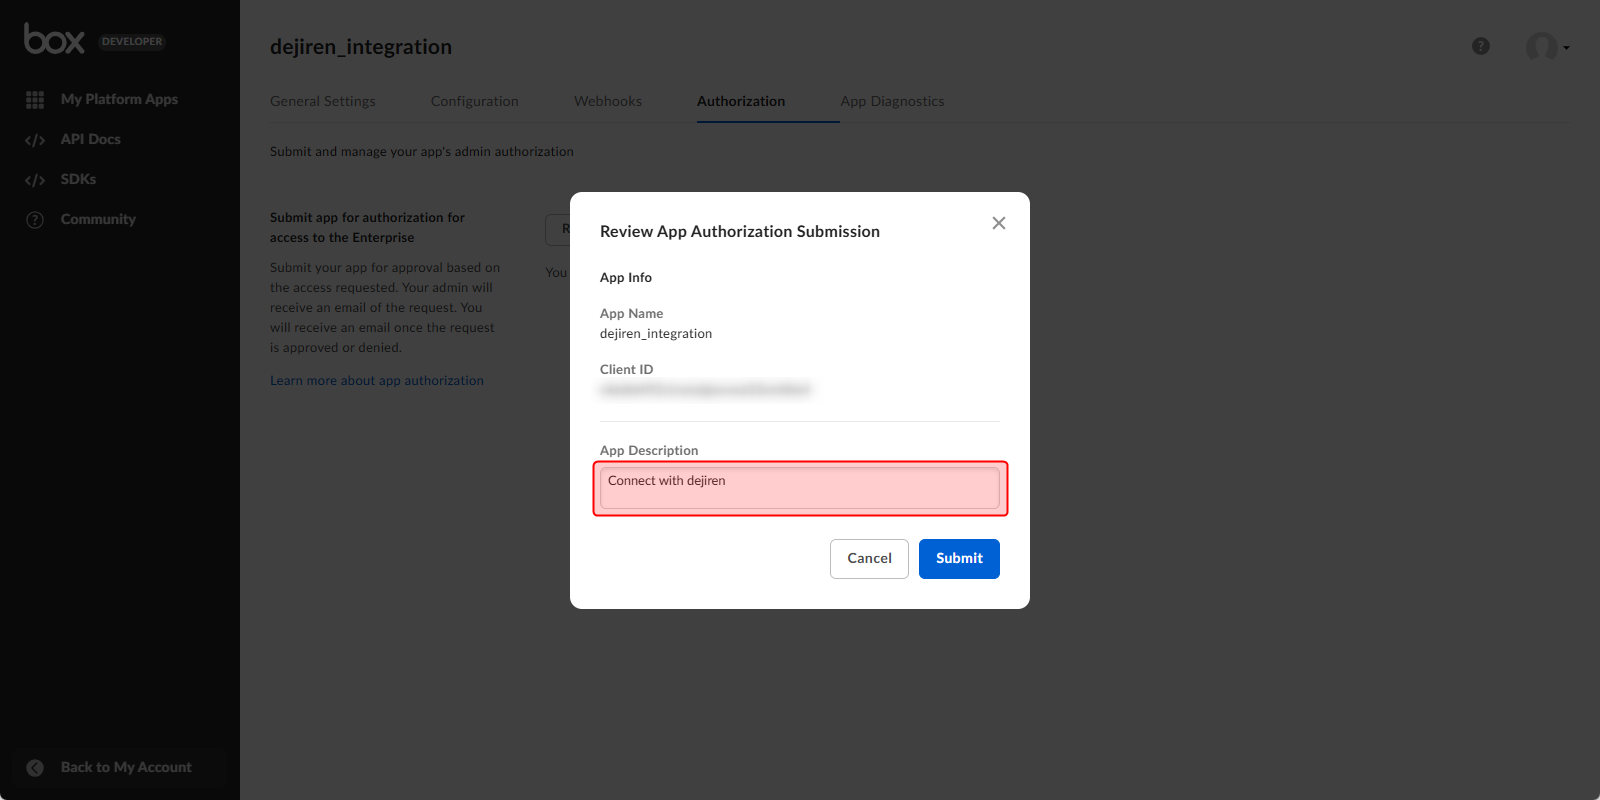
- Click Submit.
Step 4: Authorize the app by admin
To authorize an app, an account with the role of Box admin is required.
If a user other than the admin configure these settings, please ask your Box admin to authorize the app by following the steps below.
- Open the Box Admin Console.
- In the left sidebar, click Integrations.
- At the top of the page, click Platform Apps Manager.
- Click Server Authentication Apps.
- Information about available apps (including authorization status and enablement status) will be displayed.
- Hover over the app and click View.
- Authorization and enablement options will appear.
- Review the authorization and enablement options in question and click Authorize.
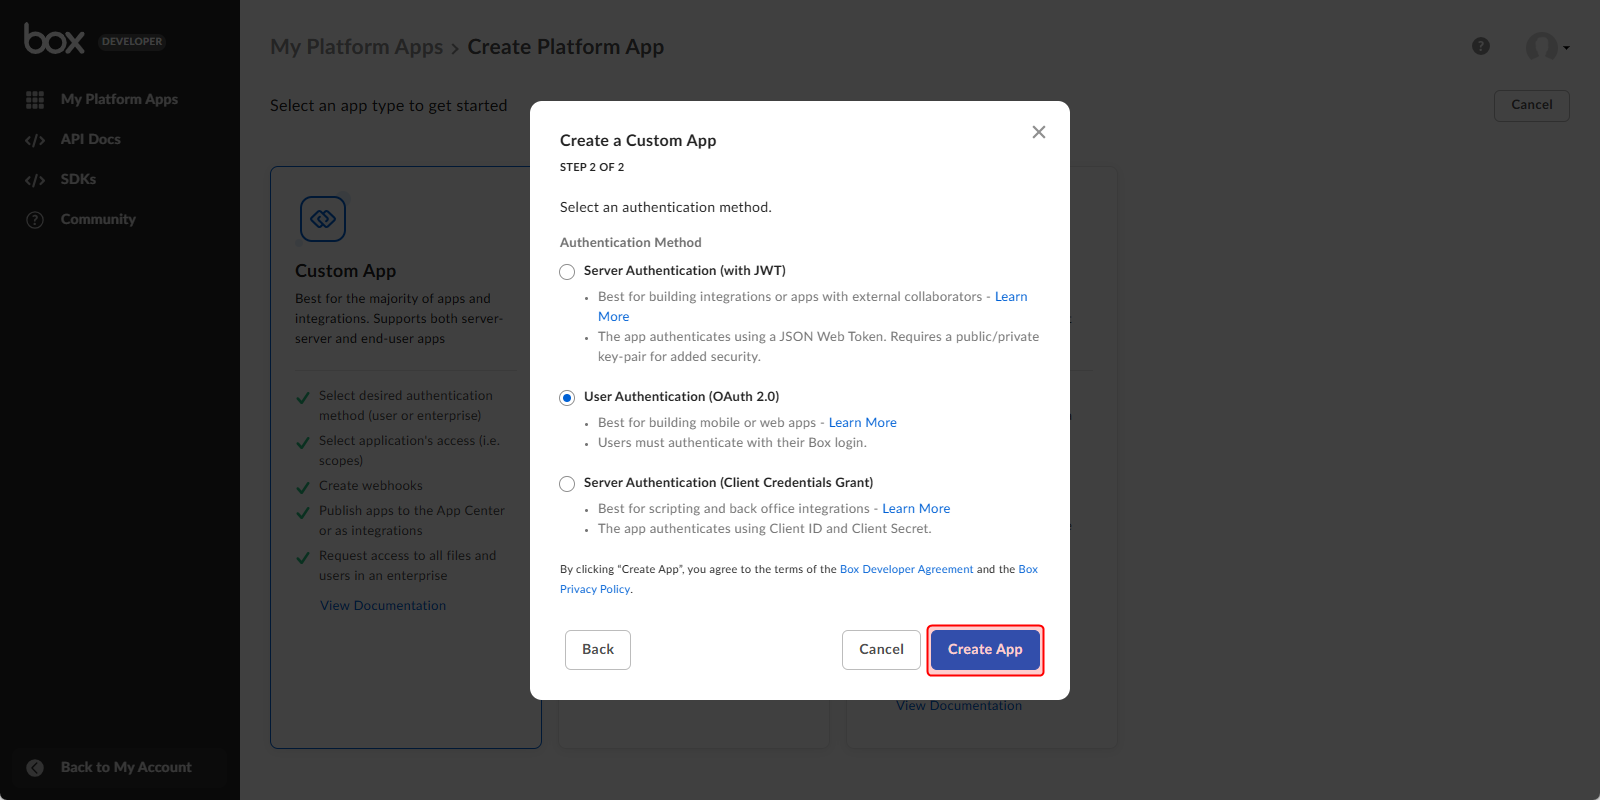
Step 5: Create an app for personal authentication
- Return to the Box Dev Console and click Create Platform App.
- Click Custom App.
- Enter any app name in the App Name field.

- Select Purpose pull-down menu.
- Click Next.

- Select User Authentication (OAuth 2.0).
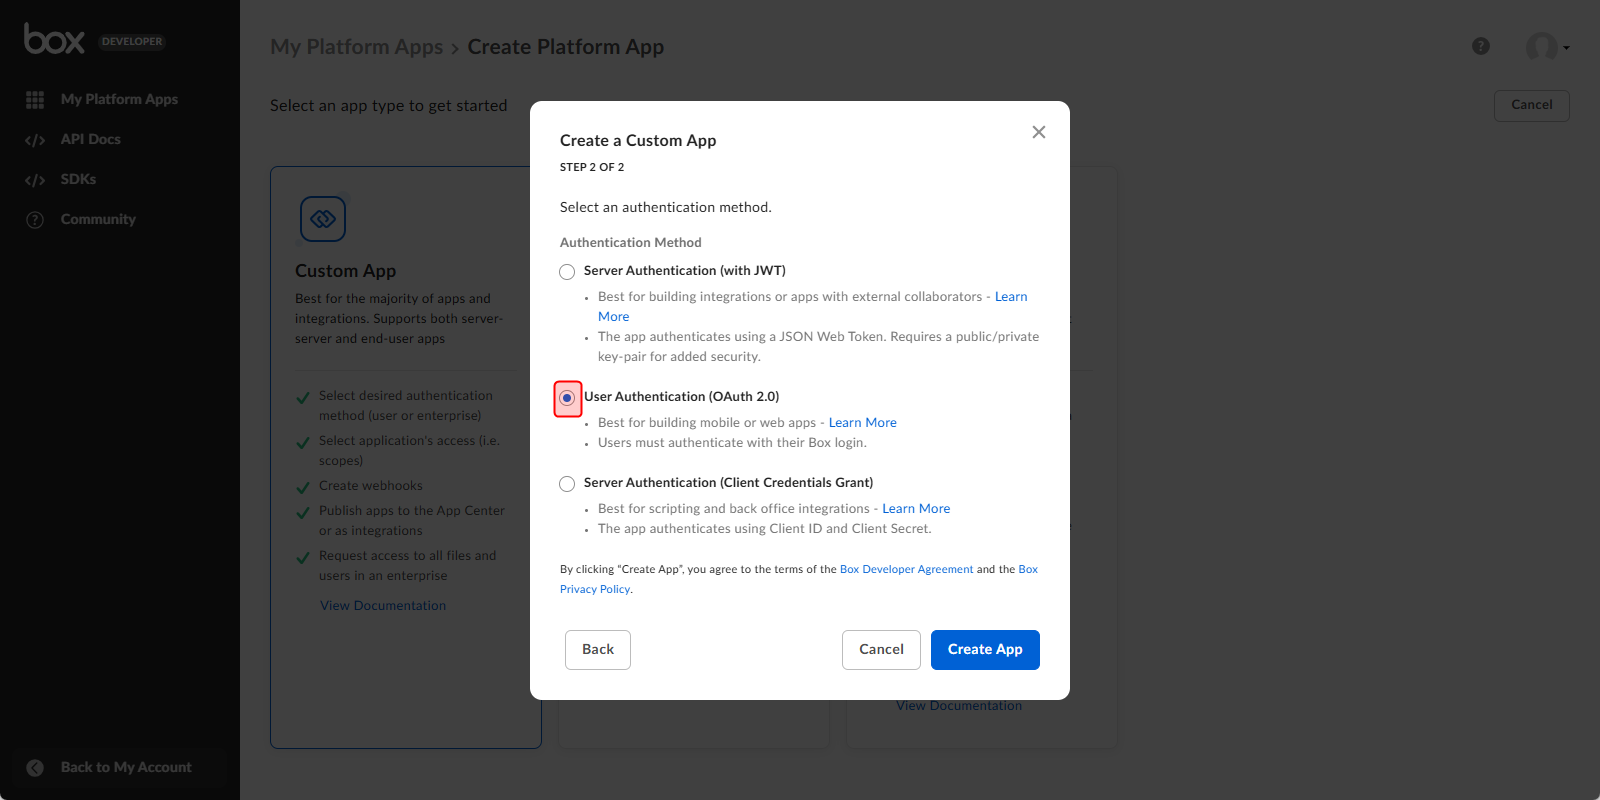
- Click Create App.
- Scroll down the Configuration tab to OAuth 2.0 Credentials.Note the strings in Client ID and Client Secret, respectively.
(This strings will be used later in dejiren’s connection settings.)
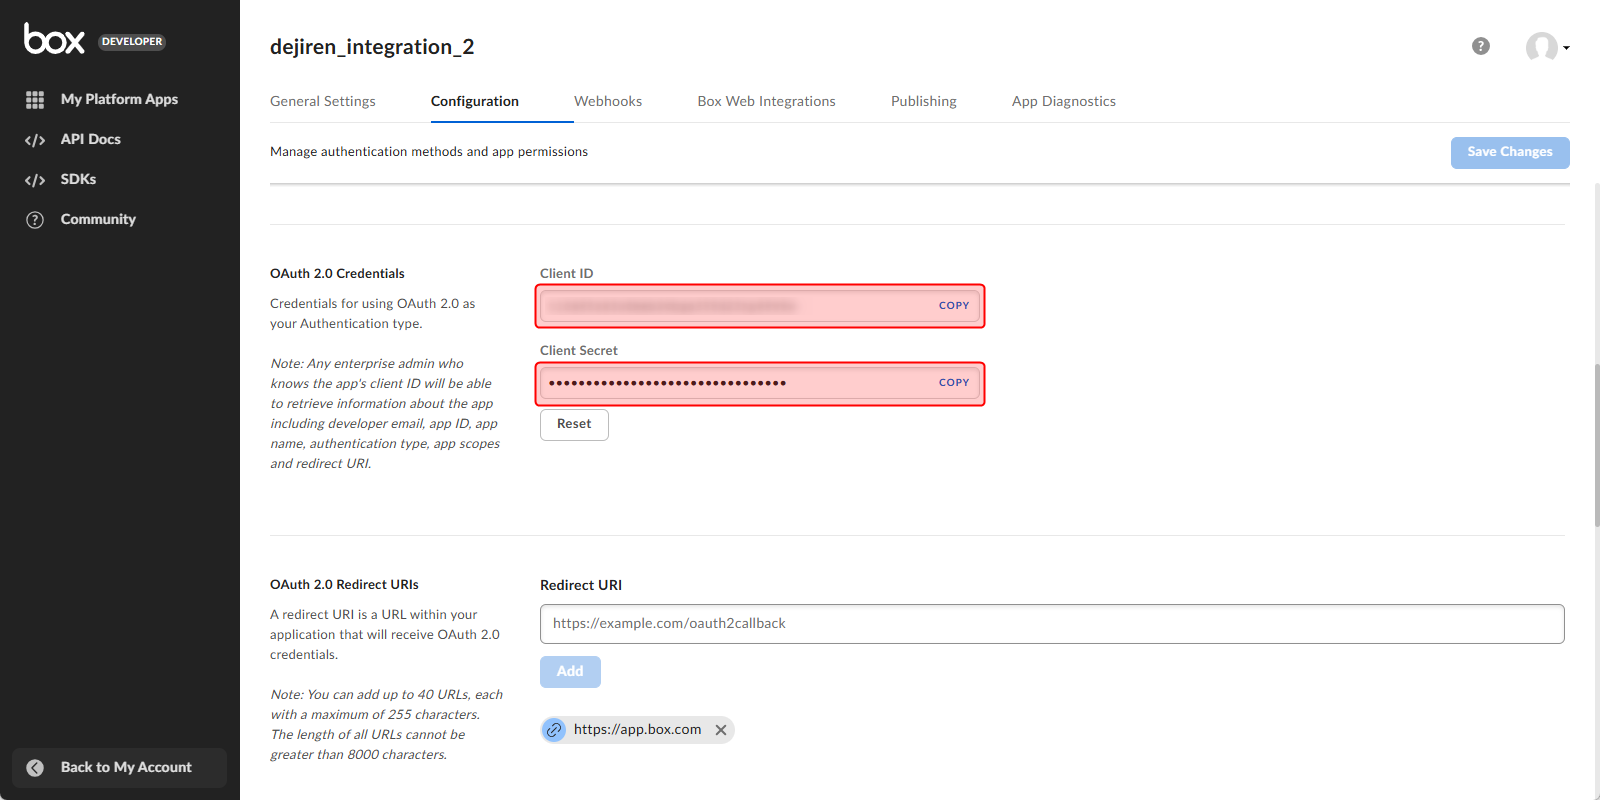
- Go to OAuth 2.0 Redirect URIs > Redirect URI.
Enter “https://global.dejiren.com/api/va/v1/oauth-callback” in the field.
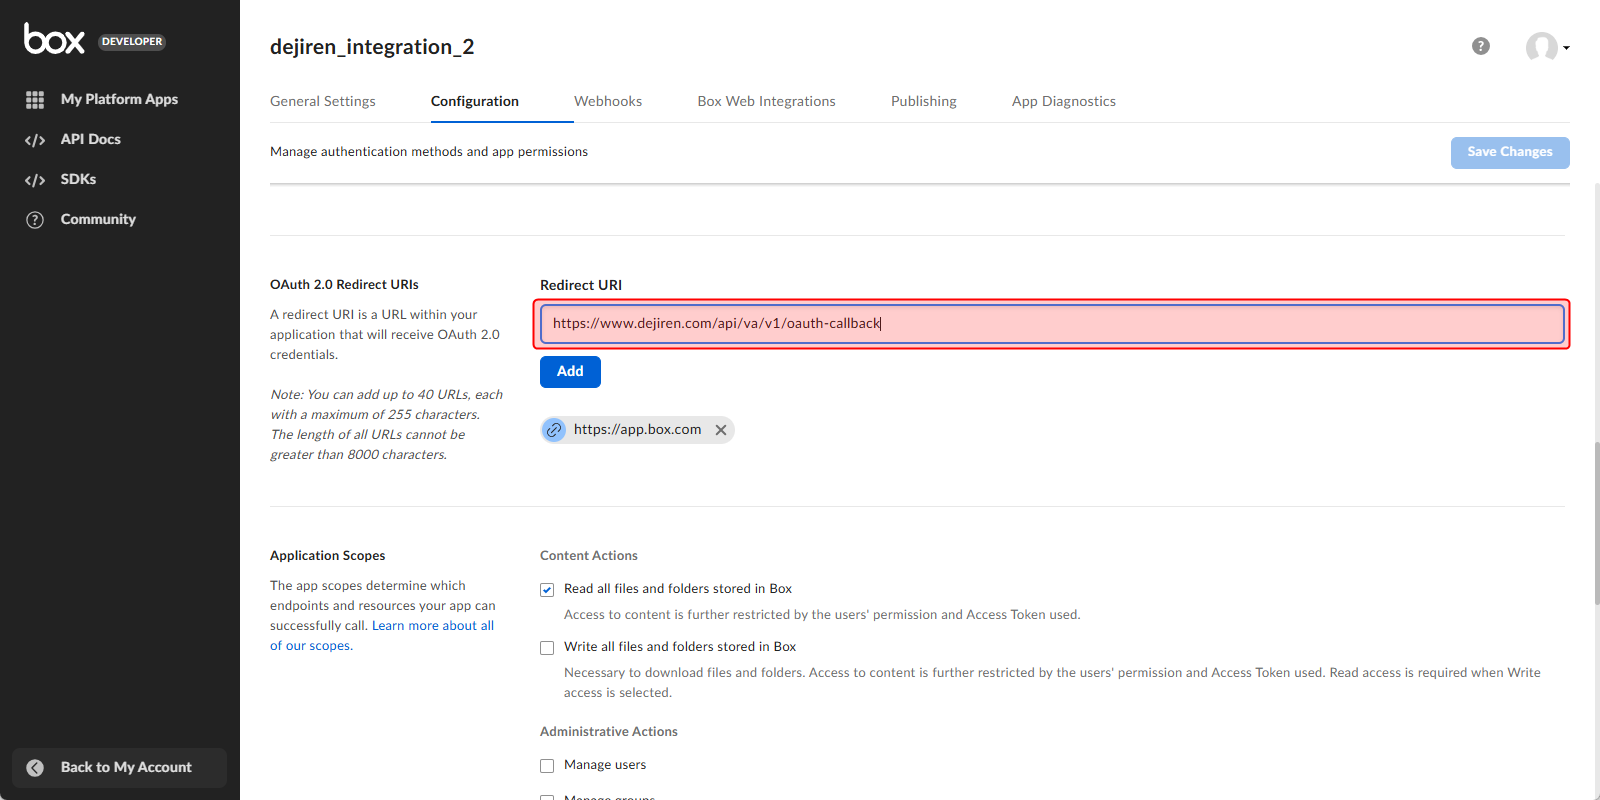
- Click Add under the Redirect URI field.
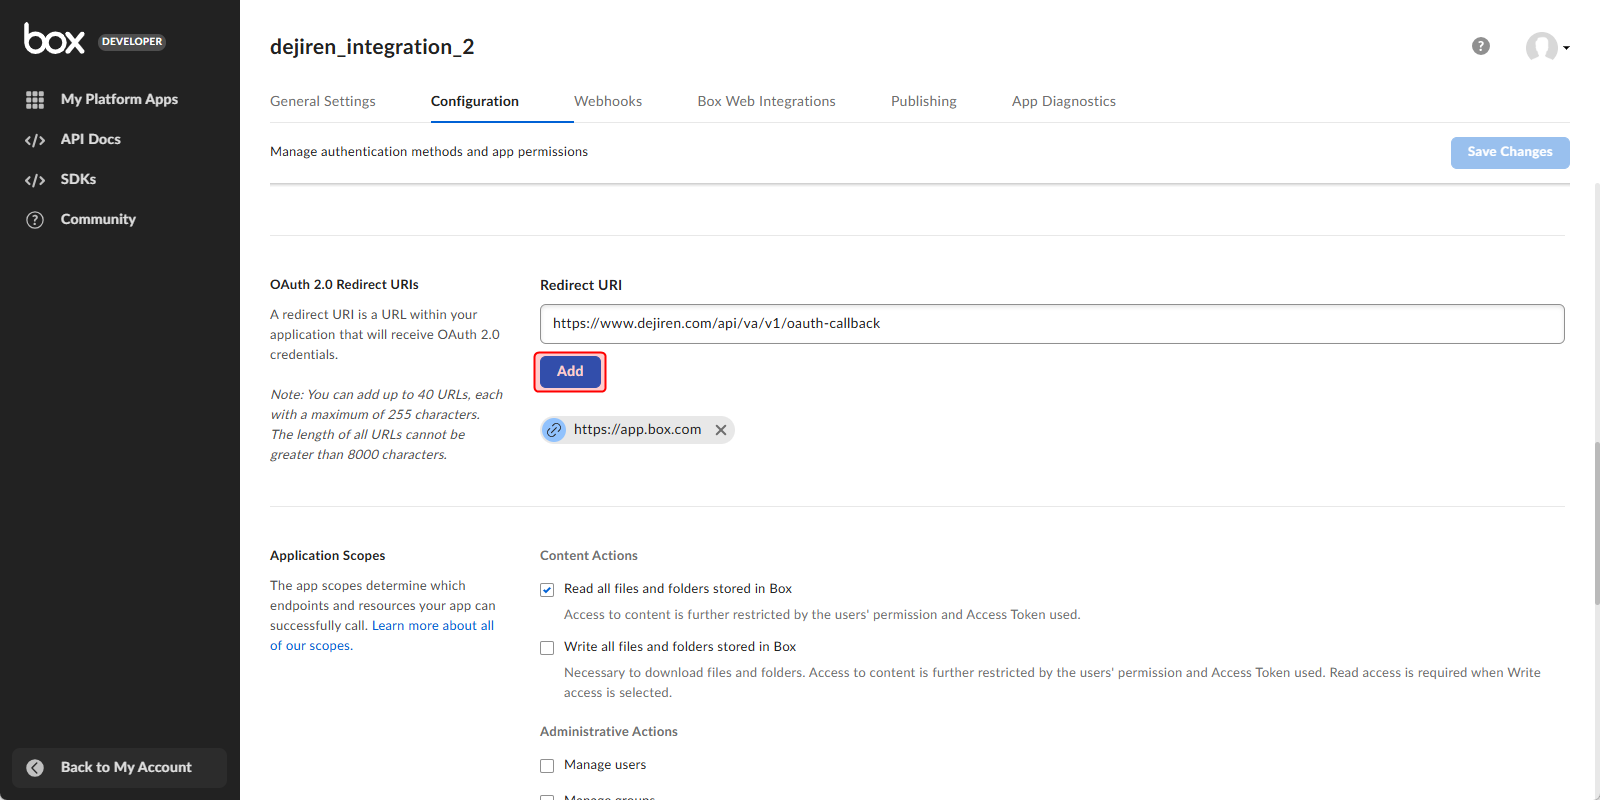
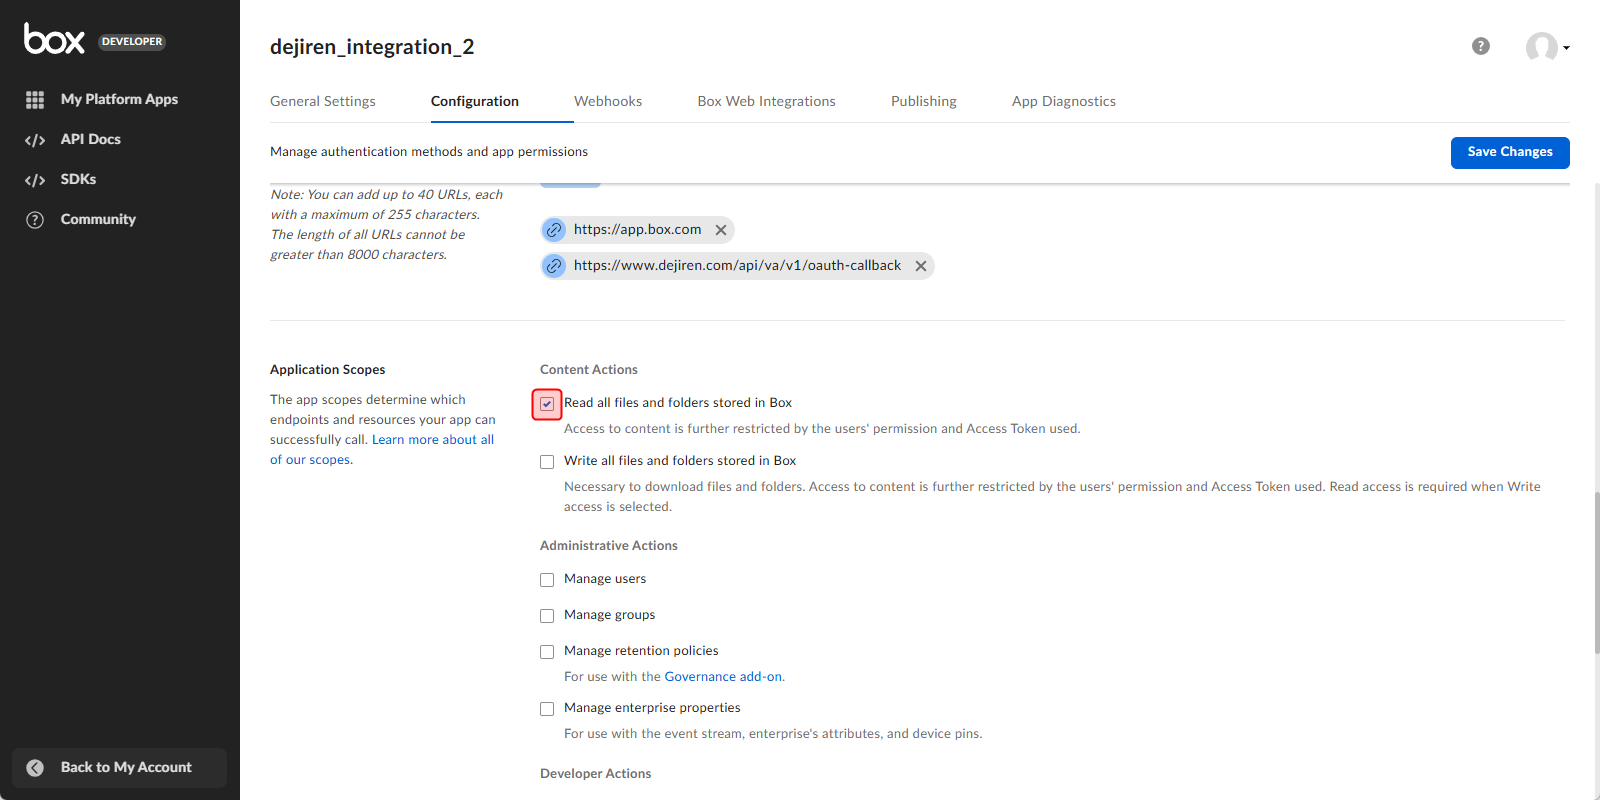
- Scroll down to Application Scopes.
Make sure Read all files and folders stored in Box is selected.
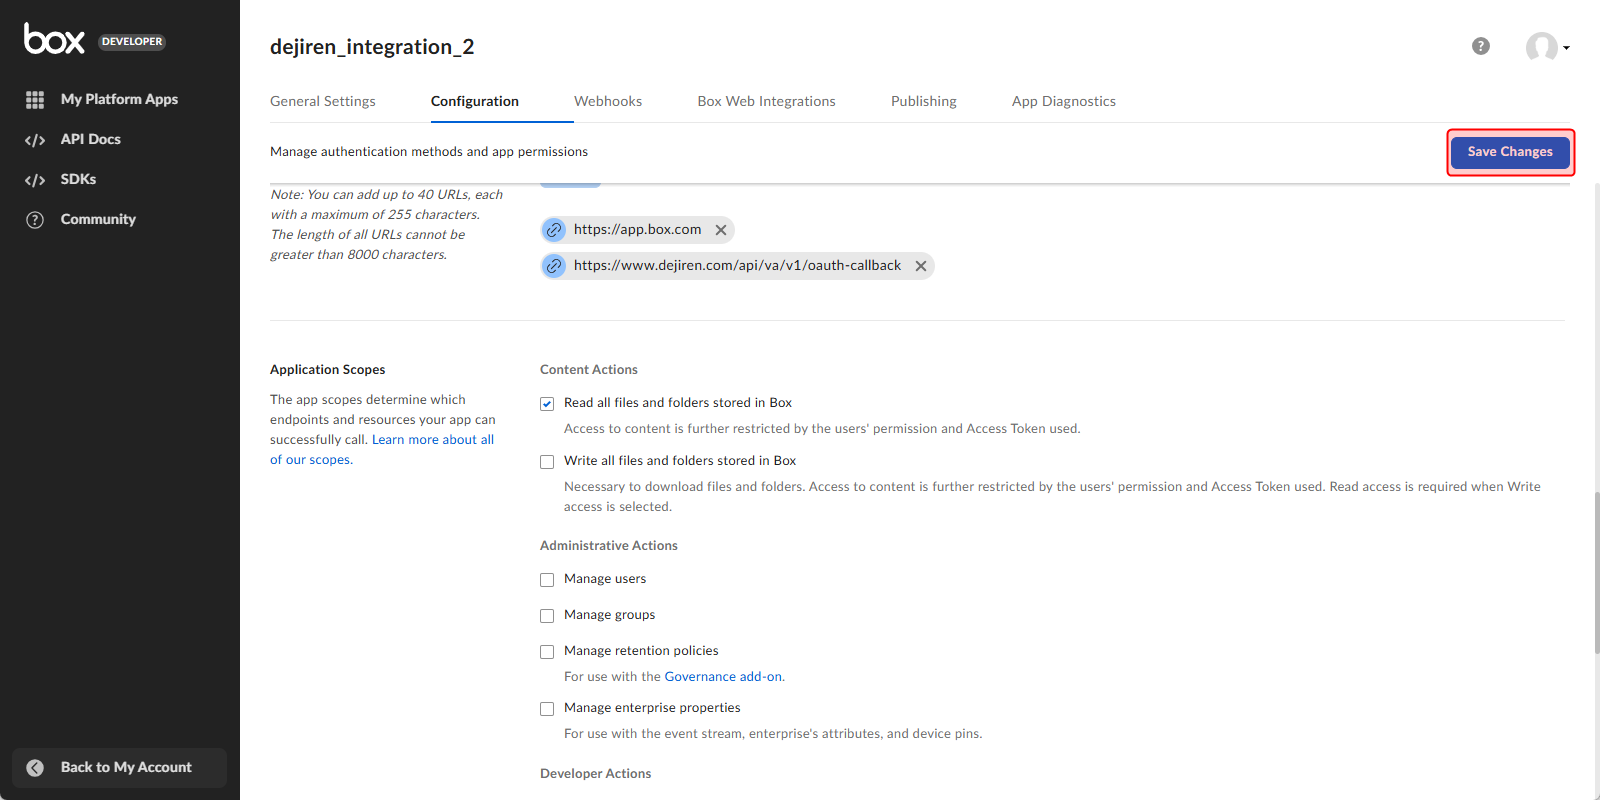
- Click Save Changes in the upper right corner of the page.
Step 6. Create a connection setting in dejiren
- Go to the dejiren Virtual Assistant (VA) management screen.
- Click Connections at the top of the page.
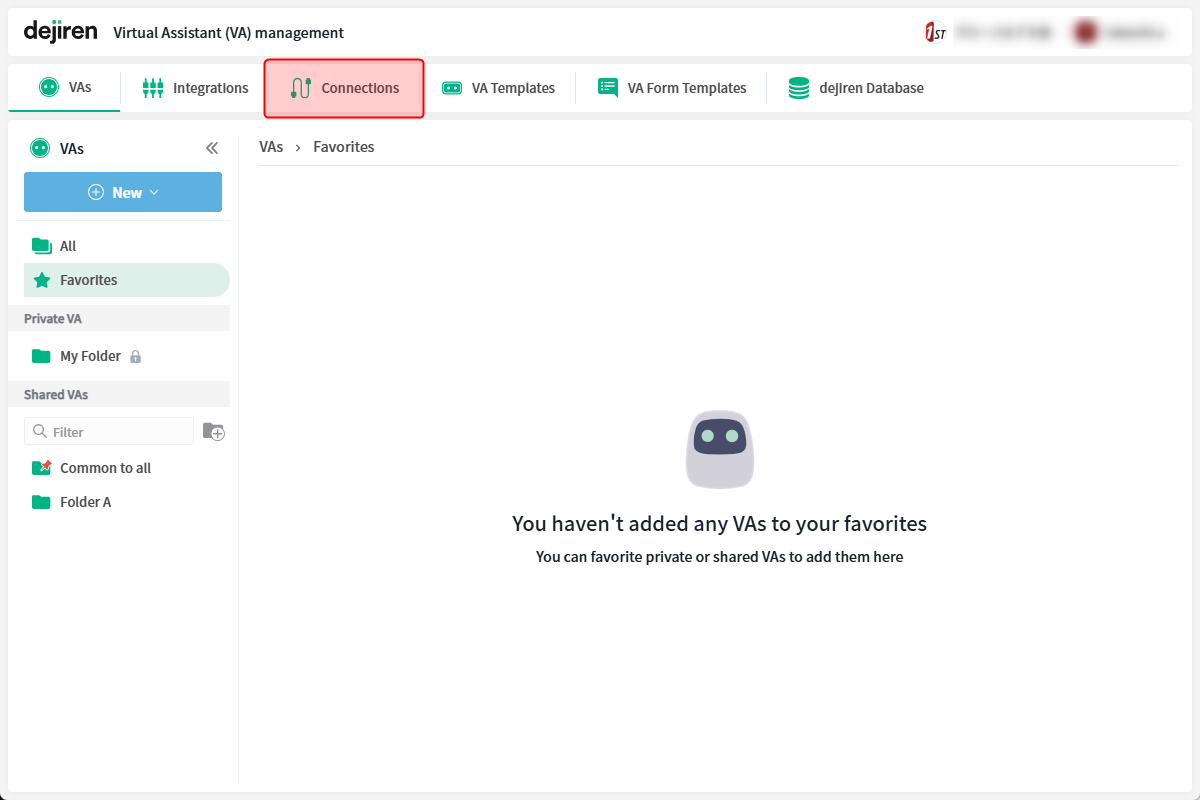
- On the Connections page, click New.

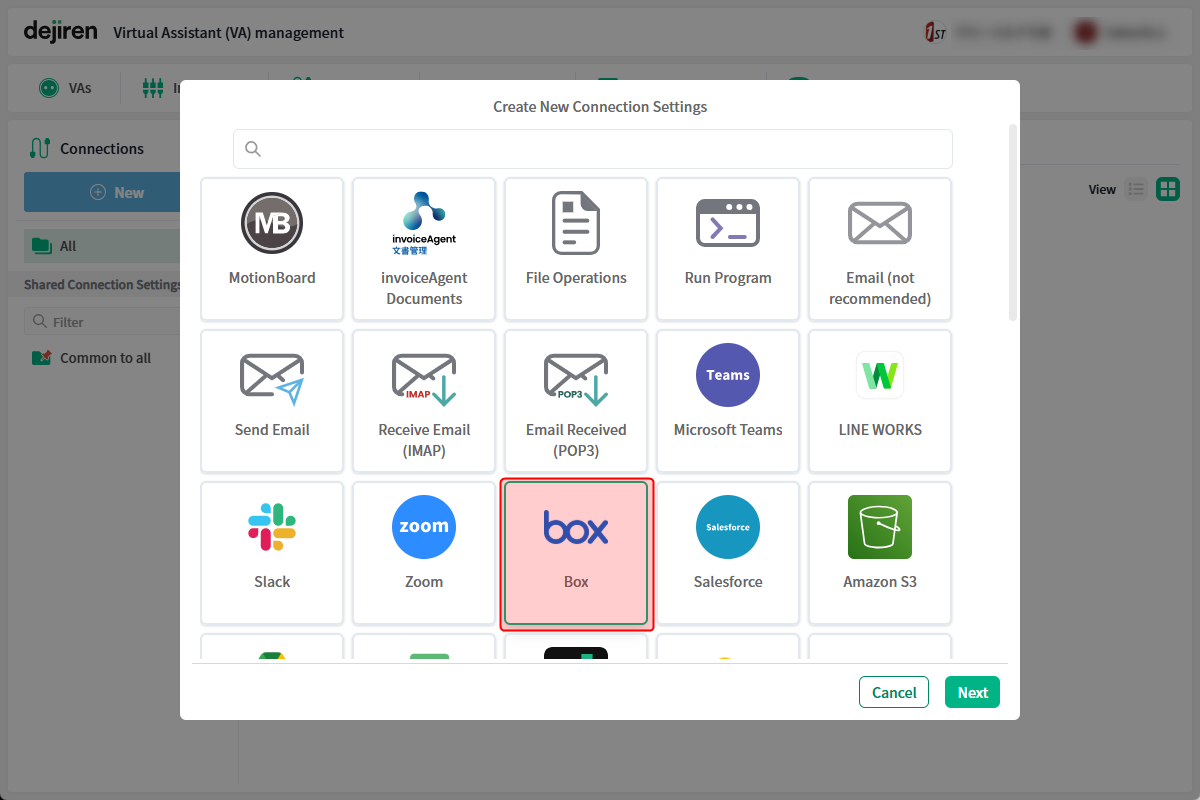
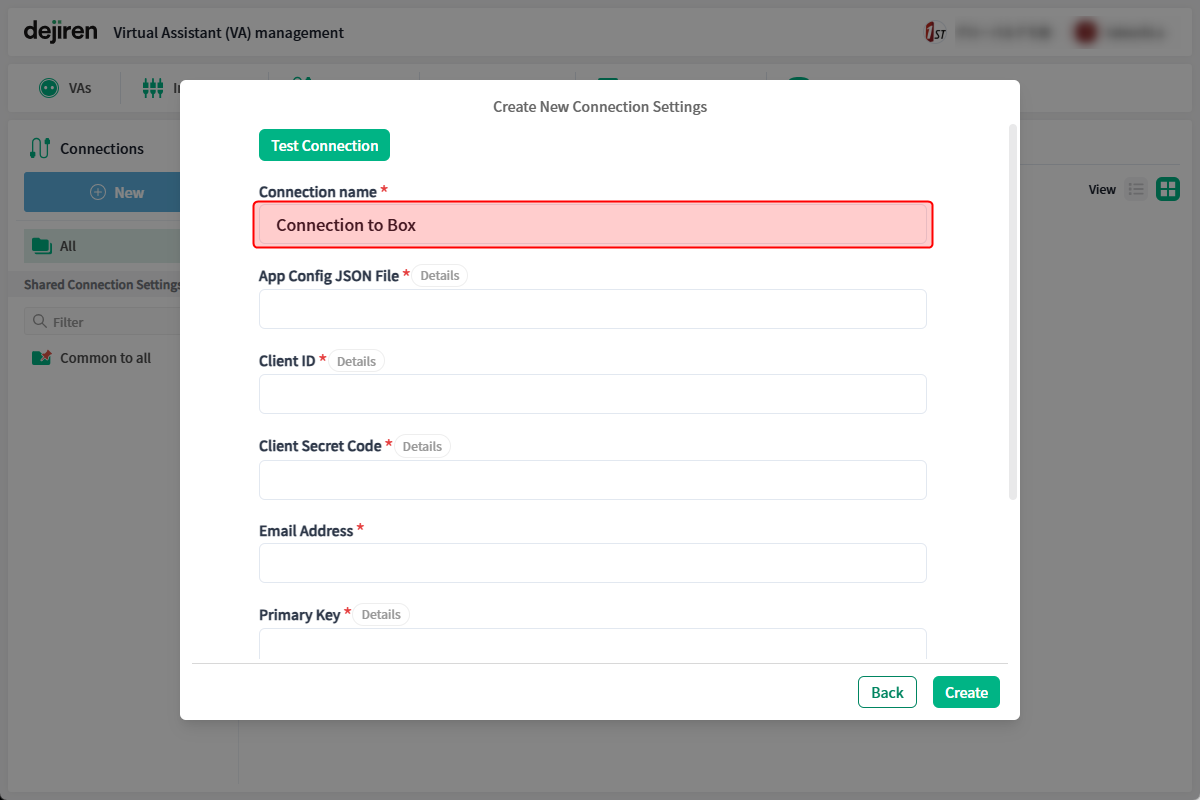
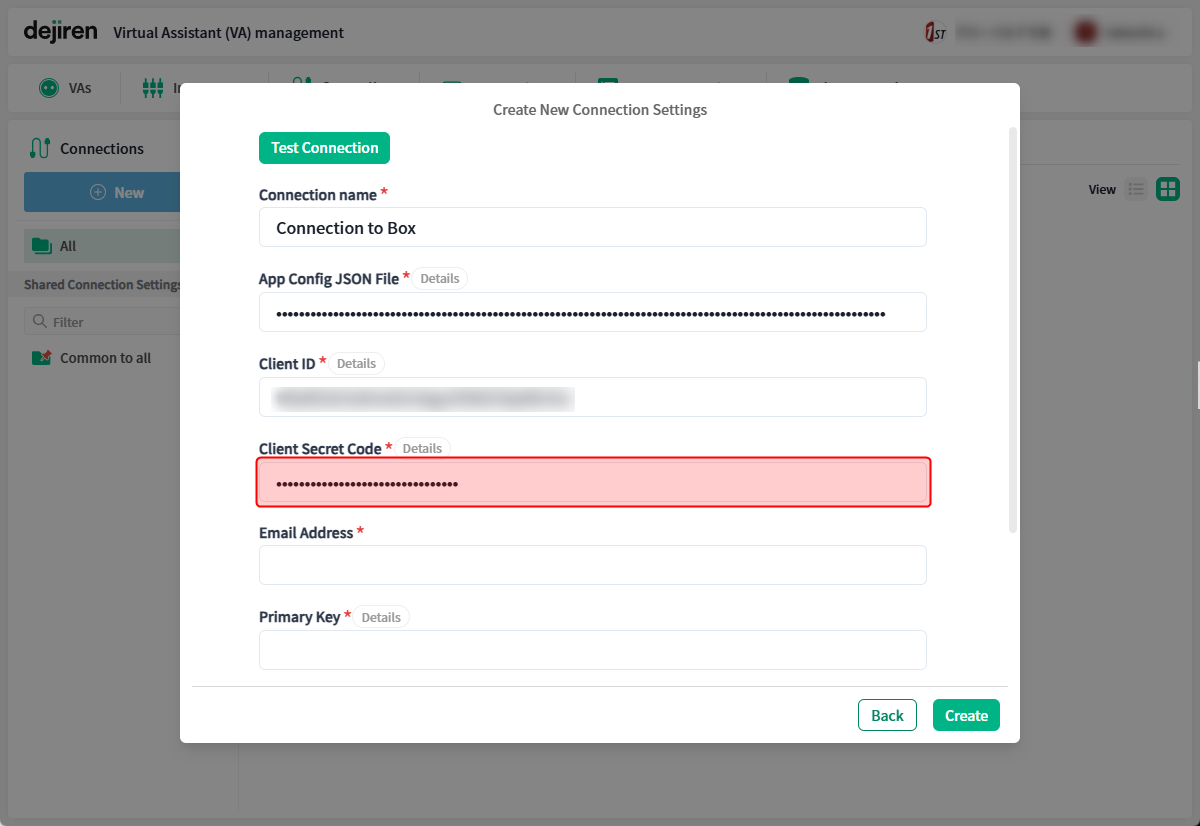
- The Create New Connection Settings dialog will appear.
Select Box and click Next.
- Enter any name in Connection name to identify this connection setting.
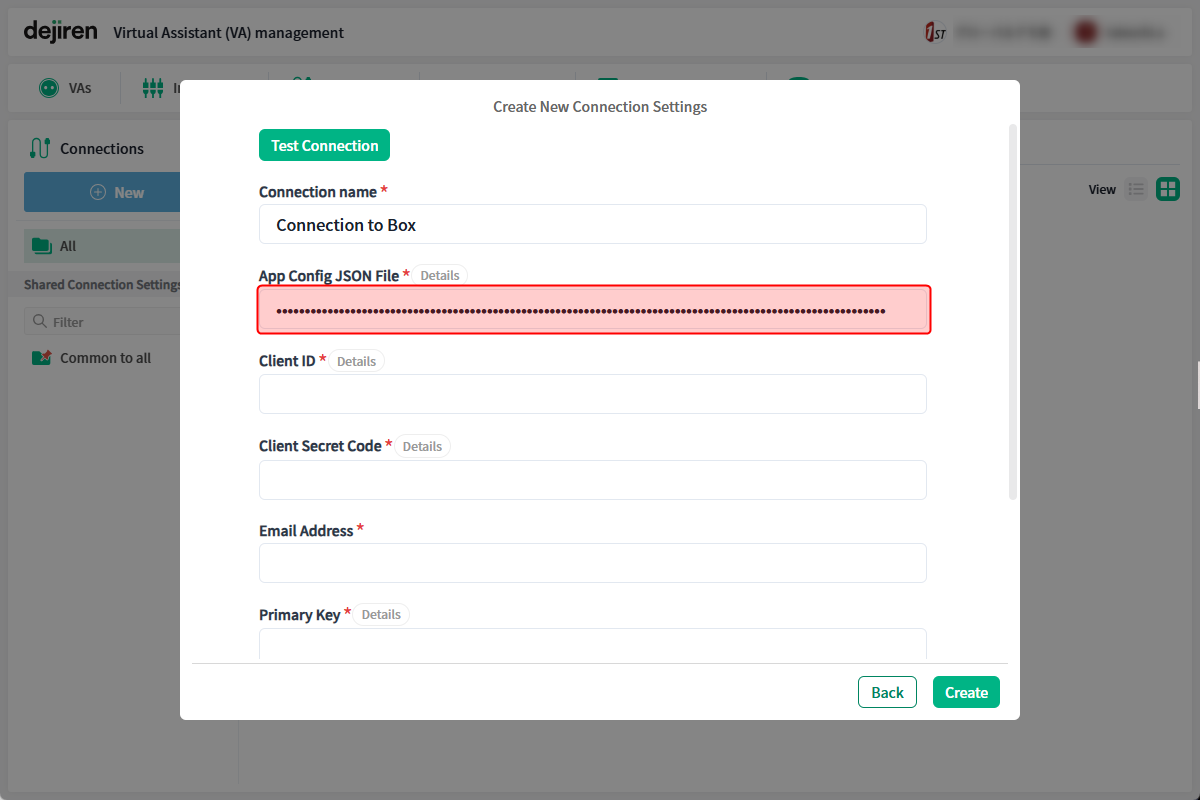
- In App Config JSON File, enter the configuration file converted to Base64 format.
*Refer to the conversion procedure for the configuration file described below.
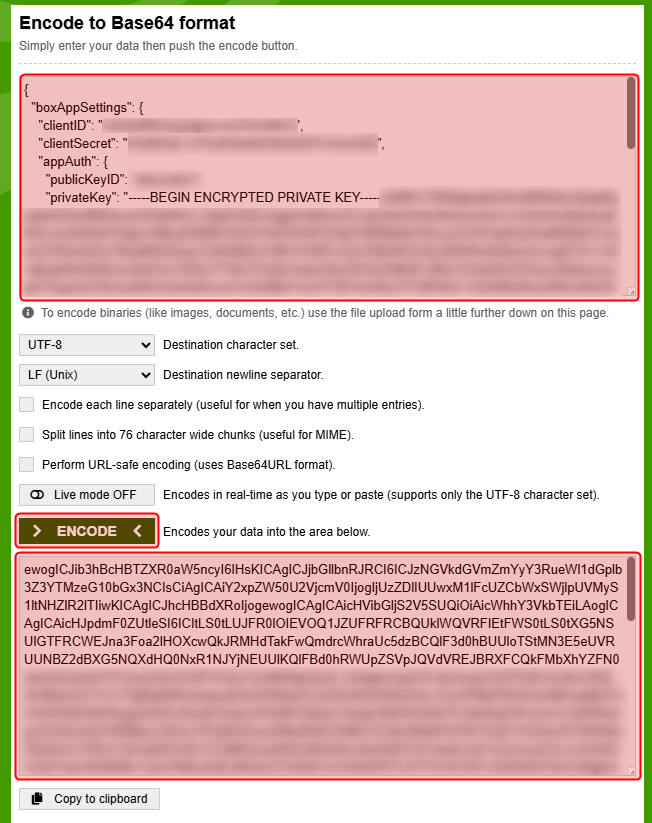
Tips: How to convert a configuration file
As an example, refer to the following conversion procedure using the webpage: https://www.base64encode.org/.- Open the configuration file downloaded in “Step 2: Create an app for integration”.
- Copy the all data in it and paste it into the input field at the top of the page.
- Click ENCODE in the middle of the page.
- The result of the conversion will be output at the bottom of the page. Copy the converted string and paste it to dejiren’s connection settings page.
- Enter the string of OAuth 2.0 Credentials > Client ID that you noted in step 5-8 in the Client ID field on the connection settings.
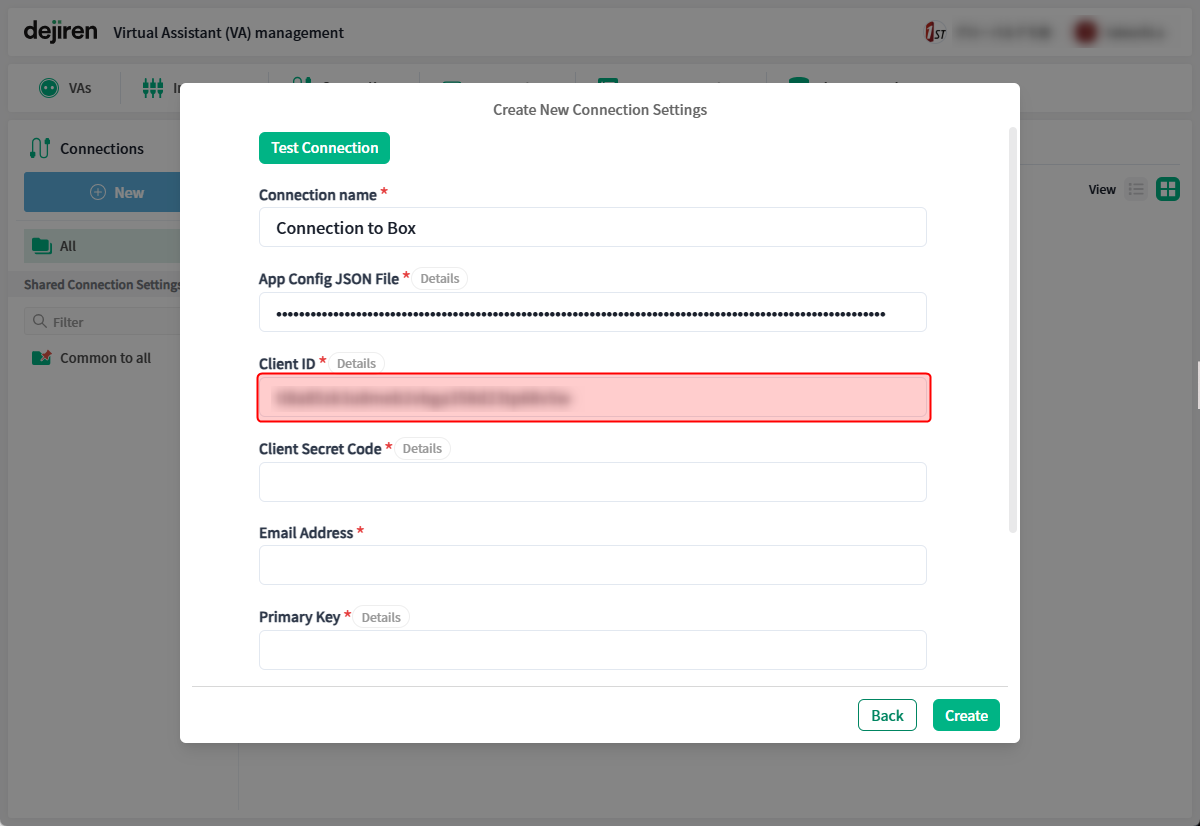
- Similarly, enter the string of Client Secret that you noted in step 5-8 in the Client Secret Code field on the connection settings.
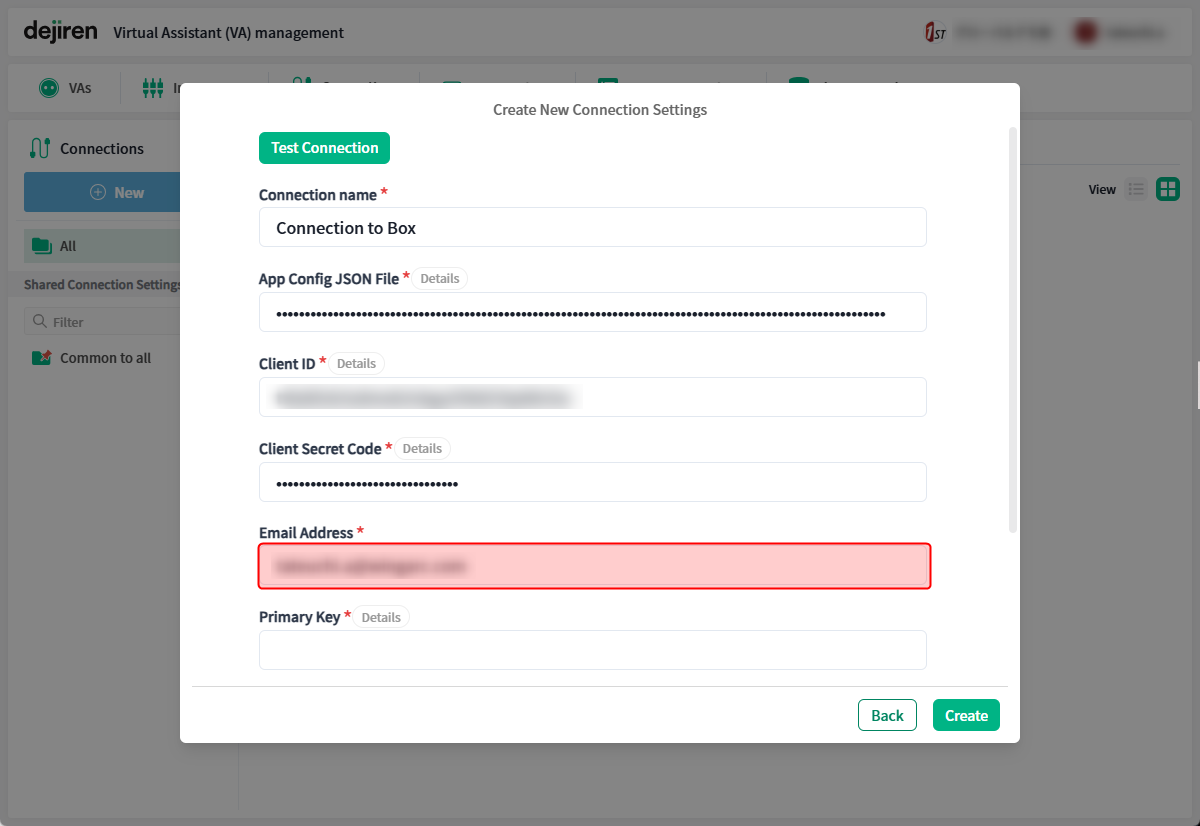
- Enter the email address of the Box account that the VA will use to connect to Box in the Email Address field.
- Enter the value of Primary Key that you noted in step 2-15 and the value of the Secondary Key that you noted in step 2-17 in each field on the connection settings respectively.
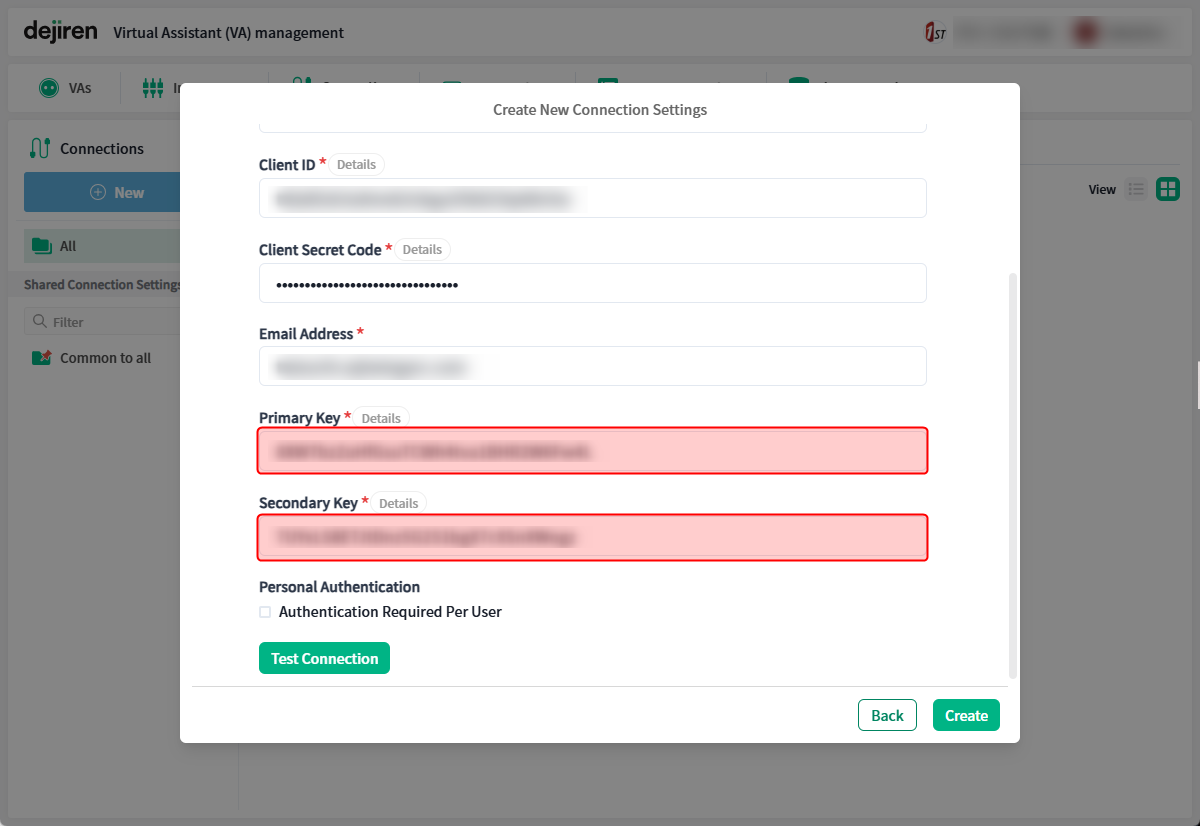
- Select the Authentication Required Per User checkbox.

- Click Test Connection, and if a successful connection message like the following appears, the setup is complete.

If a connection failure message appears, recheck the values entered in the connection settings page,
and then click Test Connection again. - Click Create in the lower right corner of the page.
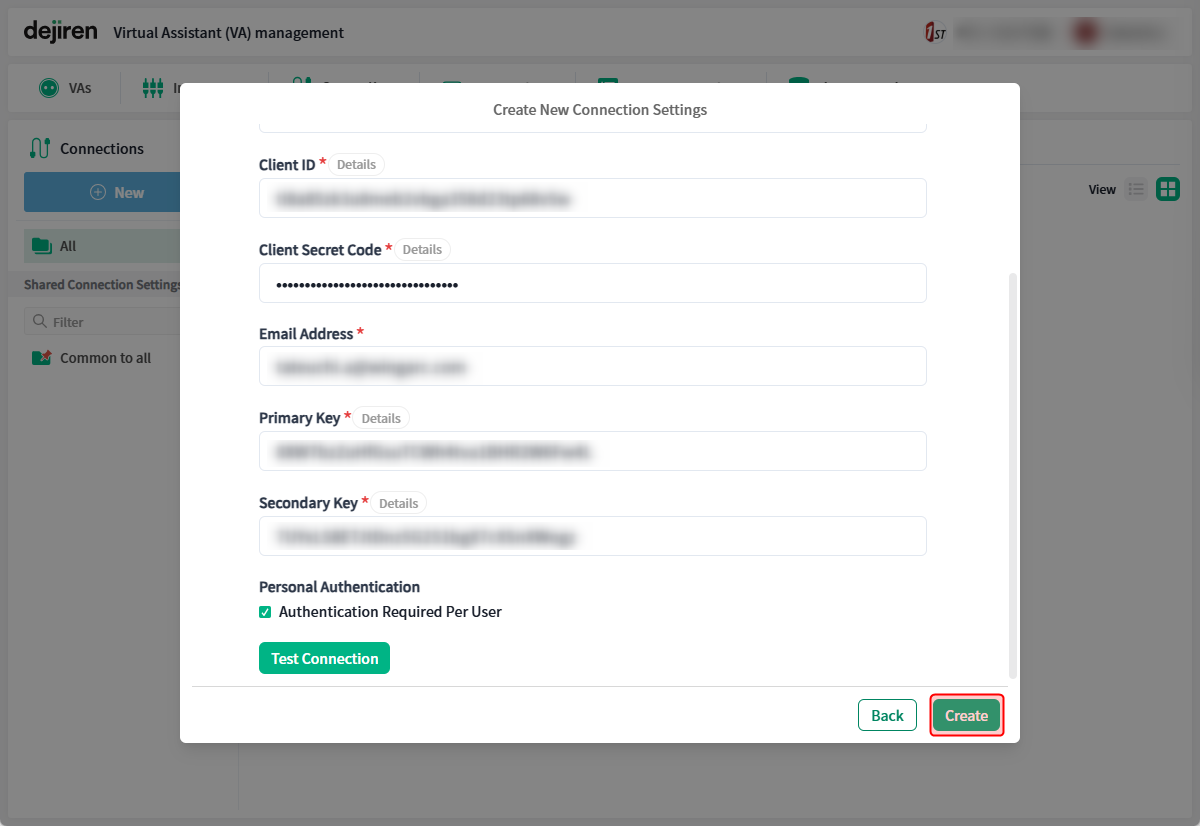
This completes the creation of a new Box connection setting.